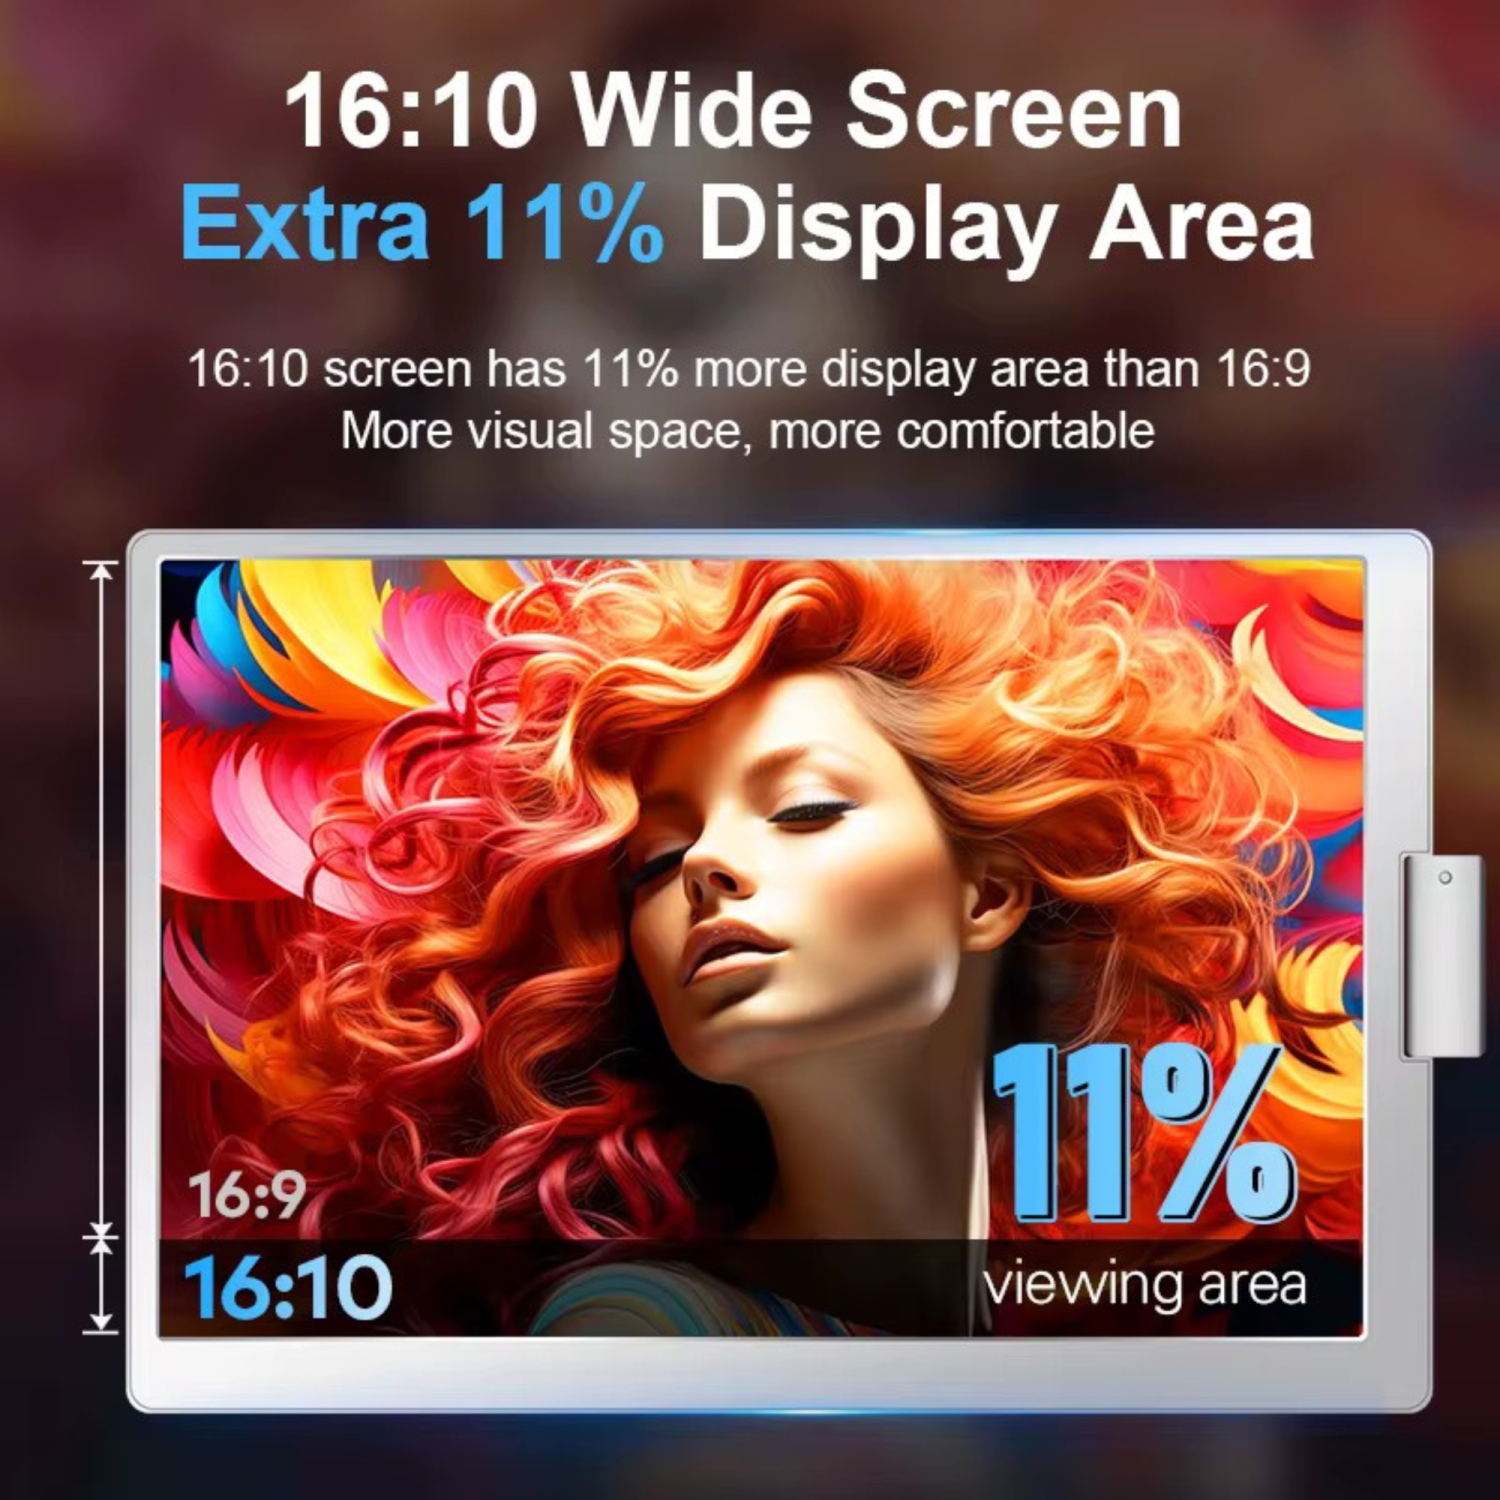
•Dual 16” Full HD IPS Displays (1920×1200)
Enhanced 16:10 aspect ratio provides more vertical workspace—ideal for spreadsheets, design tools, or coding.
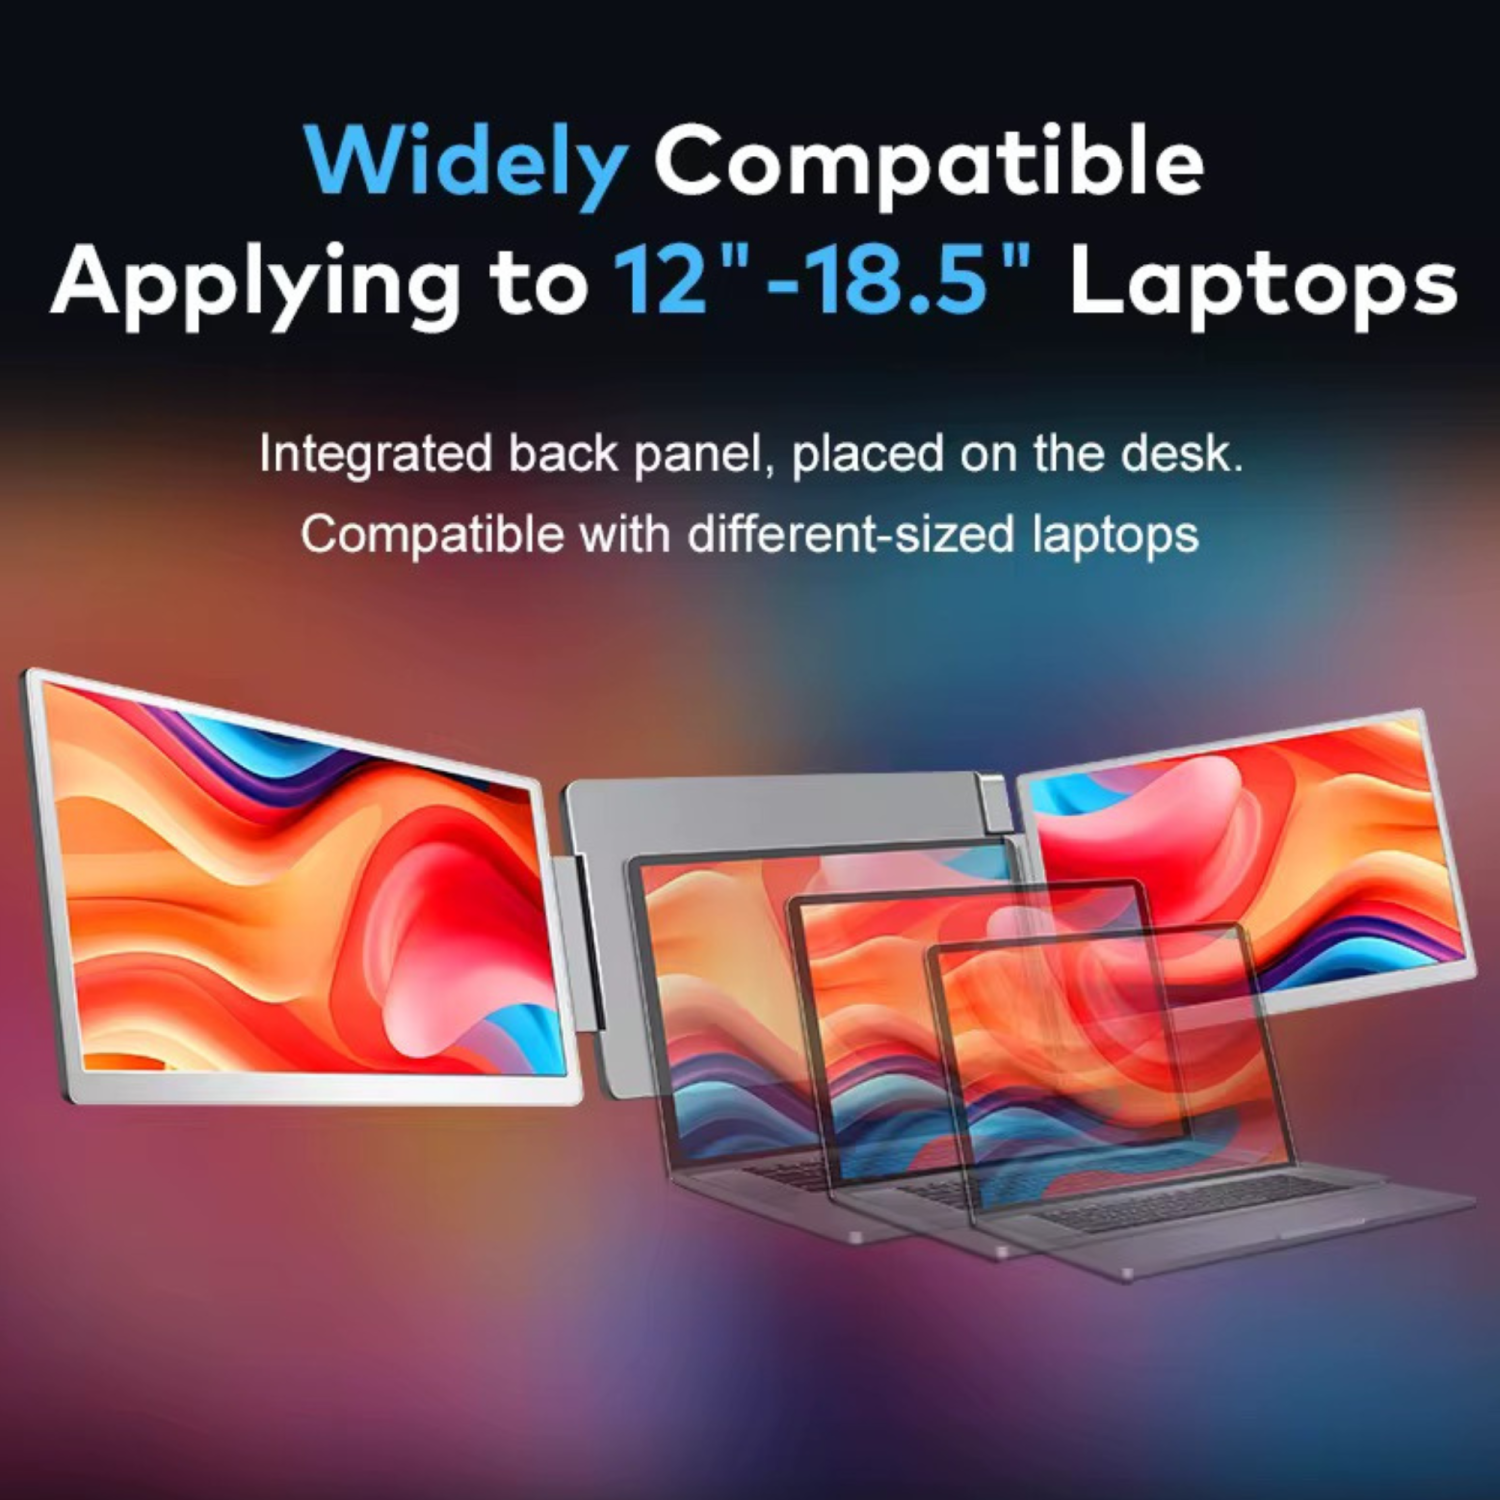
•No Clamping Required – Fully Standalone
Sits securely behind your laptop with built-in kickstand and back support. Simple, stable setup.
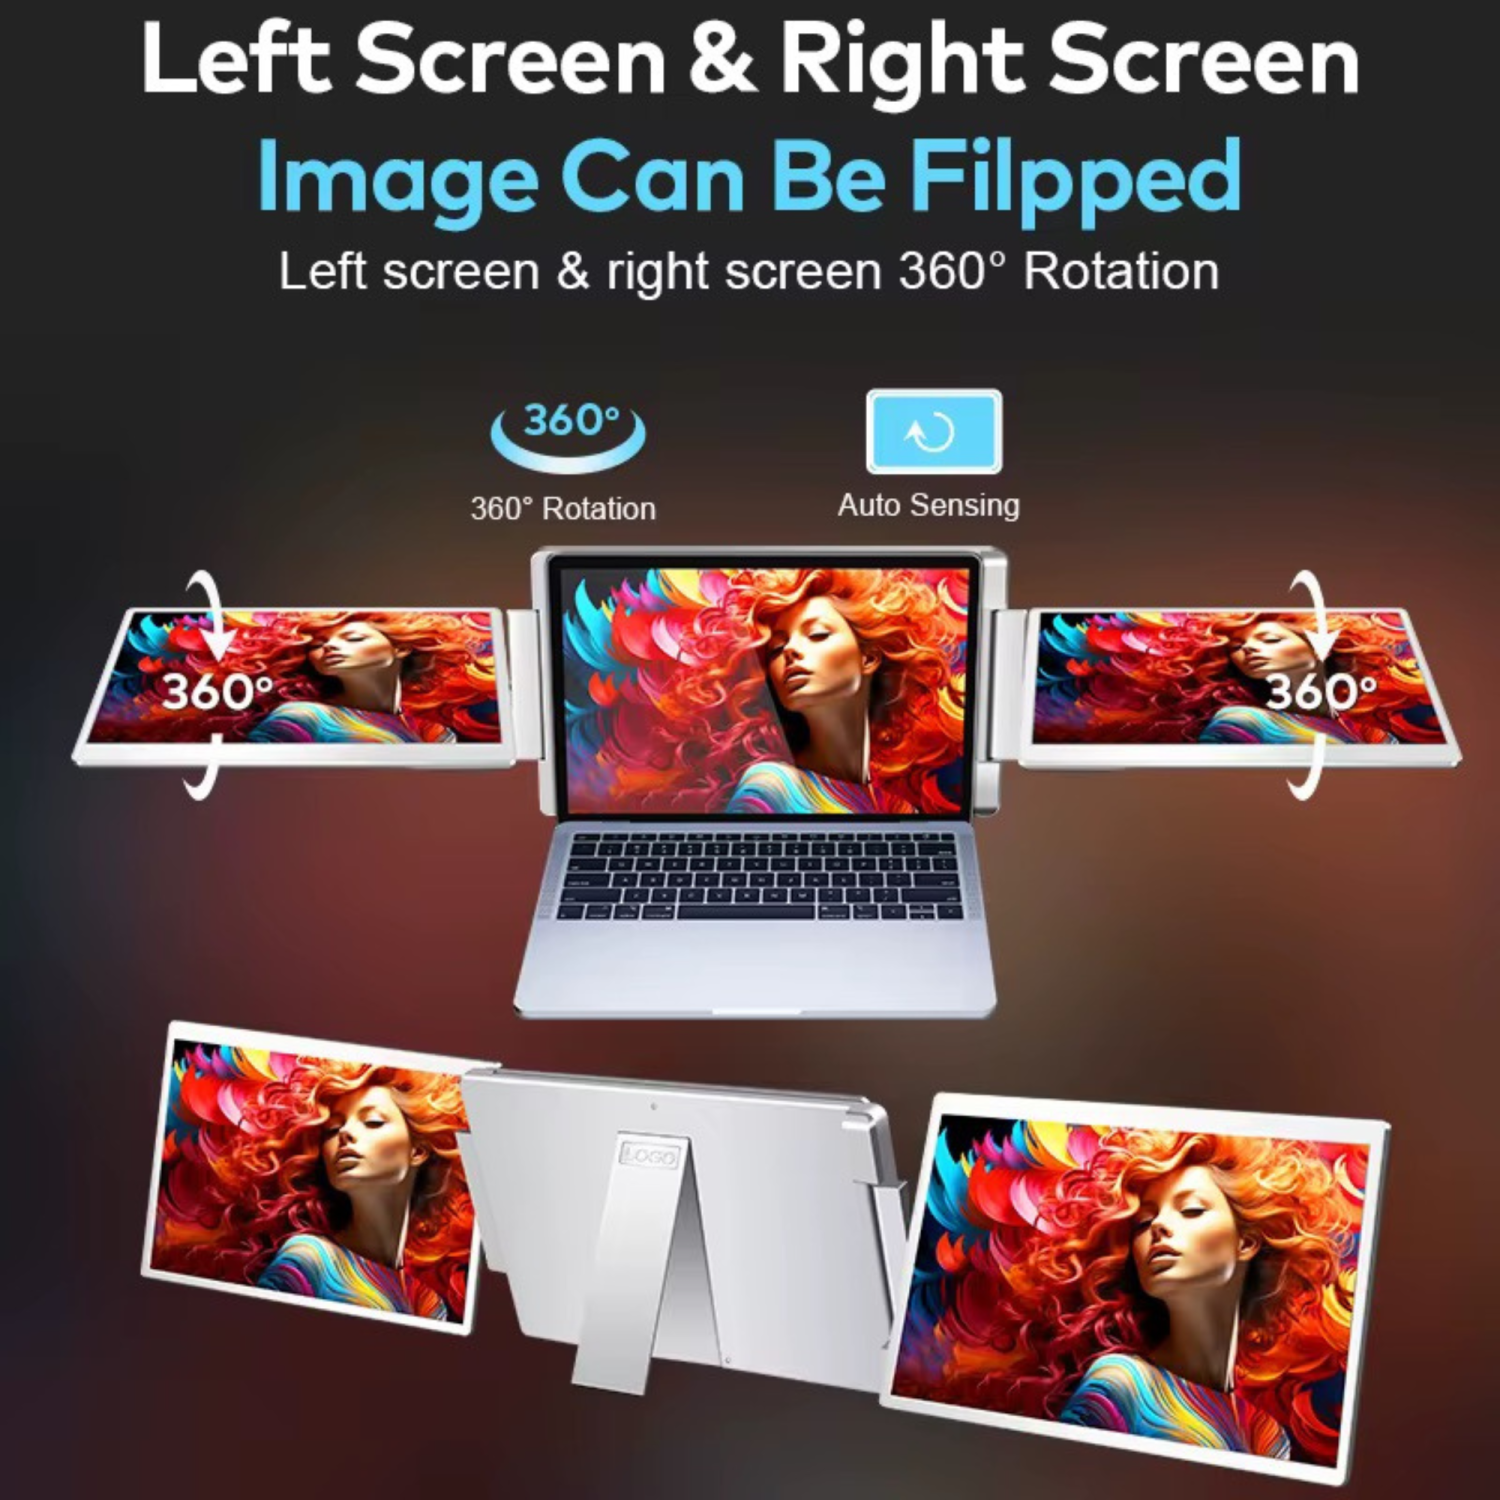
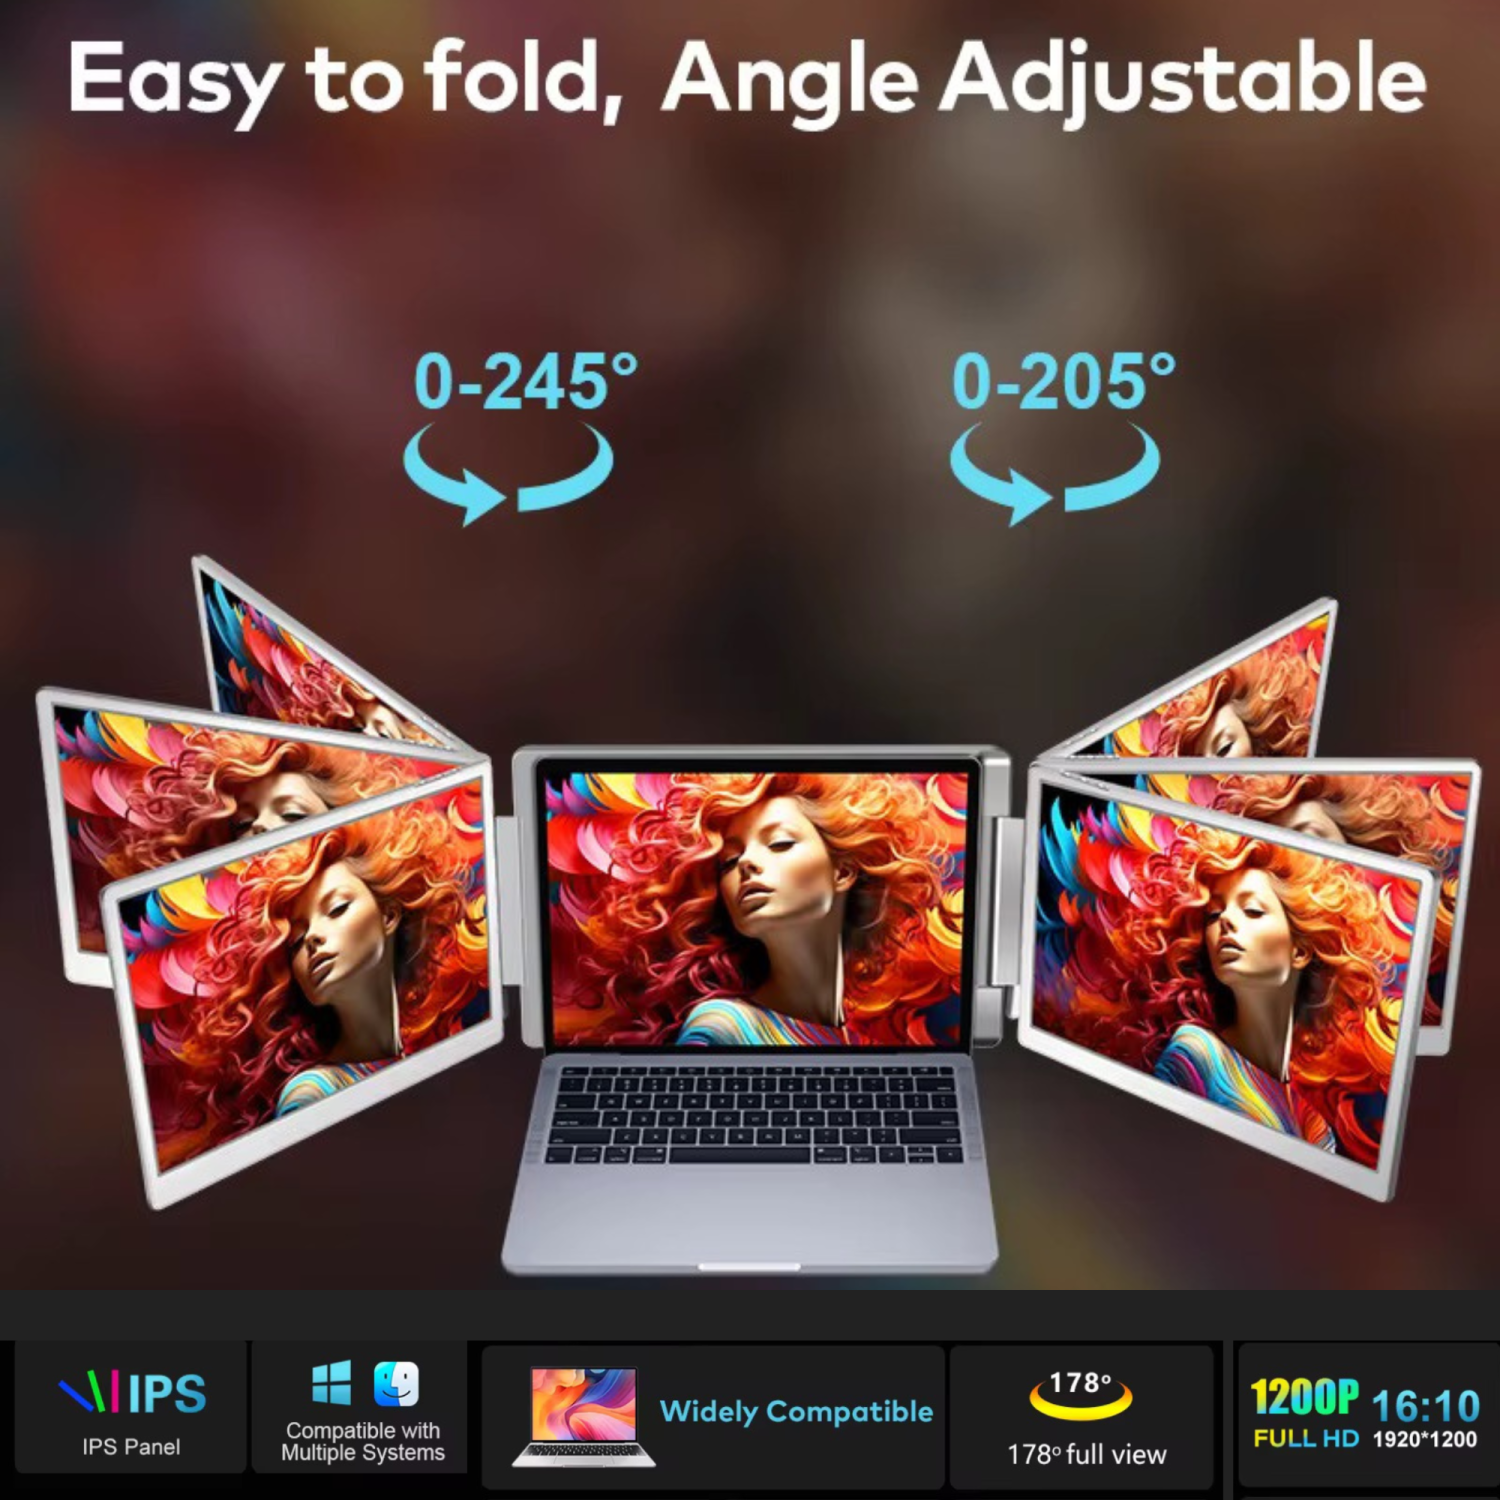
•Rotating Display Mechanism (Both Sides)
•Left screen: Horizontal & vertical rotation for full flexibility
•Right screen: Horizontal & vertical rotation as well — perfect for mirrored viewing or group presentations
•H5 USB to HDMI Converter Included
Expands compatibility to laptops without native USB-C video out.
Note: DisplayLink driver installation required.
•Plug-and-Play via USB-C or HDMI
No drivers needed for laptops with native video output over USB-C or HDMI.
•Optimized for Travel
Foldable, lightweight design with included carrying case — ideal for business and travel use.
•Stable Performance
Integrated support bar ensures firm positioning on any surface.
⸻
Specifications – TUTT S11 16” Dual Portable Monitor
•Model Name: TUTT S11
•Screen Size: Dual 16-inch IPS displays
•Resolution: 1920 × 1200
•Aspect Ratio: 16:10
•Panel Type: IPS
•Refresh Rate: 60Hz
•Color Gamut: 72% NTSC
•Viewing Angle: 178° ultra-wide
•Left & Right Screen Rotation: 360° horizontal & vertical rotation
•Compatible Laptop Sizes: 12” to 17”
⸻
System Compatibility
•Windows
•macOS (M1 / M2 / M3 Pro & Max)
•Linux
•Android
•Chromebook
•Microsoft Surface
•Gaming Consoles (Nintendo Switch / Xbox / PS4 via HDMI)
⸻
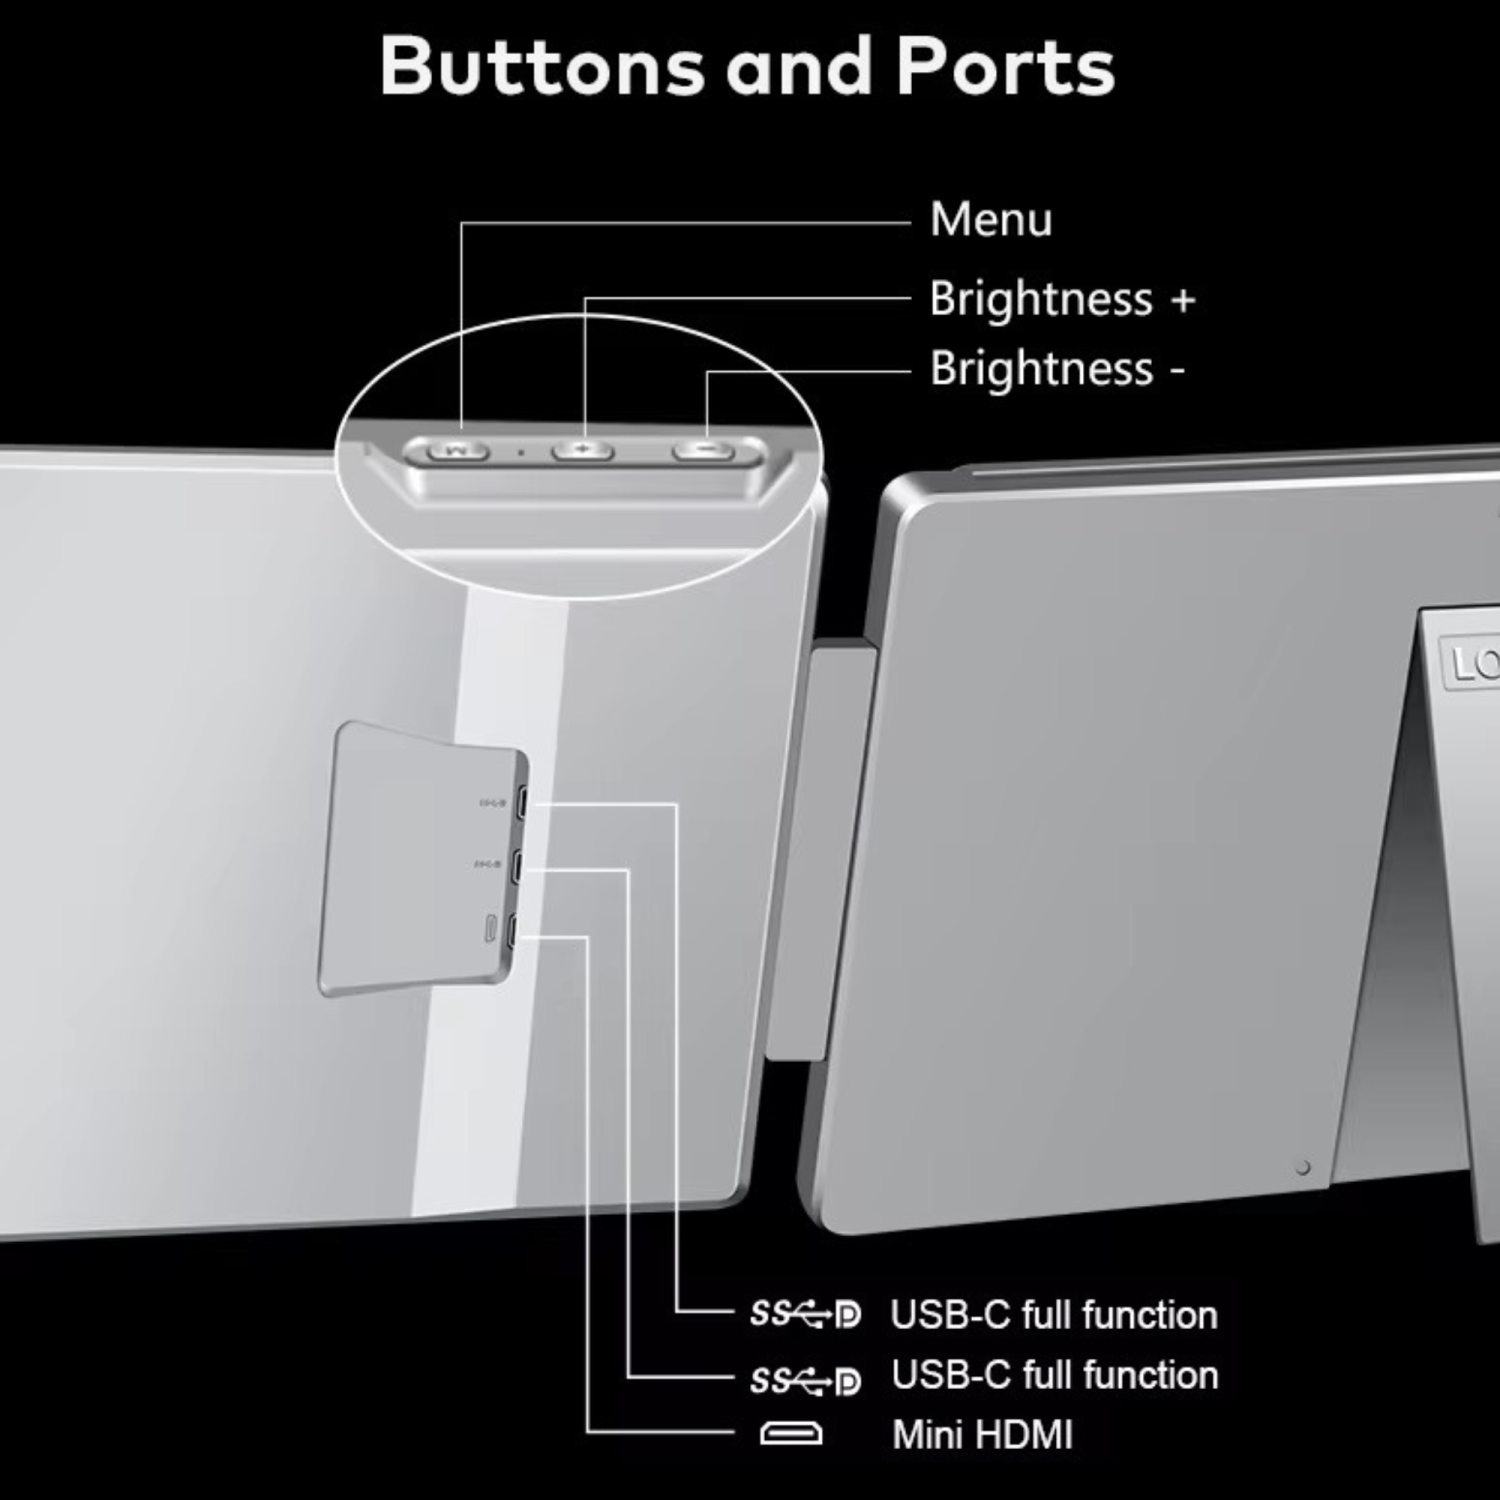
Ports
•2 × Full-featured USB-C
•1 × Mini HDMI
⸻
H5 Cable Compatibility
•1 × USB-A & USB-C To HDMI converter
•Enables support for older devices without USB-C video output (Full Featured)
•Requires DisplayLink driver
⸻
Build & Dimensions
•Mount Type: Standalone
•Stability: Integrated kickstand + rear support bar
•Foldable: Yes
•Weight: 1.8 kg
•Certifications: FCC, RoHS, CE
⸻
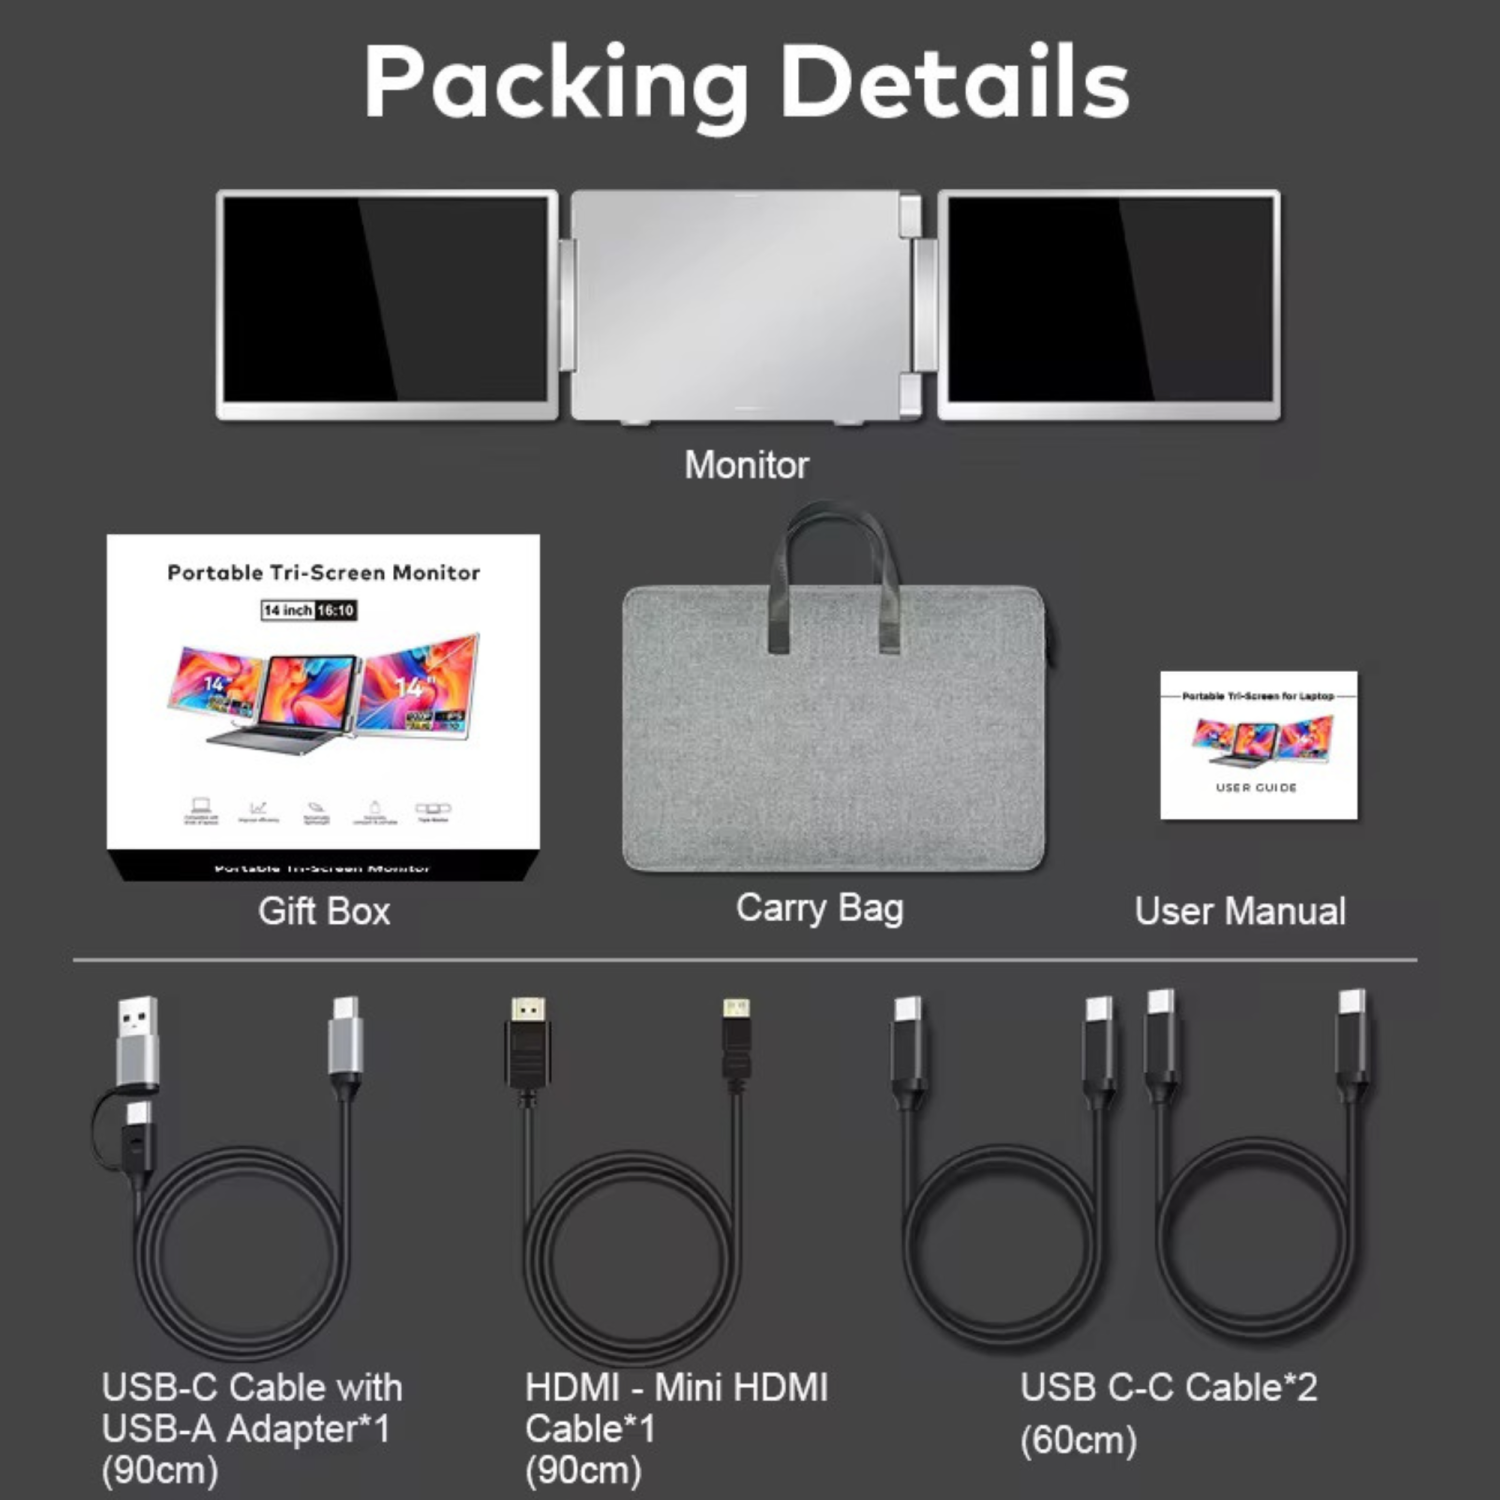
Package Contents
•1 × TUTT S11 Portable Monitor
•1 × Carry Bag
•1 × User Manual
•1 × Gift Box
•1 × H5 USB to HDMI Converter Cable
•1 × USB-C Cable with USB-A Adapter (90cm)
•1 × HDMI to Mini HDMI Cable (90cm)
•2 × USB-C to USB-C Cables (60cm)
⸻
Technical Support
Please refer to the instructions on the package. A technician will contact you within 90 minutes.
How to Connect Dual Screen Portable Monitor to a Laptop
Compatible Models: TUTT S7 | S10 | S11 – Dual Screen Portable Monitors
Connection instructions vary depending on your laptop’s available ports. Please review the options below:
1. HDMI + Full-Featured USB-C (Thunderbolt)
Recommended Setup for Best Performance
First Screen
•Connect a full-featured USB-C cable directly from your laptop to the USB-C port on the first screen.
•No external power is required.
Second Screen
•Connect HDMI from your laptop to the HDMI/DP (typically red-marked) port on the second screen.
•Use a USB-C cable to supply power to the second screen.
Note: While the second screen may receive power from the laptop, external power is strongly recommended for stable performance.
————————————————————-
2. HDMI + Regular USB-C or USB-A
When Your Laptop Does Not Support Thunderbolt USB-C
First Screen
•Connect HDMI from your laptop to the HDMI/DP (typically red-marked) port on the screen.
•Power the screen using a USB-C cable connected to an external power source (recommended).
Powering from laptop is possible but not advised for long sessions.
Second Screen
•Connect the included H5 conversion cable (USB-C + USB-A heads) to your laptop.
•Connect the USB-C end of the H5 cable to the HDMI/DP (red) port on the second screen.
•Use an external USB-C cable to power the second screen.
•A blue screen with connection icons should appear.
•Locate and install the “Display” driver on your laptop.
– If no display appears, restart your system after driver installation.
————————————————————-
3. MacBooks with One Full-Featured USB-C + One Regular USB-C
For Mac M1, M2, M3 Series and Newer Models
First Screen
•Connect a full-featured USB-C cable directly to the first screen.
•No external power required.
Second Screen
•Connect the included H5 conversion cable (USB-C + USB-A heads) to your MacBook.
•Plug the USB-C end of the H5 cable into the HDMI/DP (red) port on the second screen.
•Power the screen using a separate USB-C cable connected to an external power source.
•A blue connection screen should appear.
•Locate and install the “Display” driver on your Mac.
– Restart your Mac if the second screen doesn’t activate immediately