Car Audio Installation Kits
Enhance your driving experience with our wide range of car audio installation kits. Whether you're a music enthusiast or simply looking to upgrade your vehicle's sound system, these kits are designed to provide you with everything you need for a seamless installation. From wiring harnesses to mounting brackets and adapters, our selection of car audio installation kits ensures compatibility with a variety of vehicles, making it easier than ever to achieve high-quality sound on the go. Transform your car into an entertainment hub and enjoy crystal-clear audio while cruising down the road.
Sort










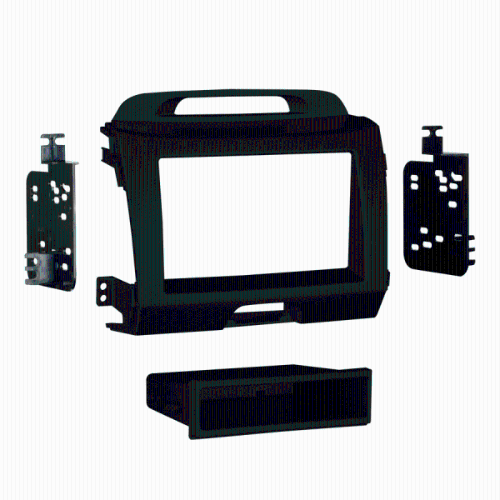


Compatibility matters when upgrading your vehicle’s audio system
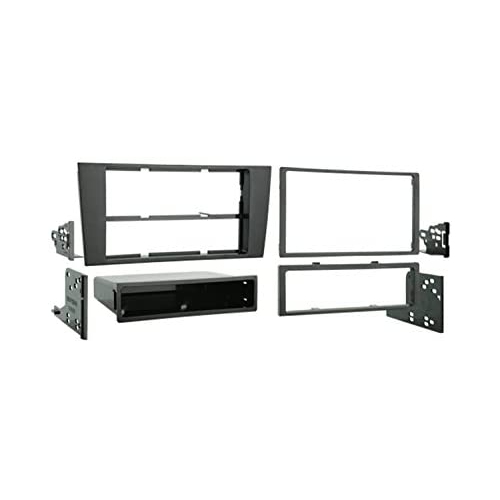
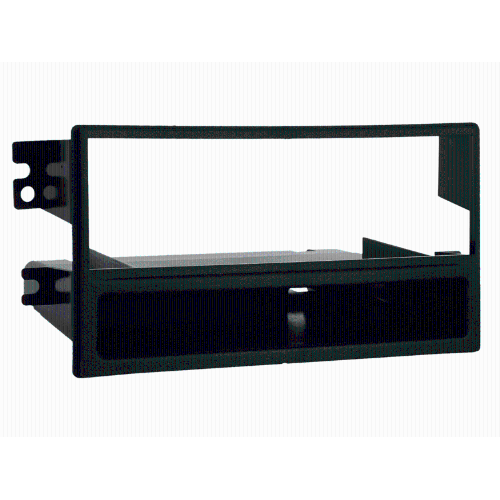
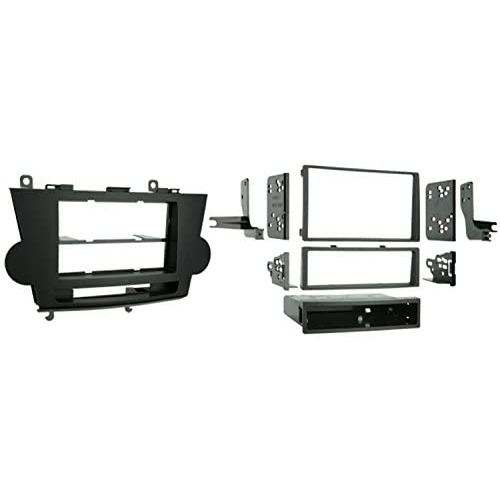
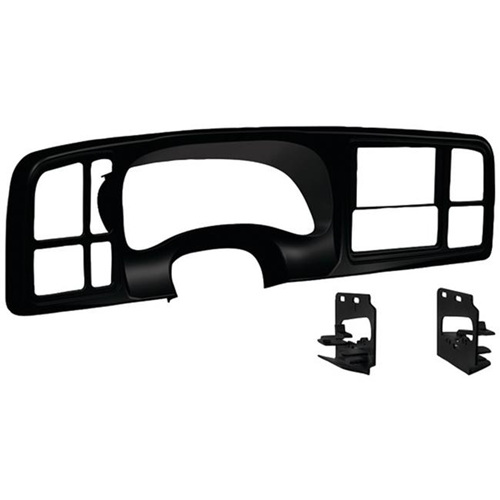
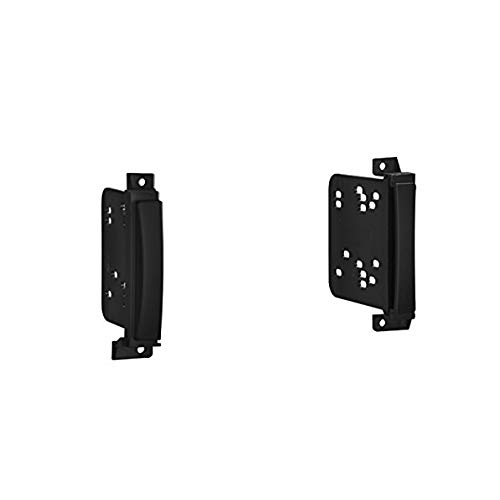
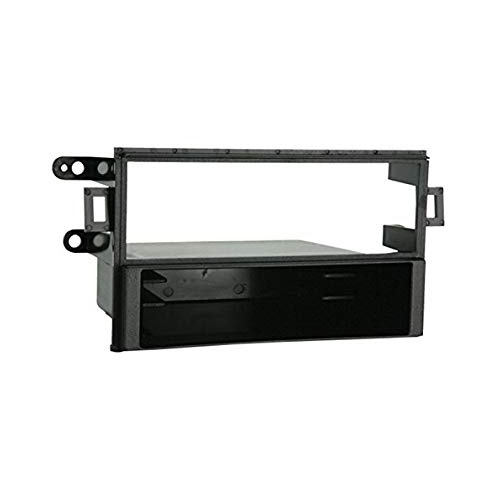
Car audio installation kits provide the practical connection points and mounting hardware needed to upgrade a vehicle’s sound system while preserving a neat, dependable fit. The right kit depends on the part being replaced and the vehicle receiving it, so begin with the vehicle’s year, make, model and factory audio configuration. A dash kit is designed to fill the opening left when a factory stereo is removed, helping an aftermarket receiver sit securely and blend with the surrounding dashboard. Many vehicles use an unusual opening, while aftermarket receivers commonly follow single-DIN dimensions of approximately 2 inches in height or double-DIN dimensions of approximately 4 inches. A vehicle-specific dash kit can account for the contours, mounting points and trim colour around that opening, while a universal solution may be useful when the installation has more flexible requirements. Wiring harnesses are equally important because they connect the new receiver to the vehicle’s original wiring without requiring factory wires to be cut or spliced. Depending on the vehicle and receiver, an installation may also require an antenna adapter, steering wheel control interface, camera retention interface or other integration component. These details can determine whether features such as steering wheel audio controls, a factory backup camera, an auxiliary input, a built-in amplifier or warning chimes continue to work after the upgrade. Checking the vehicle compatibility information for every part before ordering helps prevent a frustrating situation in which the receiver fits the dash but cannot communicate properly with the rest of the vehicle. It is also useful to compare the kit with the receiver’s wiring diagram and installation requirements, particularly when replacing a factory system that includes multiple modules or premium audio equipment.
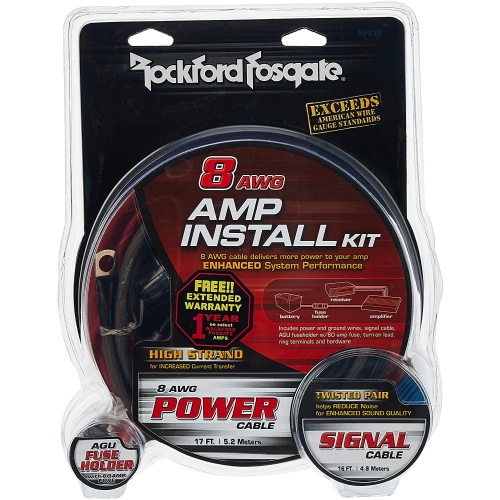
Speaker installation kits are intended to make replacement speakers fit factory door, dash or rear-deck locations with the correct positioning and a more secure connection. Adapter brackets can compensate for differences in speaker shape, mounting depth and bolt spacing, while wire connectors can make it easier to attach new speakers to the vehicle’s existing wiring. Foam gasket material or sealing tape can help close small gaps between the speaker and mounting surface, reducing unwanted vibration and helping more of the speaker’s sound move into the cabin rather than into the door cavity. Before selecting a speaker kit, check the factory speaker location, the replacement speaker size, the available mounting depth and the clearance around the window mechanism or door panel. A speaker that appears to match by diameter may still require a different bracket or may sit too far forward once the door panel is reinstalled. Amplifier installation requires a different type of preparation. An amplifier wiring kit typically brings together power cable, ground cable, remote turn-on wire, signal connections, a fuse holder and the required terminals or connectors. Cable gauge should suit the amplifier’s power demand and the length of the run, and the main fuse should be installed close to the battery so the power cable is protected along its route through the vehicle. The ground connection should be made to clean, bare metal, with the cable kept as short and secure as practical. Signal and power cables may need to be routed separately to help reduce noise, while all wiring should be kept away from sharp edges, pedals, hinges and areas that become hot. For a dedicated selection of power, signal and connection components, browse Car Audio Amplifier Wiring Kits.
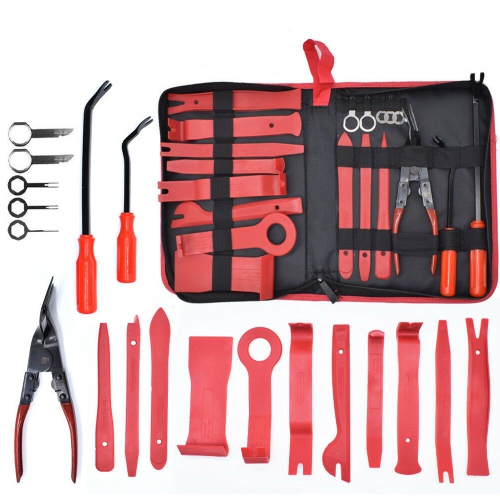
Car audio installation kits can be useful for drivers refreshing an older vehicle, improving sound in a daily commute vehicle or preparing a new receiver and speakers for long drives during the cooler months. They can also make a thoughtful gift for someone who enjoys hands-on vehicle projects, listens to music or podcasts on the road, or has been planning an audio upgrade but needs the supporting hardware to complete it. A kit is not usually a universal, one-size-fits-all purchase, so the most helpful gift approach is to confirm the recipient’s vehicle details and the exact component they intend to install before choosing. For a first-time installation, laying out every part on a clean work surface can make the process much less intimidating: match the harness wires to the receiver’s wiring, test the connections before reinstalling trim, and keep the original hardware together in case the vehicle needs to be returned to its factory configuration later. Disconnecting the vehicle battery before working on electrical connections is a sensible safety step, and any wiring that passes through a firewall should use an appropriate grommet or protected passage. Dash panels and door trim are often held by a combination of screws and clips, so patience matters; forcing a panel can leave marks or break a retaining clip. After installation, test each speaker, source, control and camera function before securing the final panels. Listen for distortion, intermittent sound, rattles or a change in balance between the front and rear speakers, and verify that the amplifier powers on and shuts down correctly with the vehicle. Selecting compatible dash mounting hardware, wiring harnesses, speaker adapters and amplifier connections creates a cleaner installation and makes it easier to enjoy a refreshed car audio system through changing road conditions and everyday travel.
Top selling and popular products
-
 Your price for this item is $378.94
-
 Your price for this item is $59.98
-
 Your price for this item is $399.99
-
 Your price for this item is $279.99
-
 Your price for this item is $47.35
-
 Your price for this item is $47.35
-
 Your price for this item is $107.36
-
 Your price for this item is $52.61
Discover more categories related to Car Audio Installation Kits

Top Collections:
Pokemon Centers, Kindle Devices, Best Budget Office Chairs, Canon G7X Cameras, Apple iPhones 16, Samsung Galaxy Phones, Refurbished Apple Laptops, Laptops for Students, iPhone 15 Apple, Budget Smartphones
Some products may be subject to Environmental Handling Fees
(EHF) depending on your province.
Learn more about EHFs.