DIY Neon Signs
Illuminate your space with the vibrant glow of DIY neon signs, a perfect blend of creativity and personalization. Whether you're looking to add a splash of color to your home decor or create a unique piece for an event, these customizable signs offer endless possibilities. With easy-to-use kits and a variety of colors to choose from, you can bring your vision to life and make a statement that truly shines. Ideal for any room or occasion, DIY neon signs are not just a decoration; they're an expression of your personal style. Transform ordinary spaces into extraordinary experiences with the captivating allure of neon lighting.
Sort
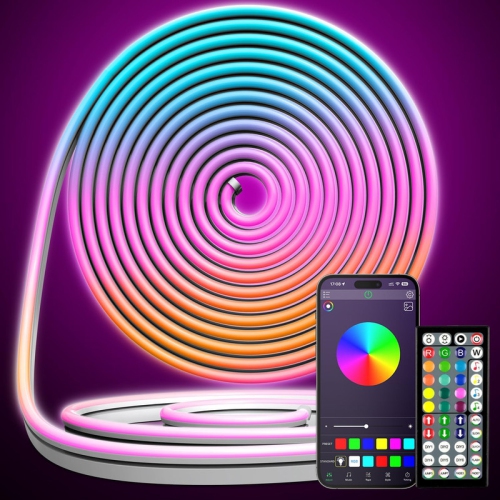
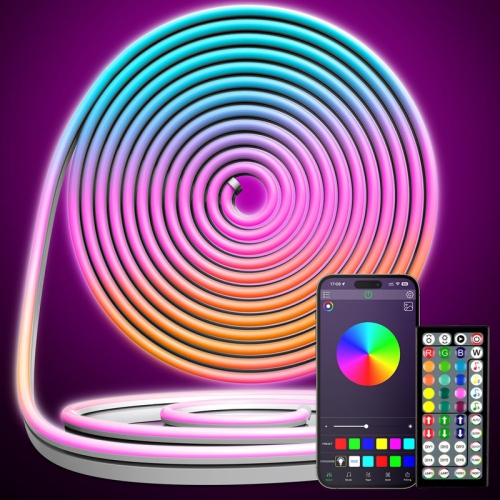
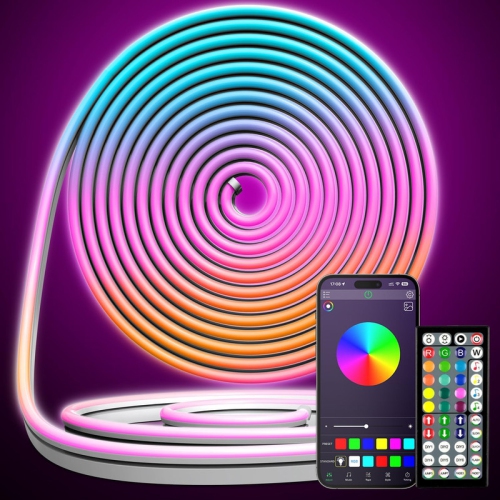
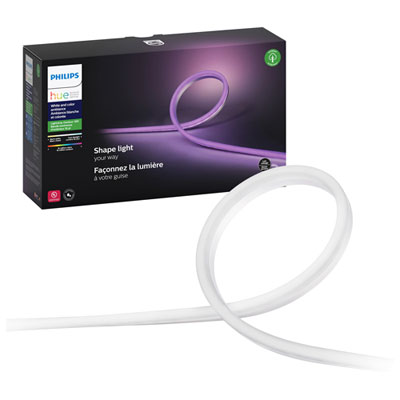






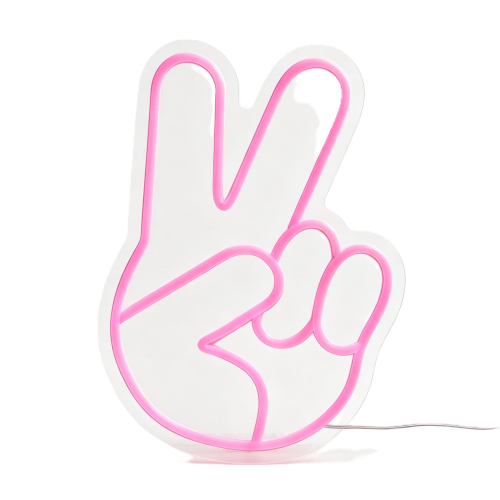

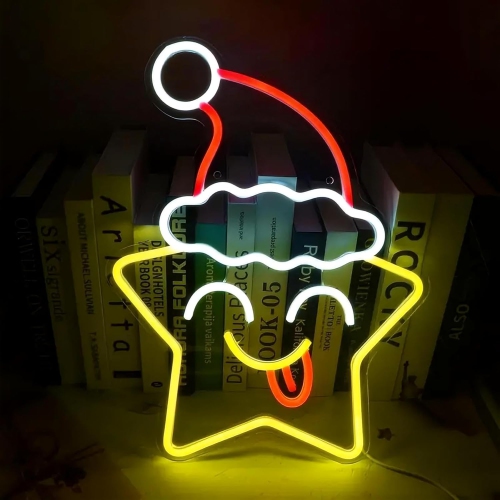
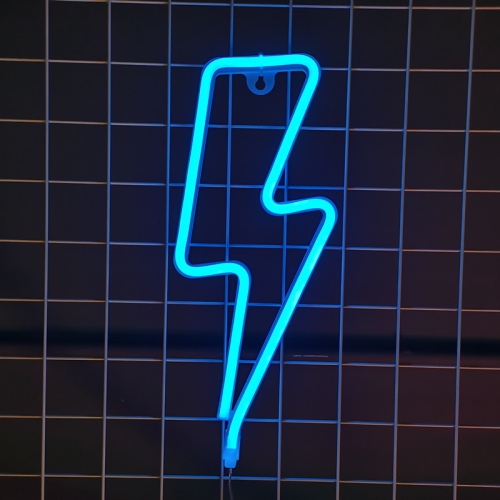



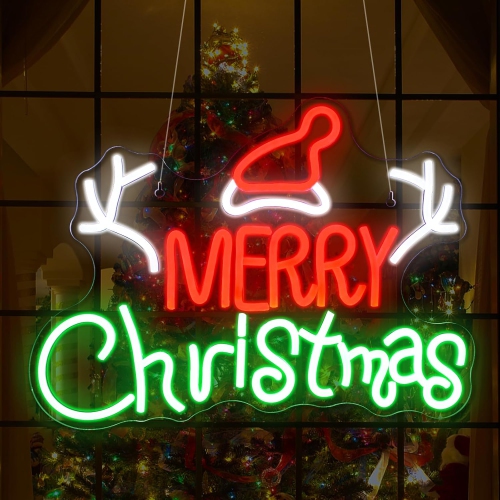
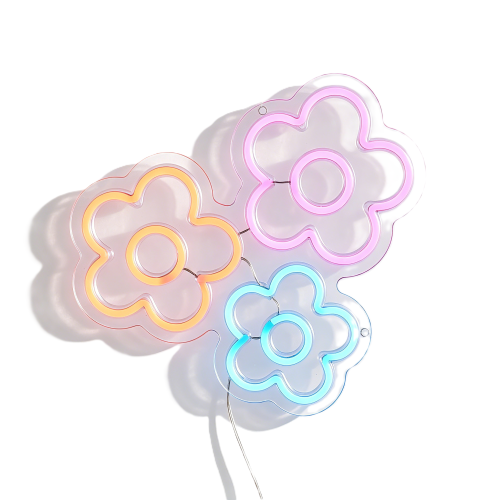
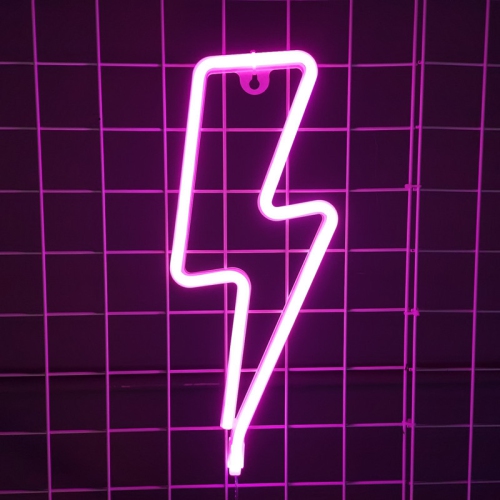


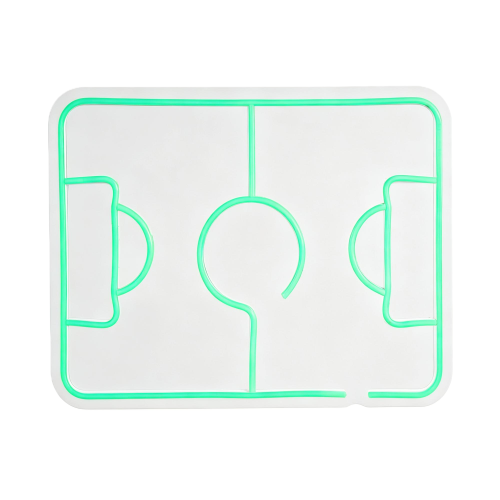


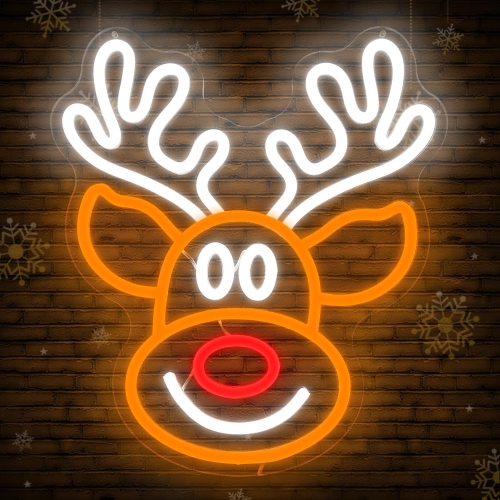

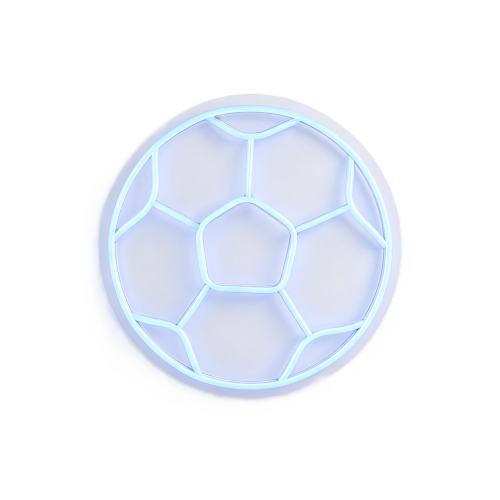
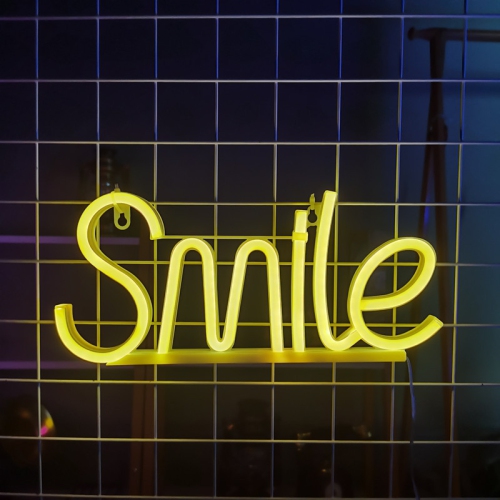
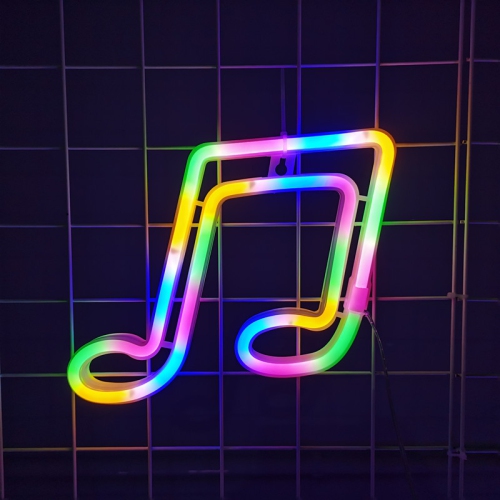

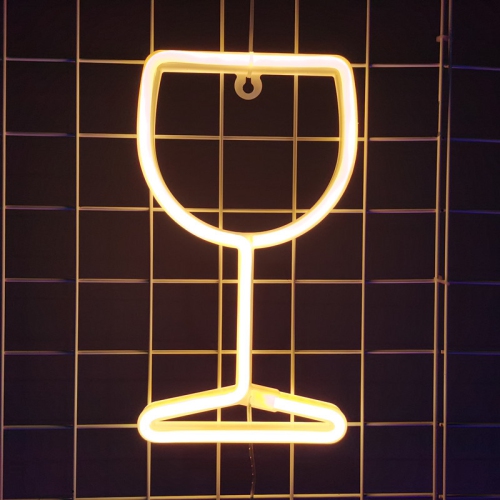

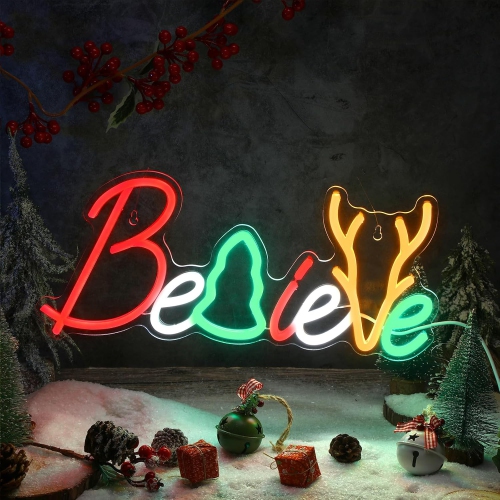
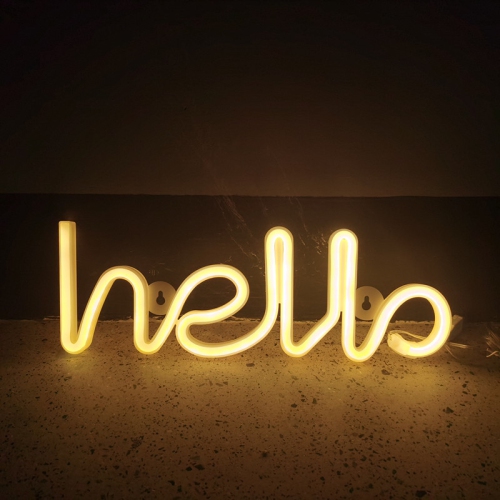
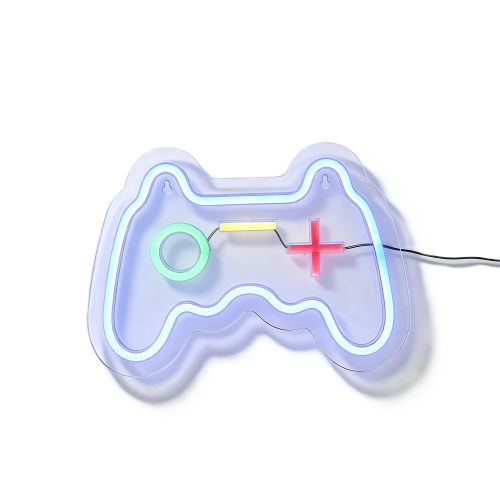


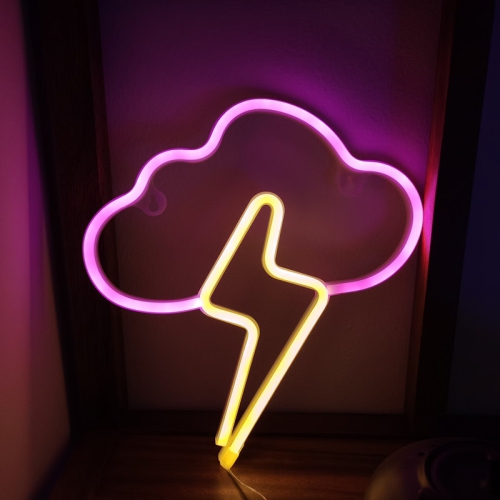


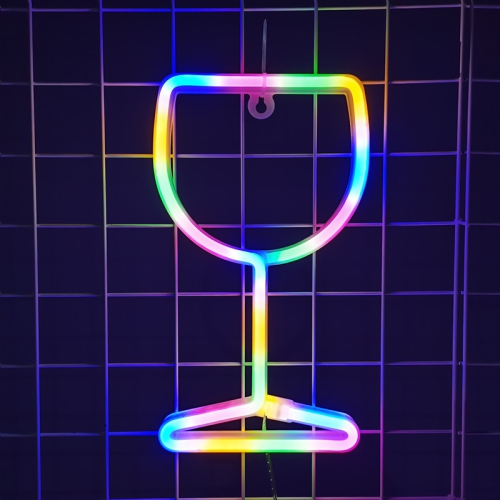
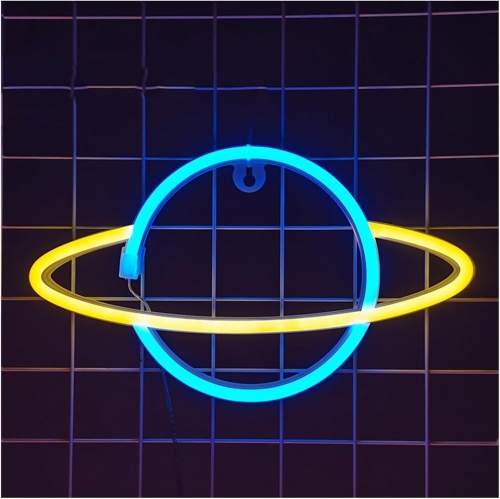
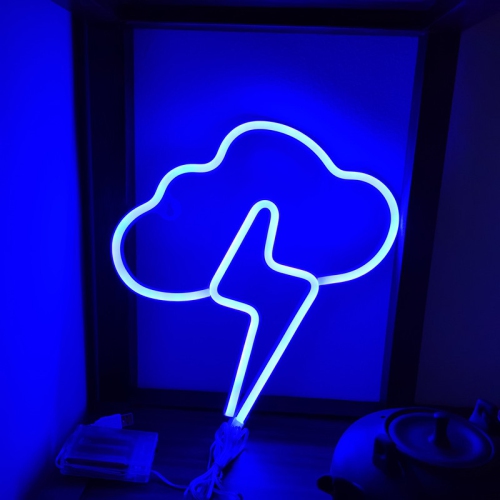


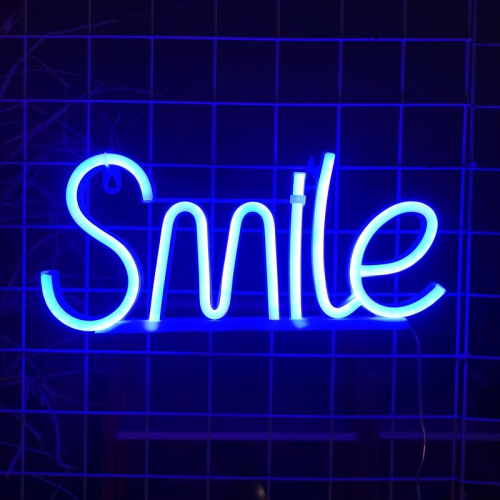


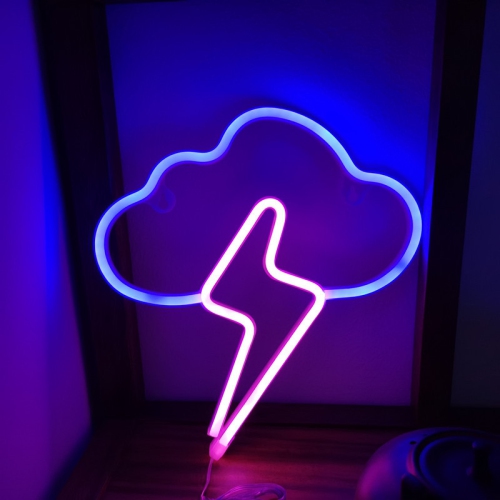
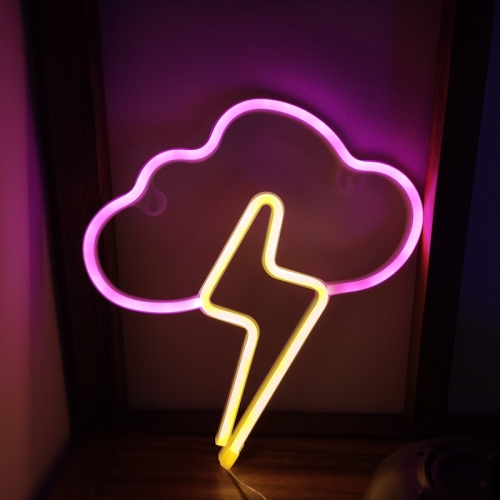
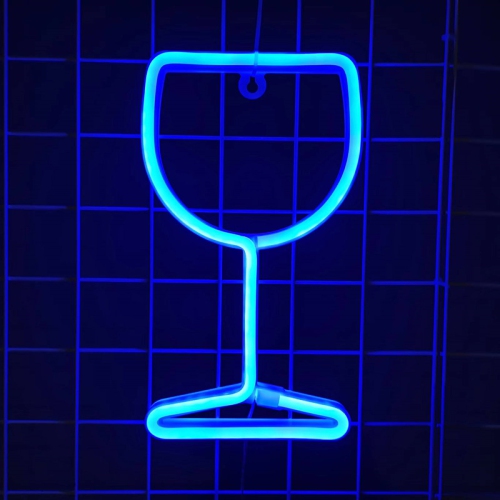


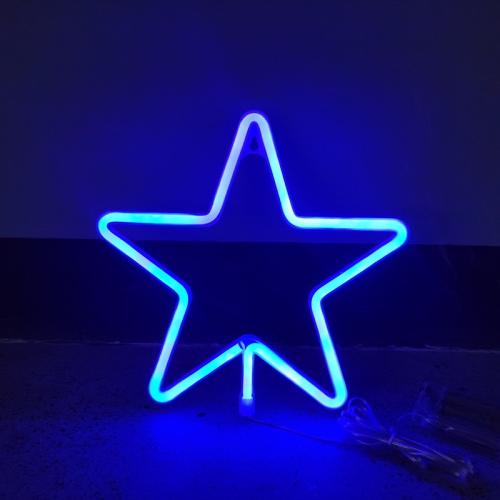


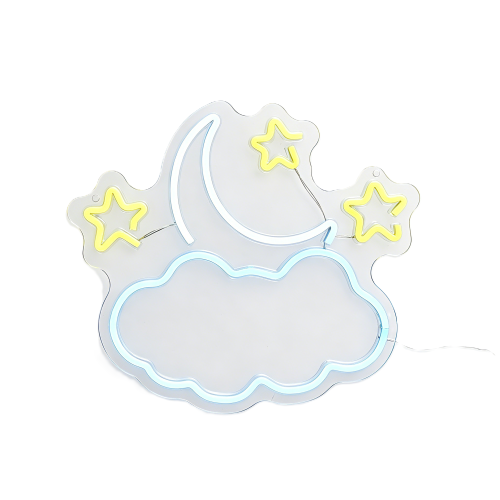

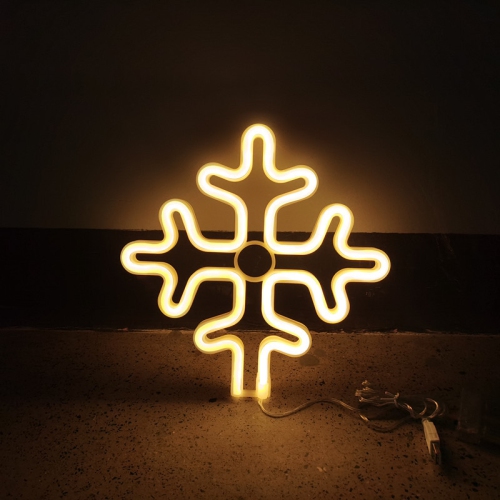


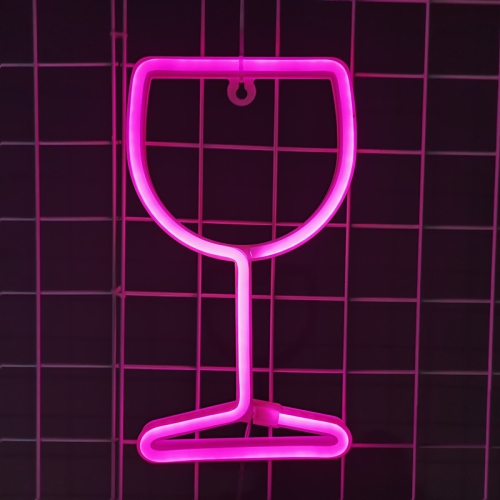


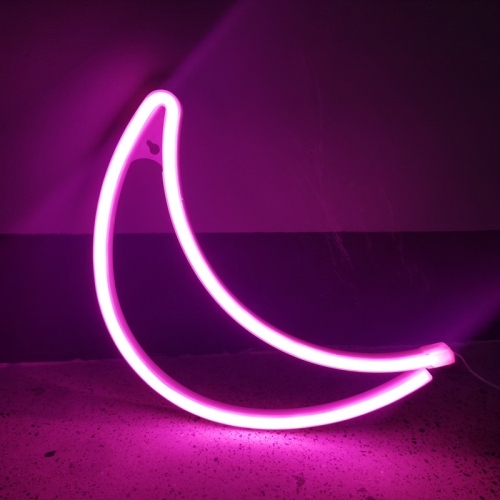

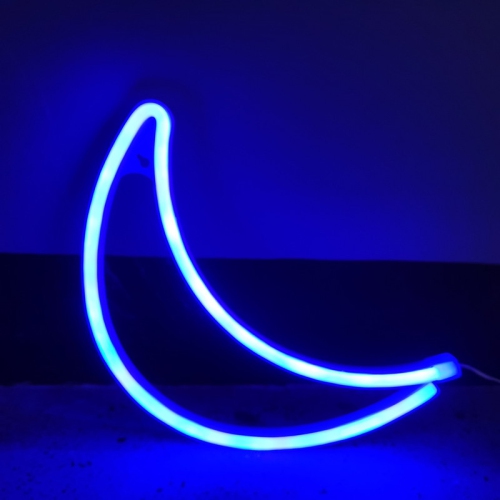

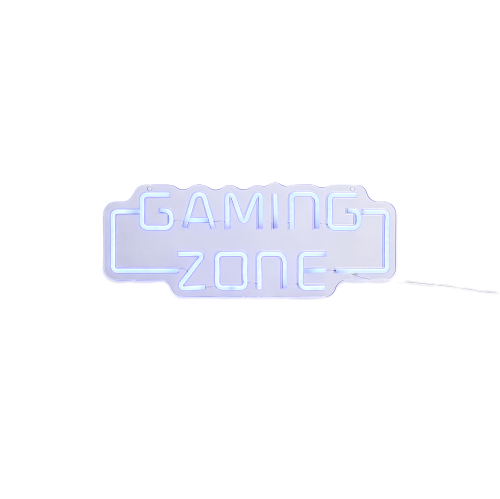
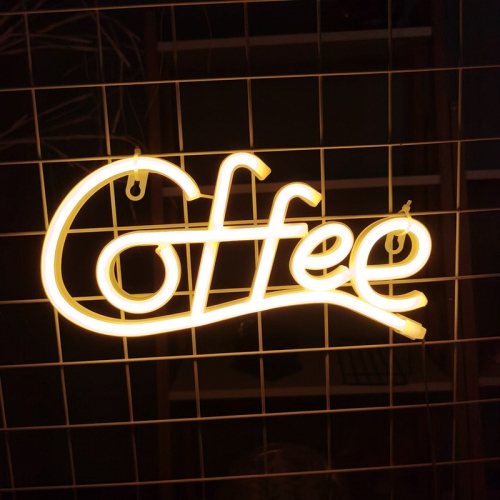



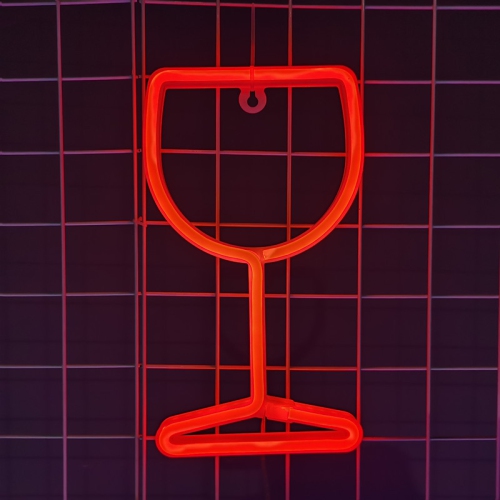



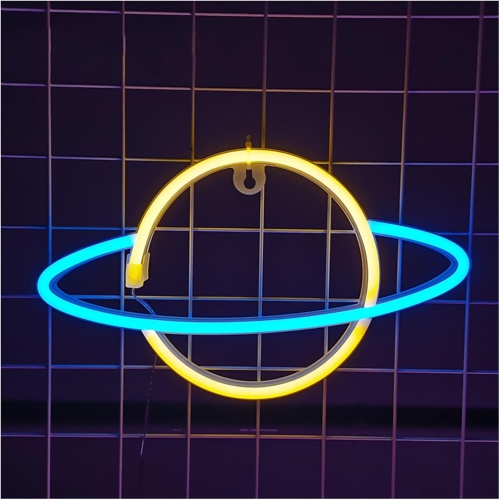
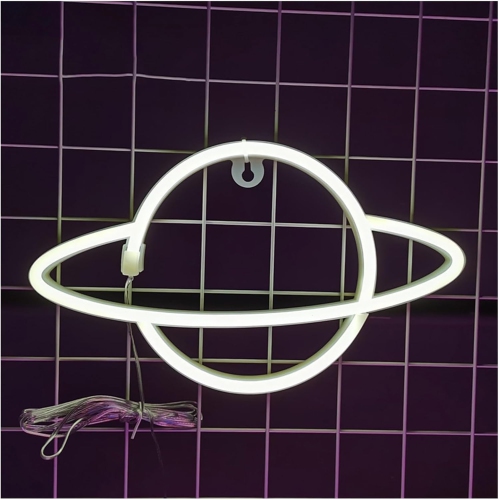

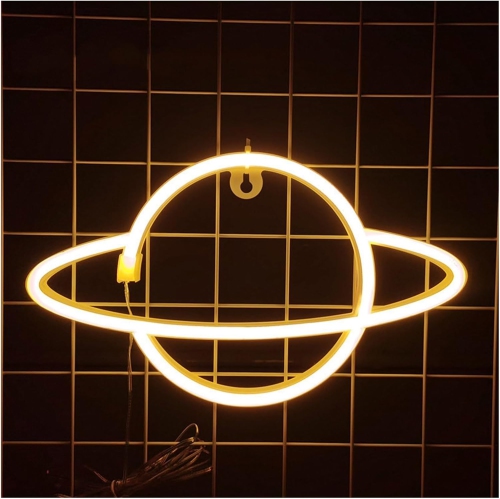
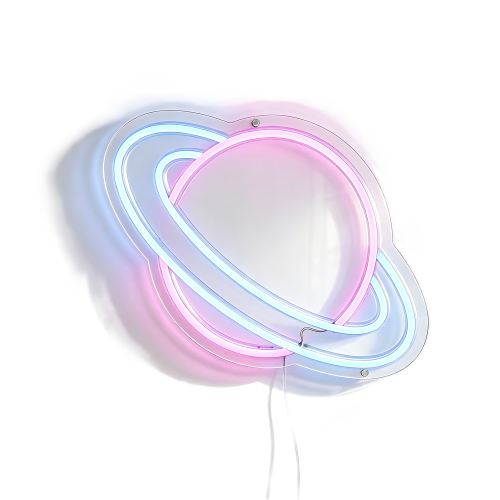


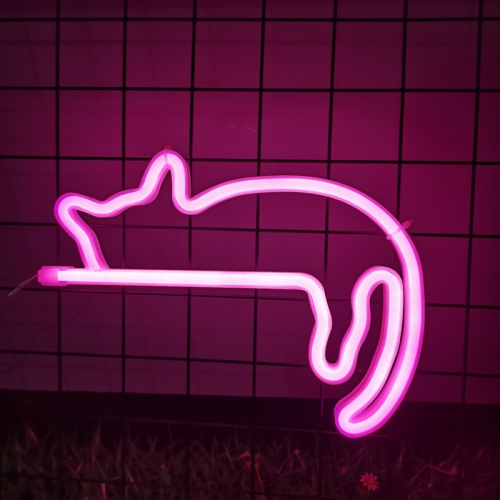


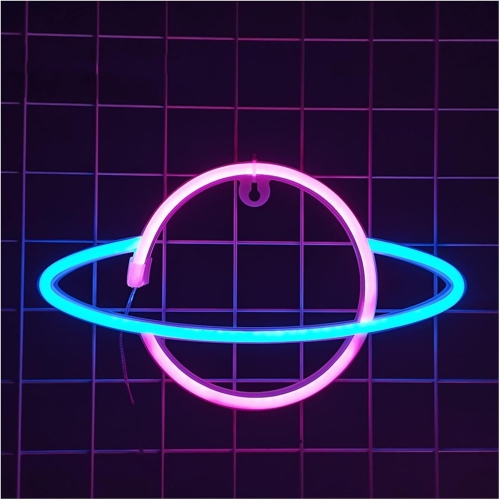

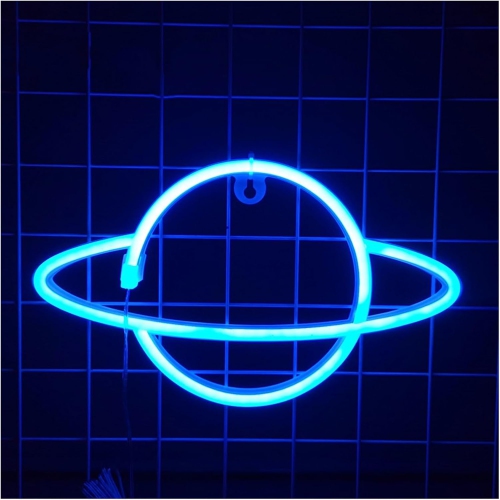

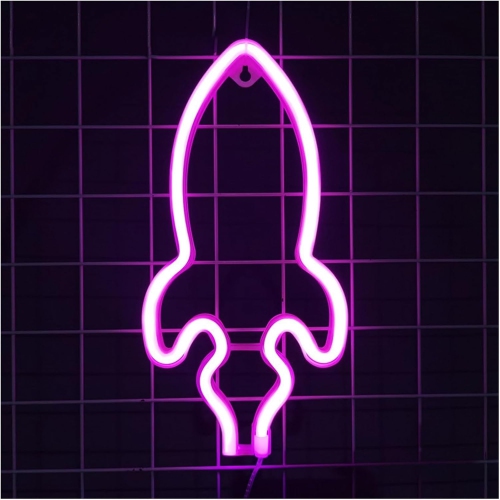
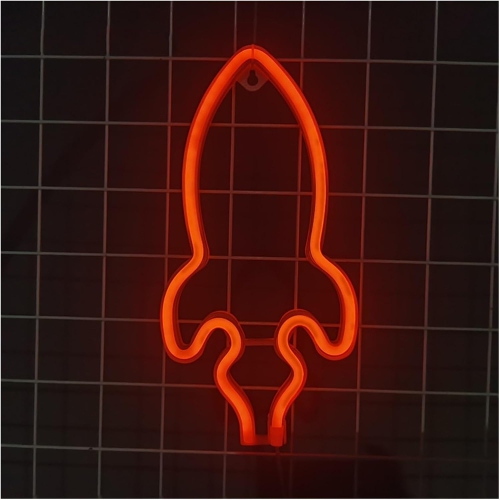
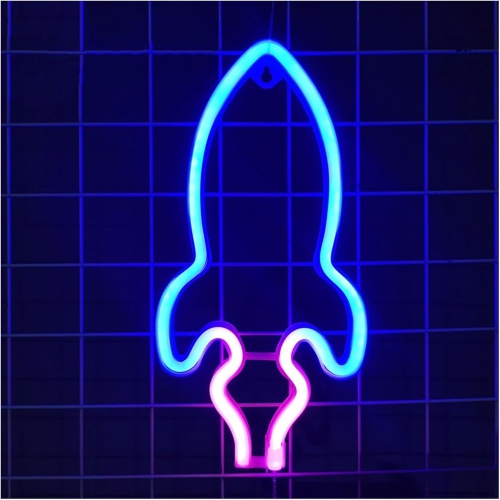
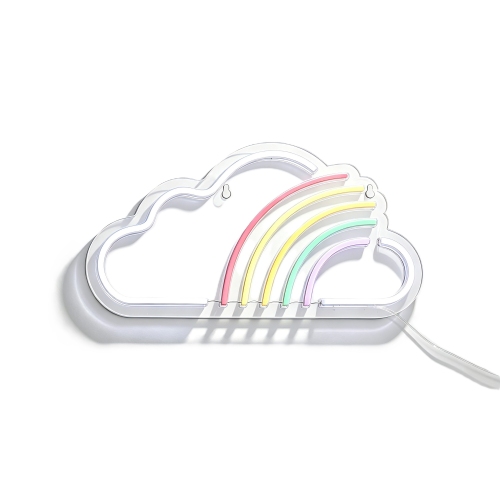
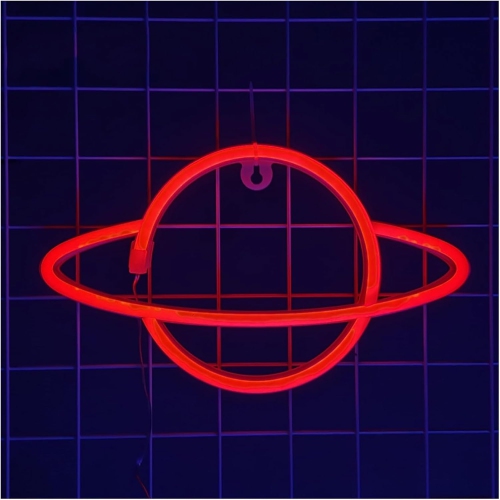


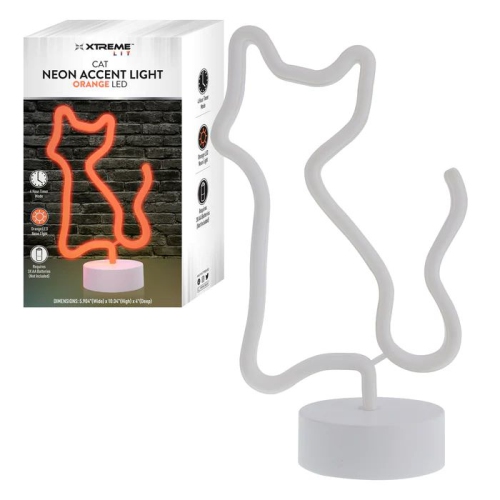
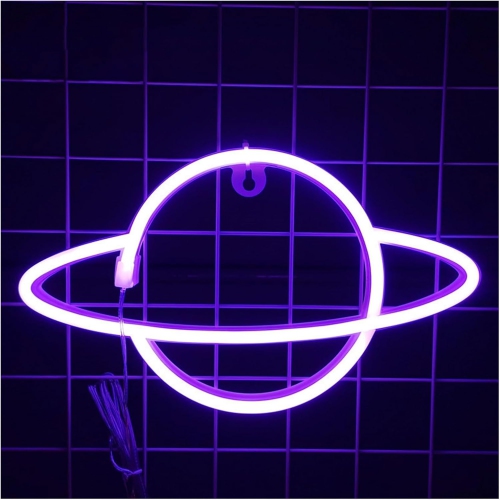


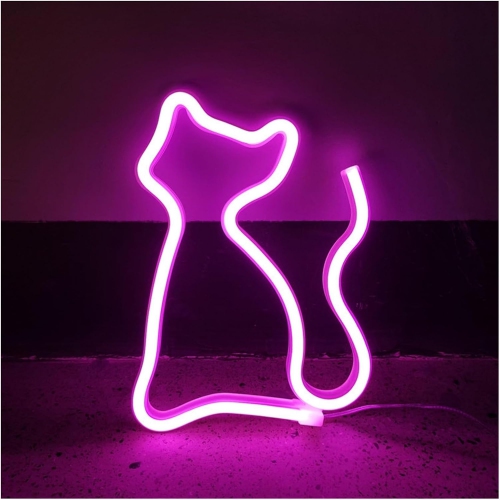
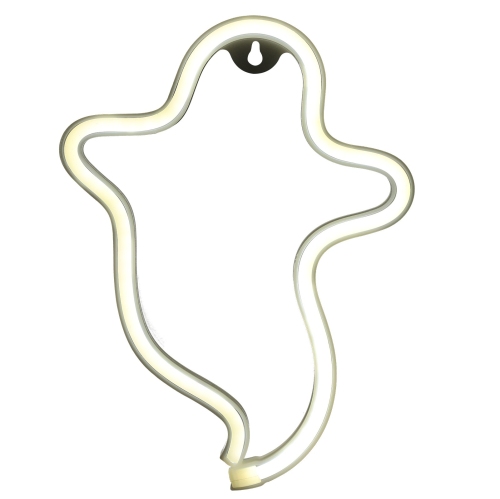
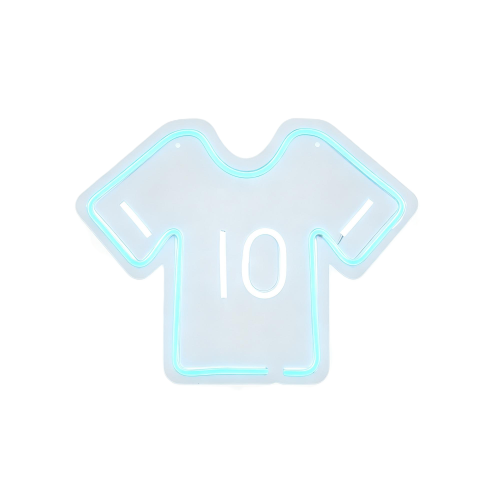




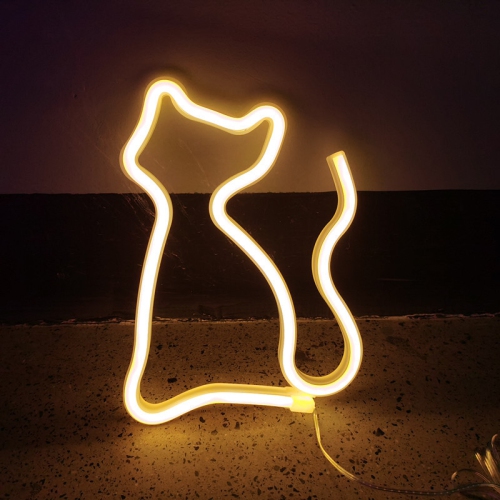

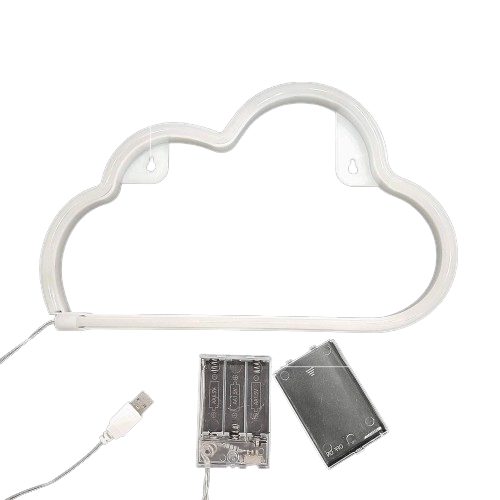
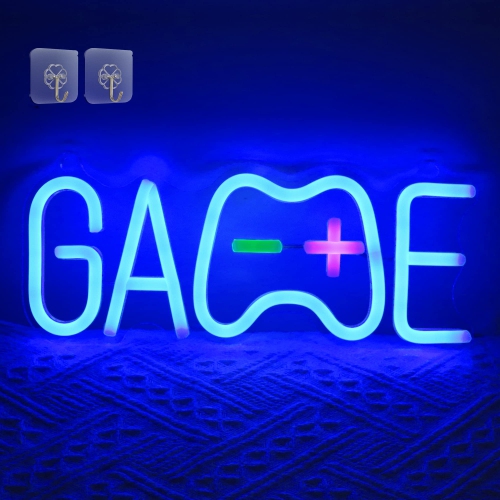


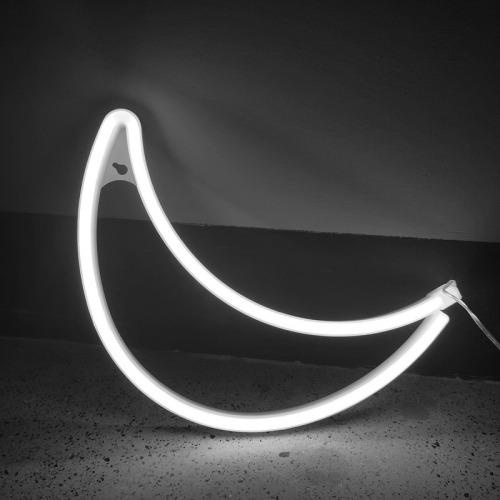
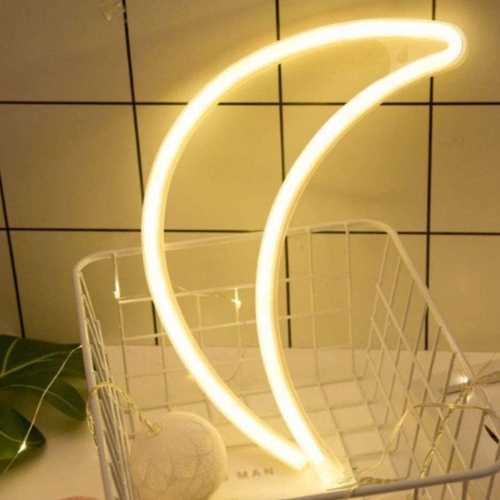


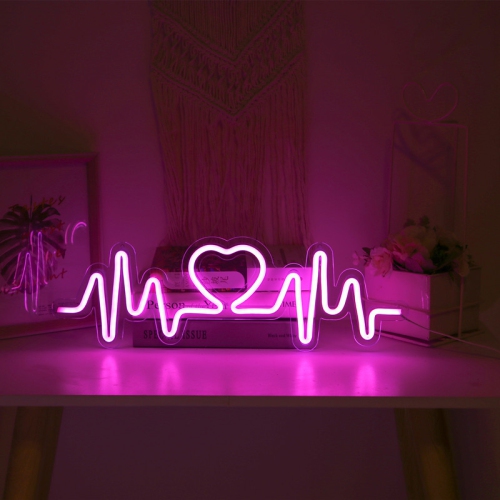
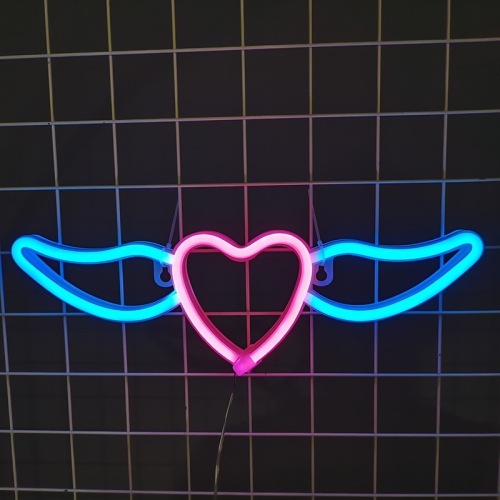
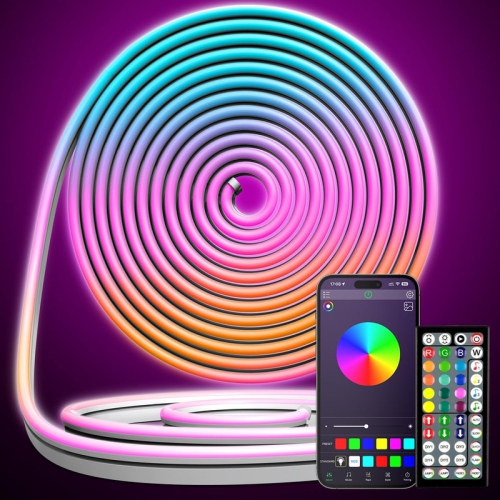
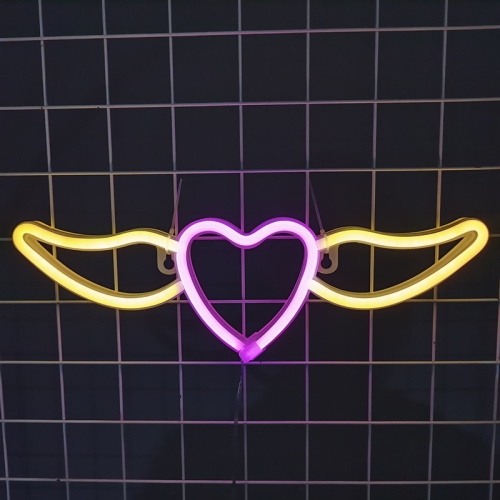


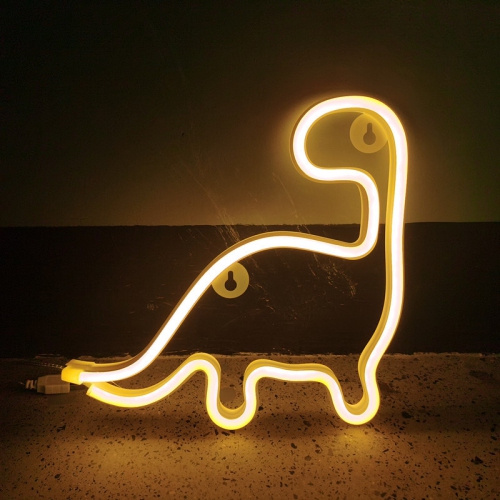
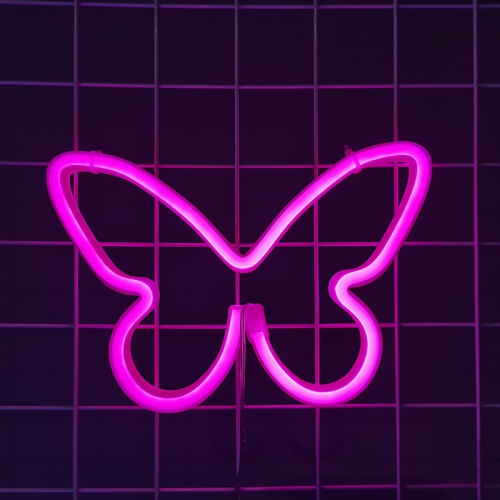







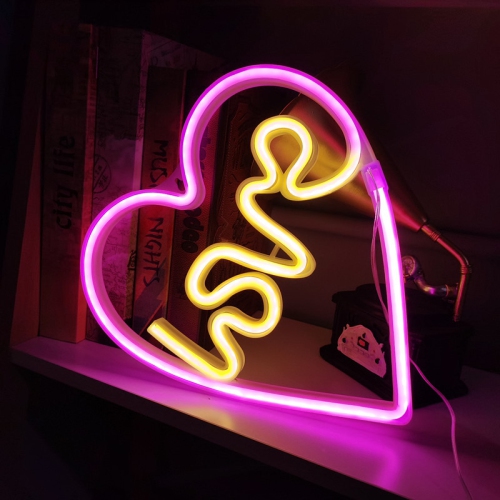
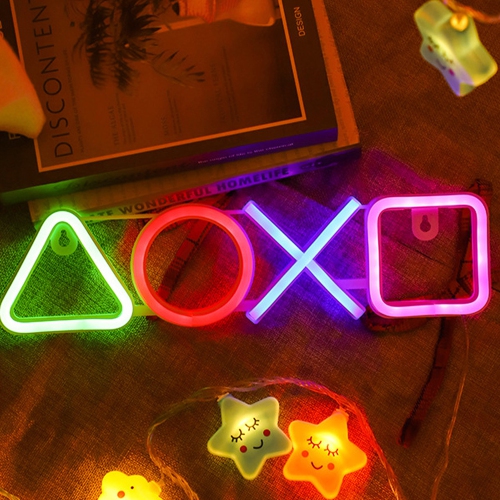

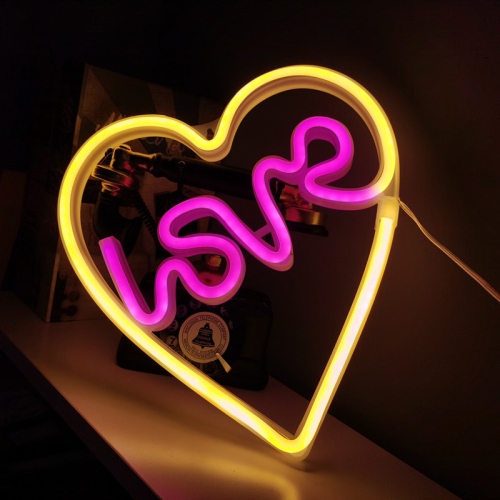
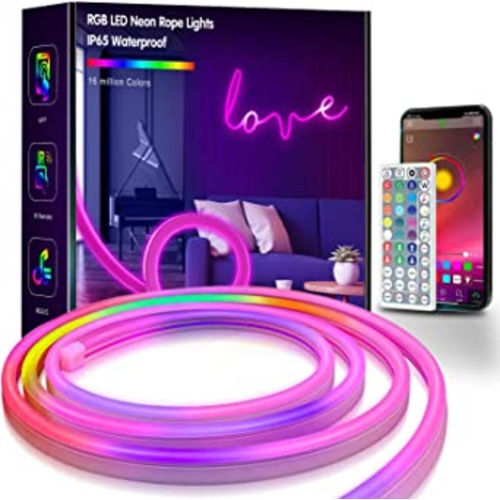

Flexible LED lighting brings personality to indoor spaces
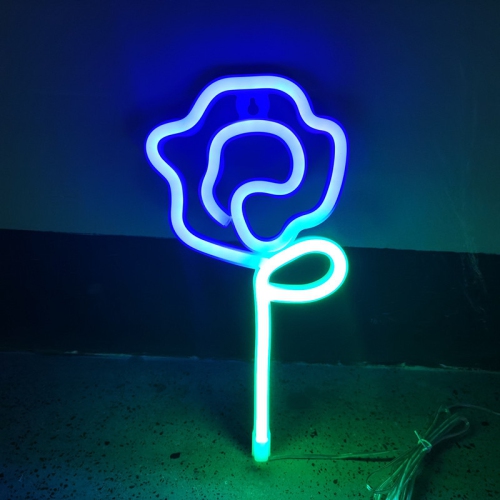
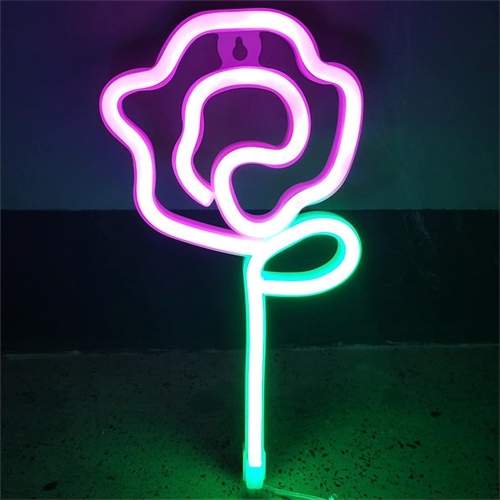
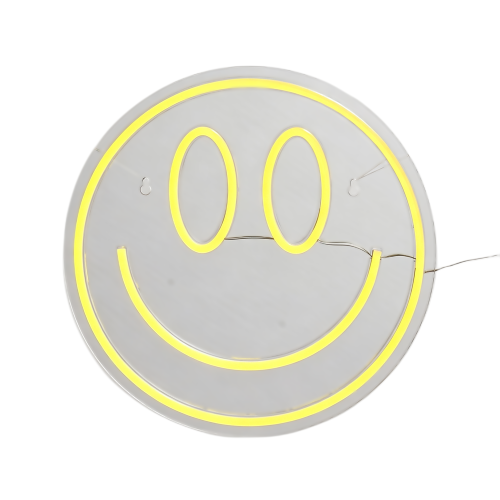
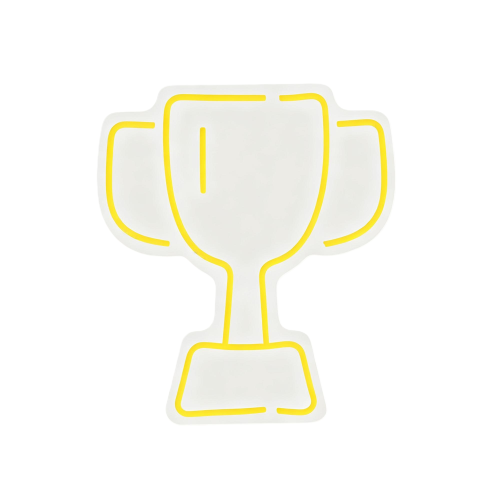
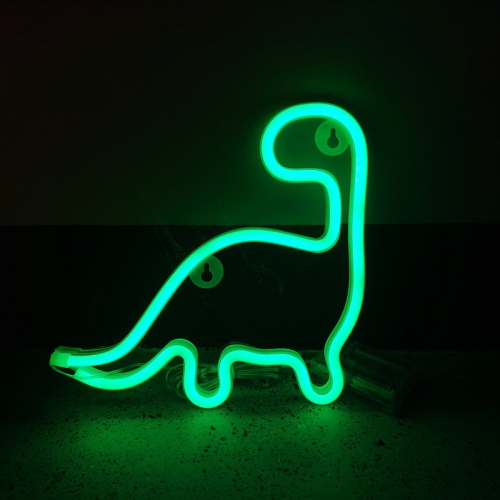
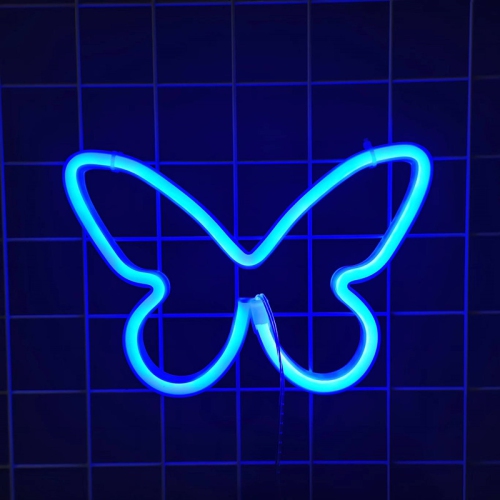
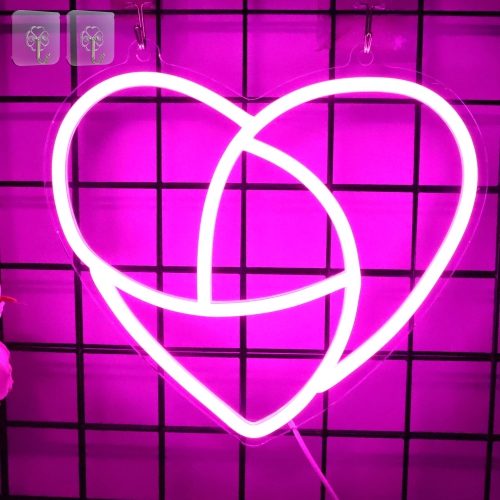
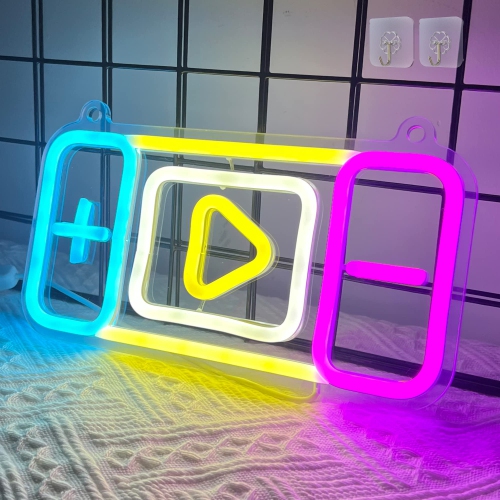
DIY neon signs bring a bright, expressive touch to a room without requiring the specialist equipment associated with traditional glass neon. Most modern projects use flexible LED neon rope or LED neon flex, which can be shaped into letters, simple outlines, symbols, and decorative motifs on a clear acrylic sheet or thin plywood backing. The result can be playful, polished, or completely personal, depending on the word, colour, and layout you choose. A short phrase can add character above a desk, while a bold outline can become a focal point in a games room, bedroom, home bar, creative studio, or entertainment area. For inspiration beyond a made-at-home project, browse Neon Art Signs to see how illuminated wall décor can complement different spaces. DIY neon sign materials are also thoughtful gifts for creative family members, students, crafters, and anyone who enjoys personalising their surroundings. They can make an engaging weekend activity for friends or older children working with adult supervision, especially when the design has a personal connection such as a nickname, favourite phrase, initial, or hobby-related shape. During the cooler months, a warm glow can make an indoor workspace or gathering area feel especially inviting, whether the sign is switched on for an evening project or used as a decorative accent during relaxed get-togethers.
When planning a DIY neon sign, begin with the intended location and measure the available wall, shelf, or tabletop area before choosing materials. A backing board gives the sign structure and makes it easier to mount, while clear acrylic can create a floating effect when the wall remains visible around the light. Thin plywood offers a more solid, crafted appearance and can be painted or finished to suit the room. LED neon flex is generally easier to handle than rigid lighting because it can follow gentle curves, but sharp corners may require careful planning and a layout that avoids forcing the light into tight bends. Sketch the design at full size on paper or use a pencil and dry-erase marker to map it directly onto the backing. This helps you estimate the length of lighting required, position letters evenly, and identify where the power lead will sit. Simple shapes and flowing lettering are often the easiest starting points; intricate designs may need more connection points, supports, or small gaps to keep the light path neat. Look for a kit or set that includes the core lighting components and check whether mounting clips, adhesive, a power adapter, a dimmer, or a battery compartment are included. Plug-in options are well suited to a permanent display near a wall outlet, whereas battery-powered designs can be placed on a shelf, moved between rooms, or used where cords would be difficult to conceal. If you want the sign to provide ambient light rather than a strong task light, adjustable brightness can help create a softer effect in the evening. Colour is another important consideration: a single vivid shade makes lettering easy to read, while a softer tone may blend more naturally with existing décor. Check the lighting length, backing dimensions, cable reach, and operating requirements together so the finished sign looks intentional rather than crowded or difficult to place.
A clean assembly process makes a noticeable difference to the final appearance. After marking the design, prepare the backing on a stable, protected work surface and follow the instructions supplied with the lighting. Acrylic may require a suitable plastic-cutting blade if you are shaping the panel, while plywood can call for a fine-tooth blade and light sanding around the edges. Strong adhesive or purpose-made mounting clips can hold the LED neon flex in position, but test the arrangement before securing anything permanently. Dry-fitting the sections lets you adjust spacing, check that the power lead is accessible, and make sure the design reads correctly when viewed from a few steps away. Apply adhesive sparingly and allow it to set fully according to the manufacturer’s directions; excess glue can show through clear backing and make corners look untidy. Keep the light path smooth, avoid pinching or sharply folding the flex, and leave enough room for ventilation around the power supply. For safety, use lighting and adapters rated for the intended indoor location, keep electrical connections away from moisture, and inspect cords for damage before use. A finished sign can be mounted with appropriate wall hardware, leaned securely against a wall, or displayed on a shelf if its backing is stable. Consider the viewing height as well: lettering mounted near eye level is easier to appreciate, while a small accent sign can sit above a console or beside a collection of décor. With thoughtful measurements, a clear layout, and the right combination of backing, LED neon lighting, adhesive or clips, and power options, a DIY neon sign can turn an ordinary corner into a vivid personal display that remains enjoyable through changing seasons.
Top selling and popular products
-
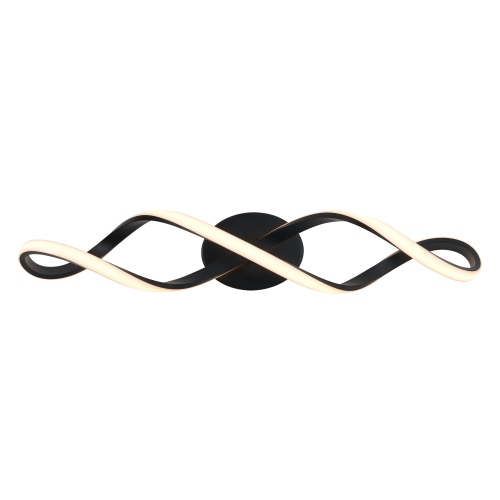 Your price for this item is $99.99
-
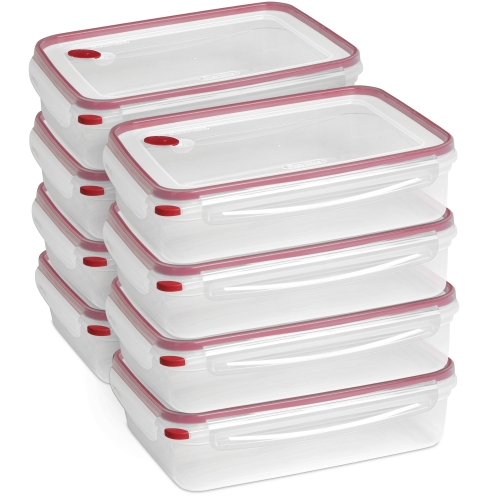 Your price for this item is $223.99
-
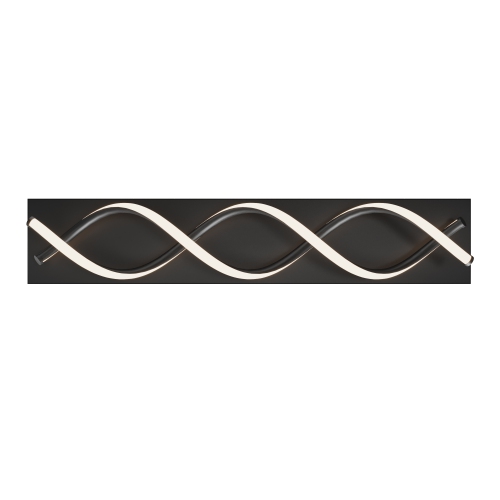 Your price for this item is $159
-
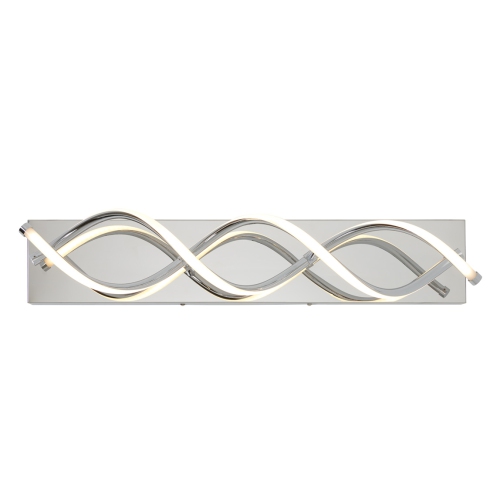 Your price for this item is $169.99
-
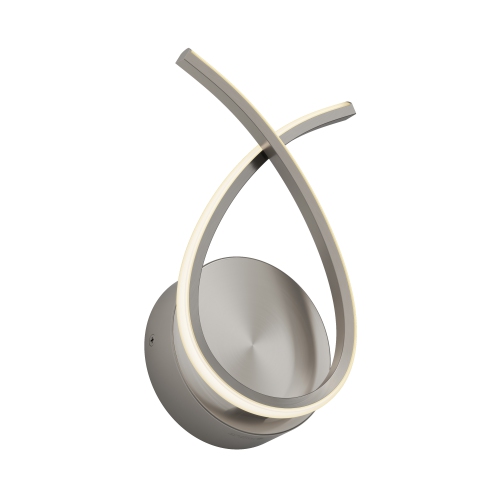 Your price for this item is $59.99
-
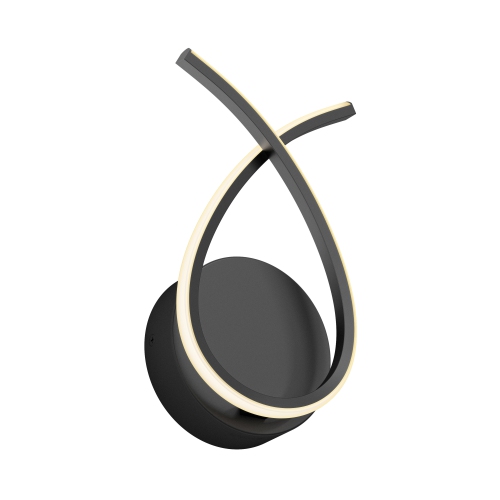 Your price for this item is $49.99
-
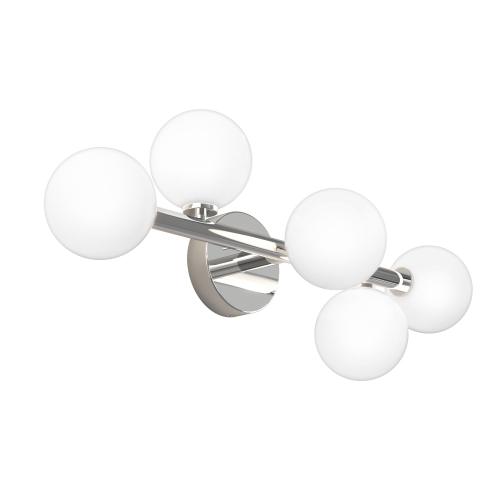 Your price for this item is $139
-
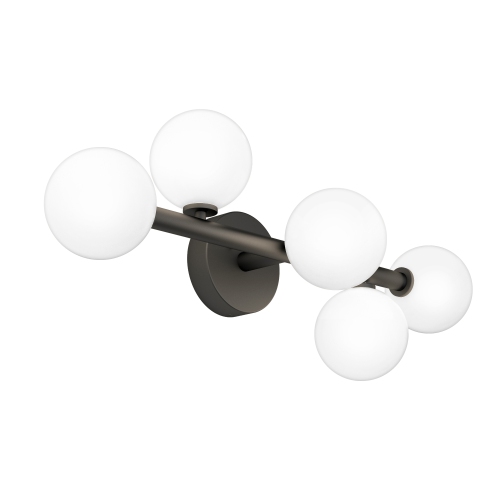 Your price for this item is $139
Discover more categories related to DIY Neon Signs
Top Collections:
Pokemon Centers, Best Cameras for Sports Photography, Kindle Devices, Samsung Galaxy Phones, Canon G7X Cameras, Pokémon 30th Celebration Cards, Refurbished Apple Laptops, iPhone 15 Apple, Laptops for Students, Budget Smartphones
Some products may be subject to Environmental Handling Fees
(EHF) depending on your province.
Learn more about EHFs.