Condenser Microphones for Vocals
Whether you're a professional musician, podcaster, or simply someone who loves to sing, a condenser microphone for vocals is an essential tool for capturing crystal-clear audio. Designed specifically for vocal recordings, these microphones are known for their sensitivity and ability to capture every nuance of your voice. With the right condenser microphone, you can take your vocal recordings to the next level and produce high-quality sound. Here are some great options available.
Sort

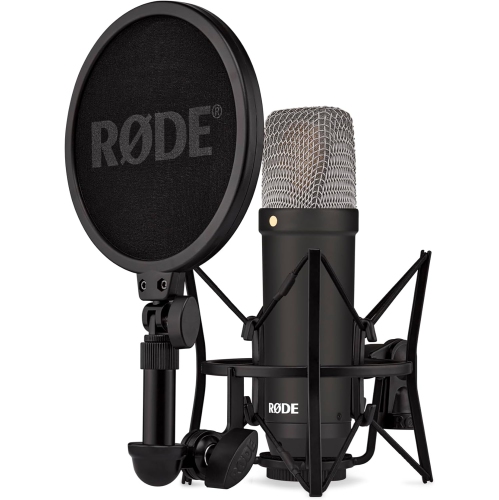


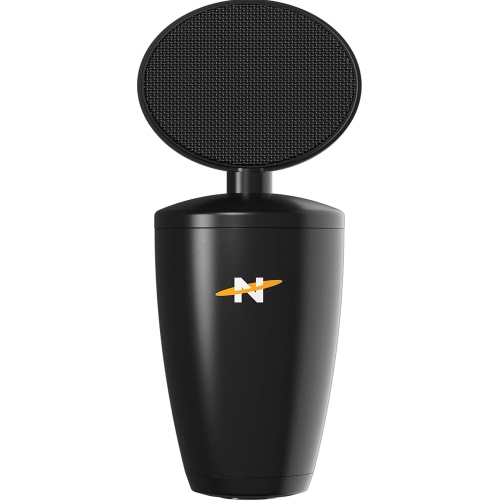


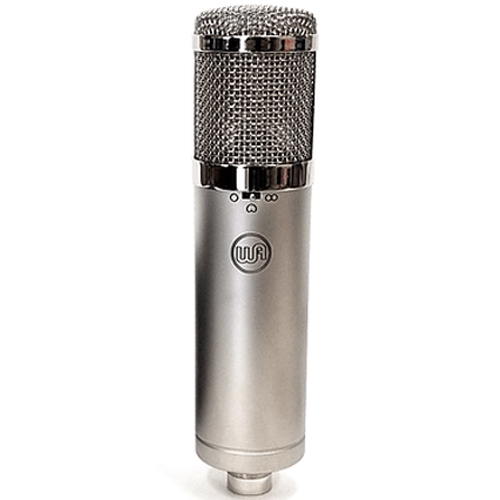
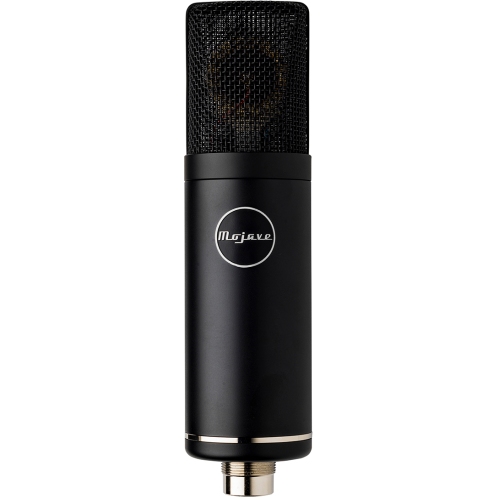




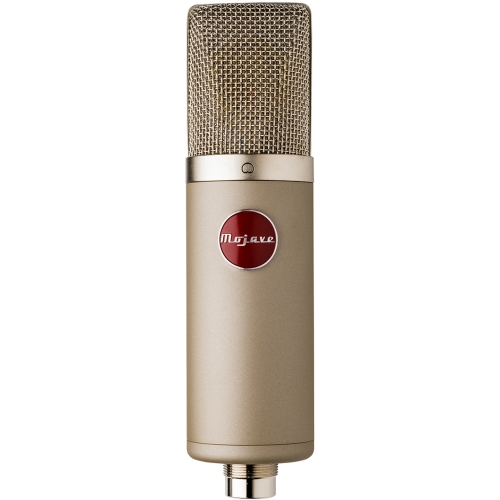
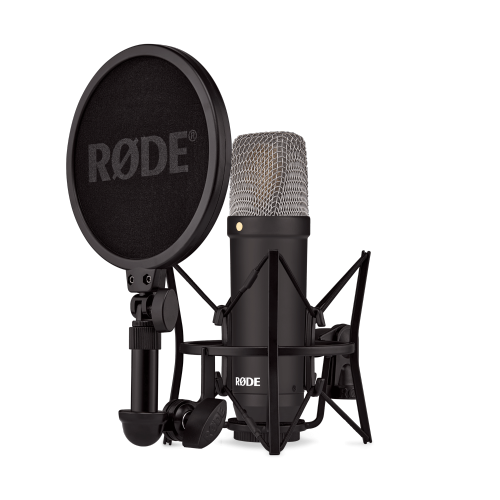
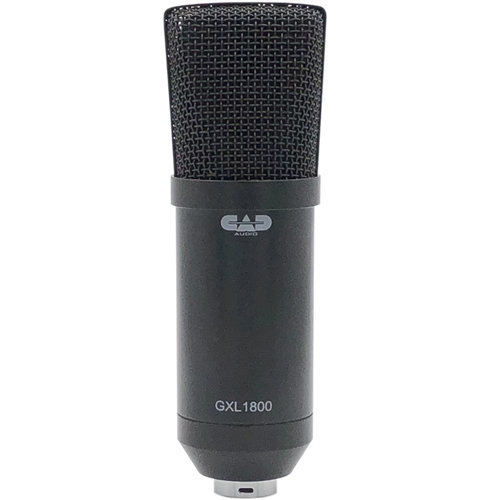

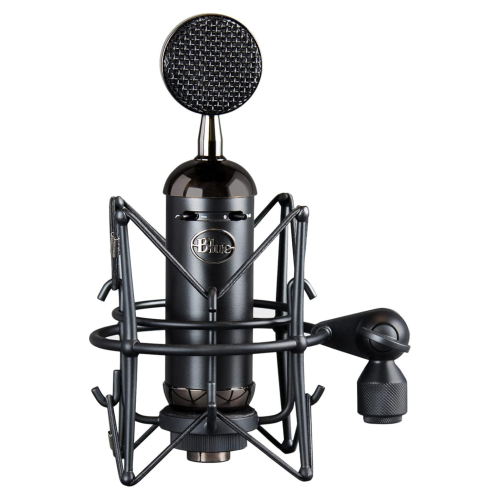



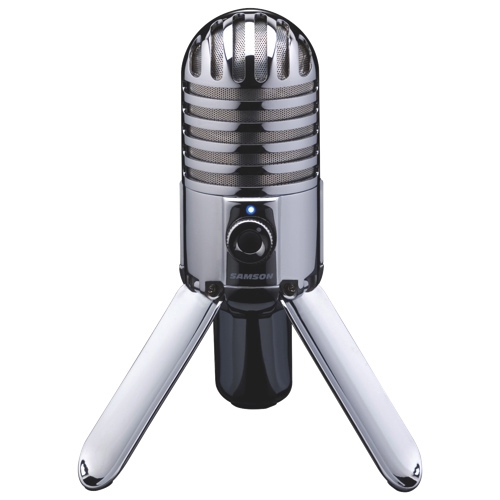
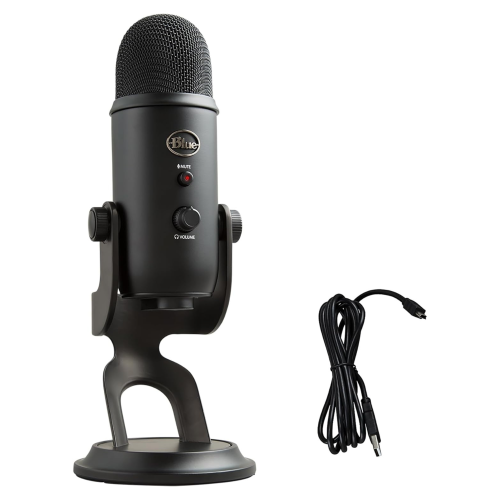

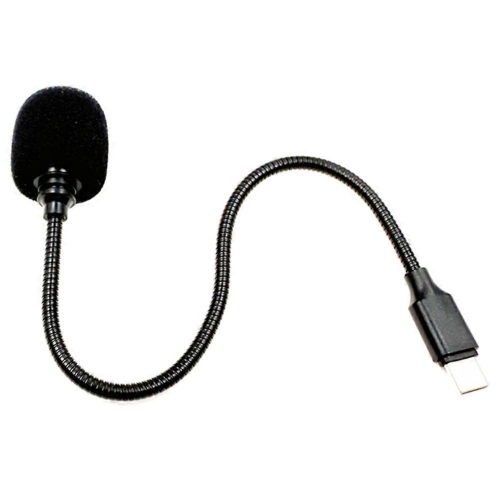

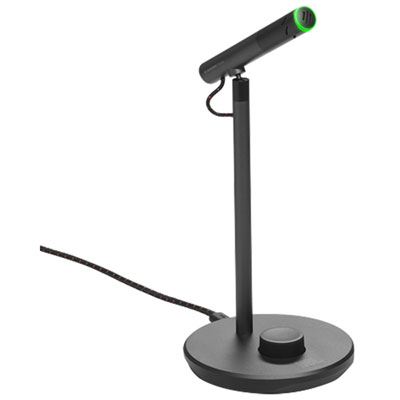


















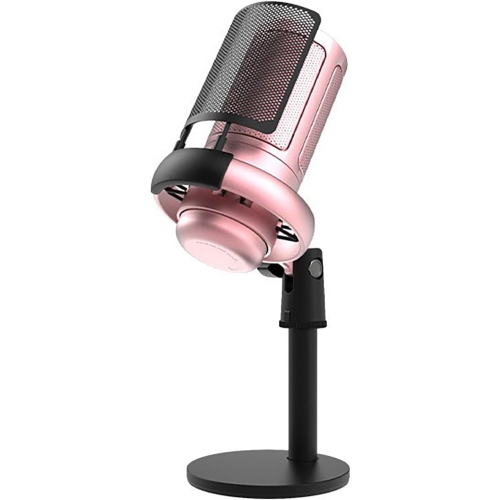


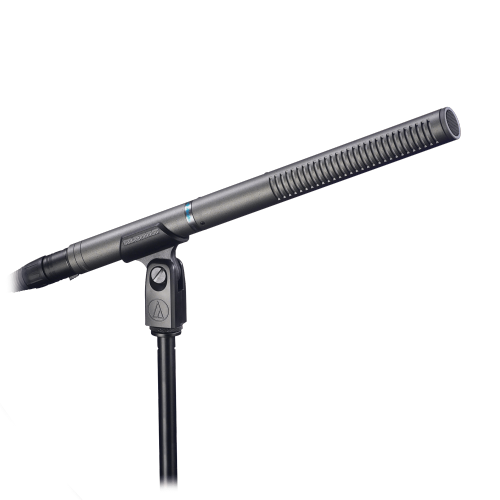

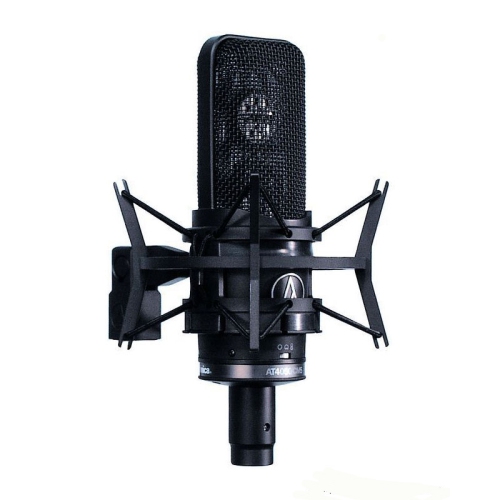
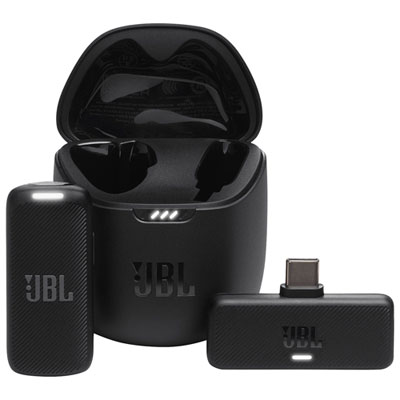




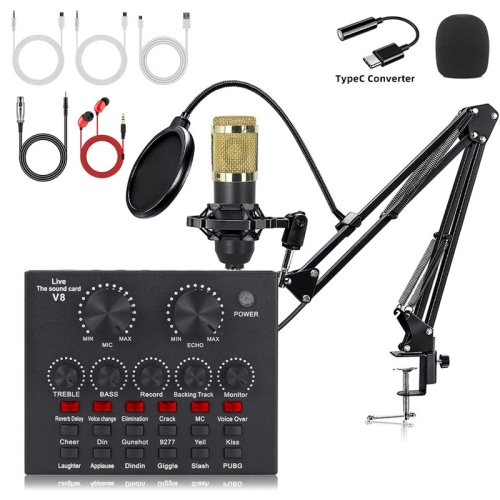
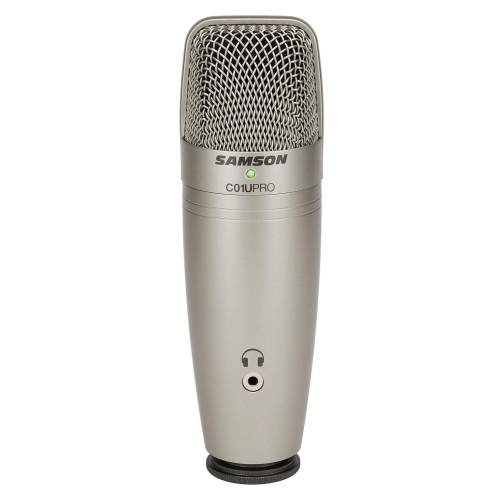

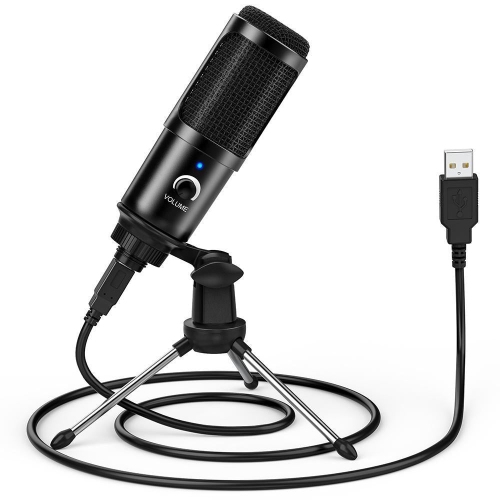
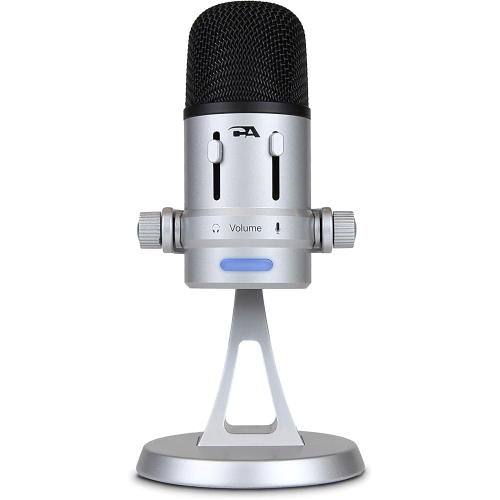


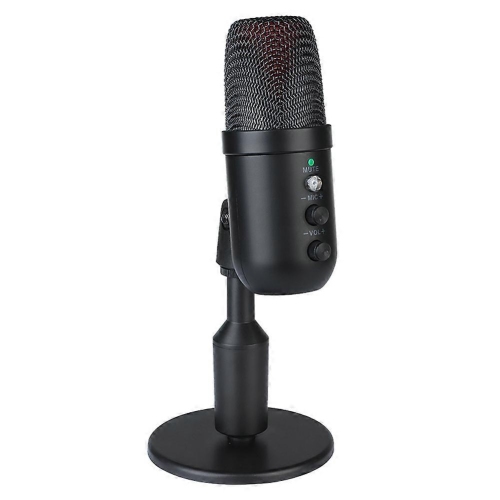

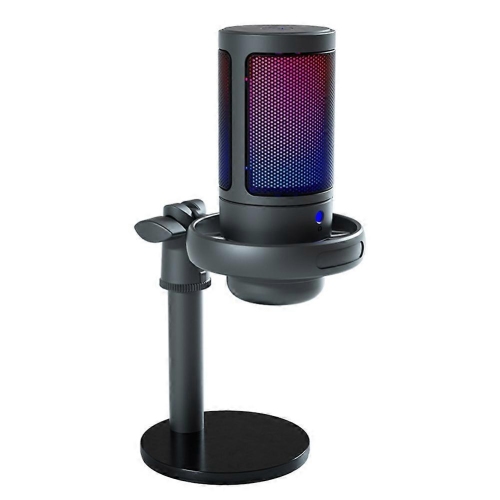
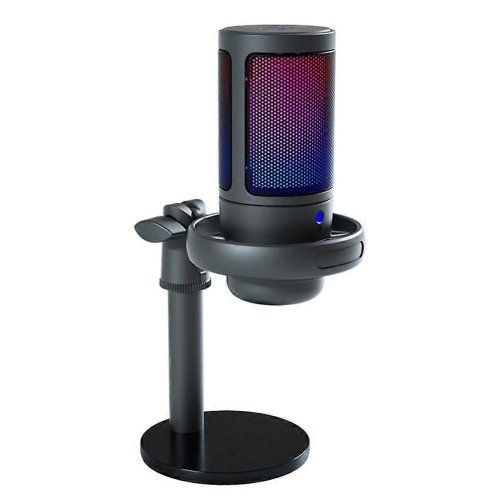

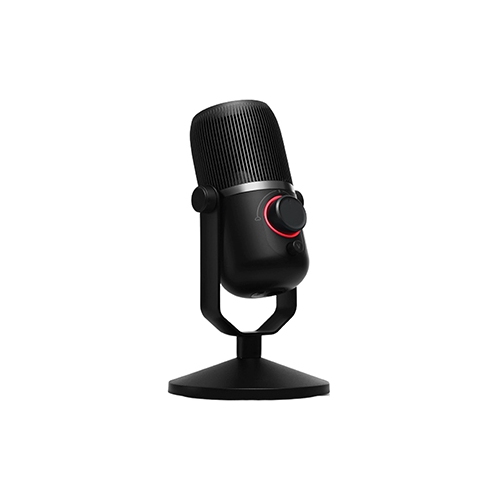
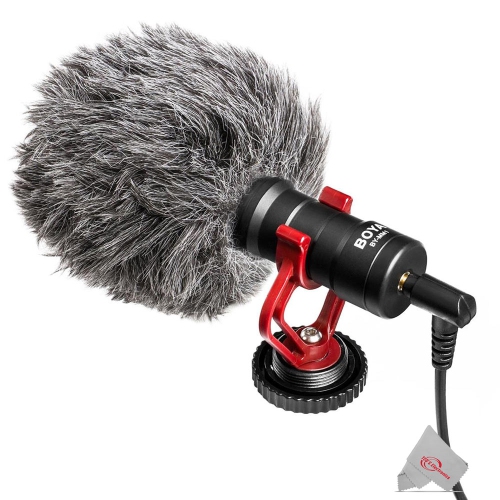
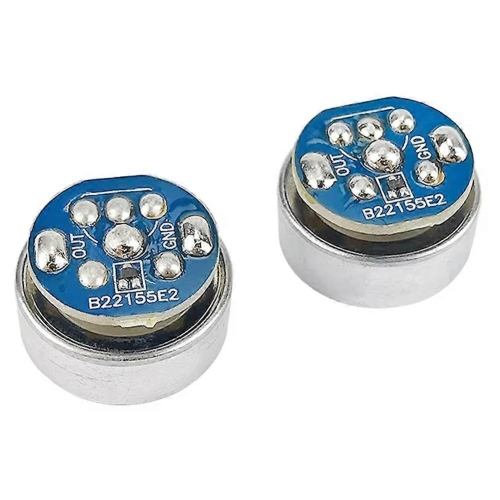
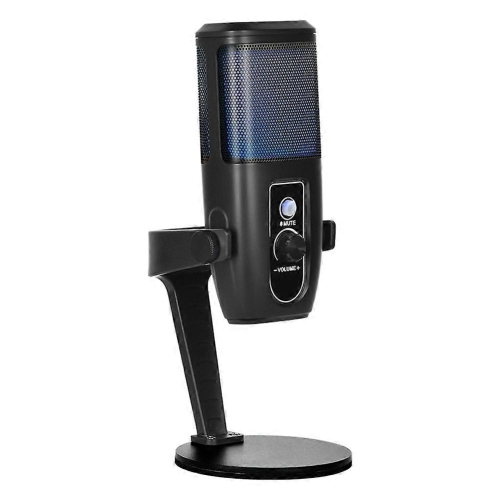
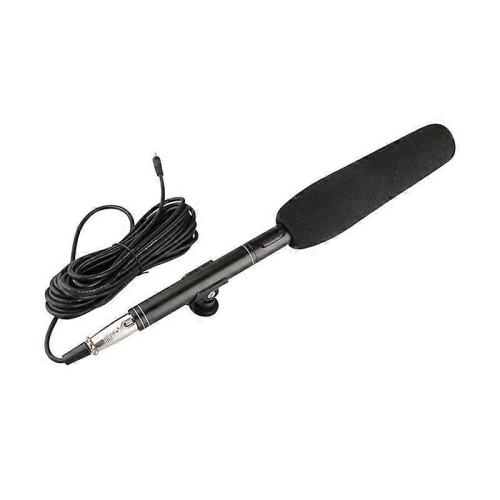

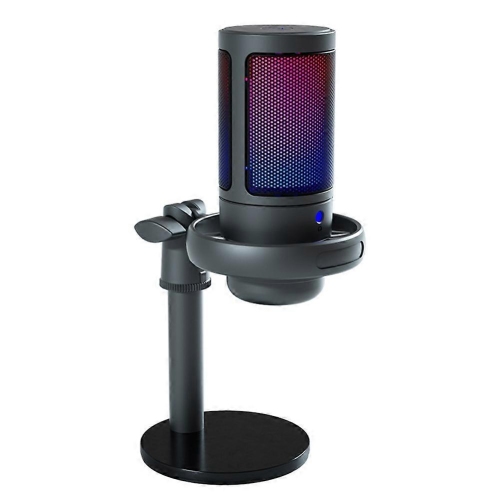

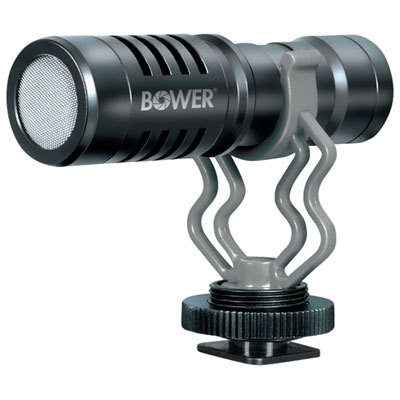
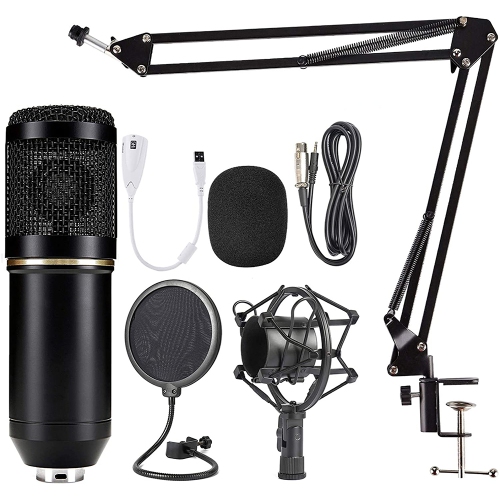

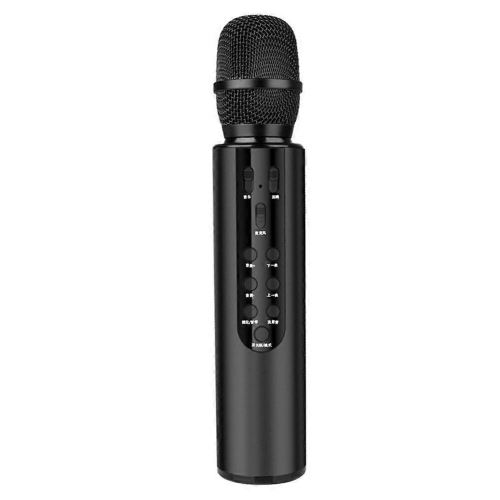




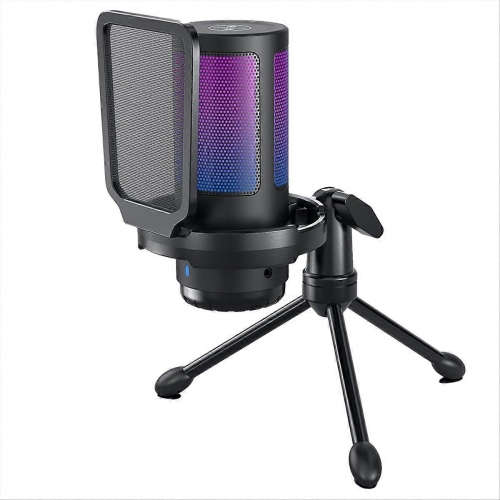
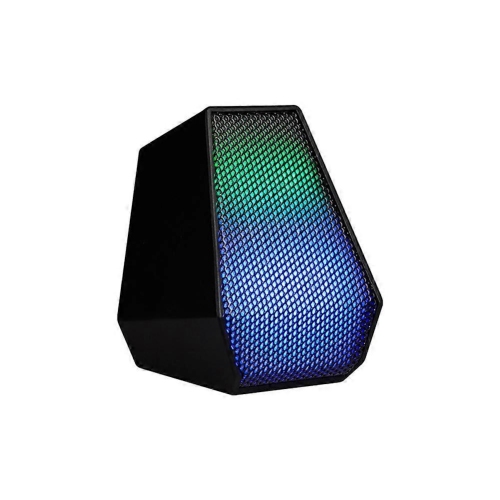
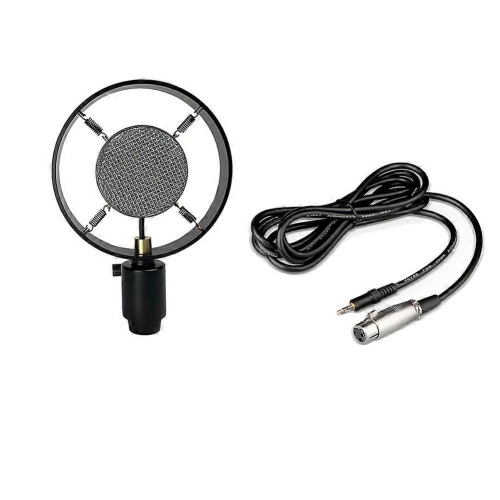

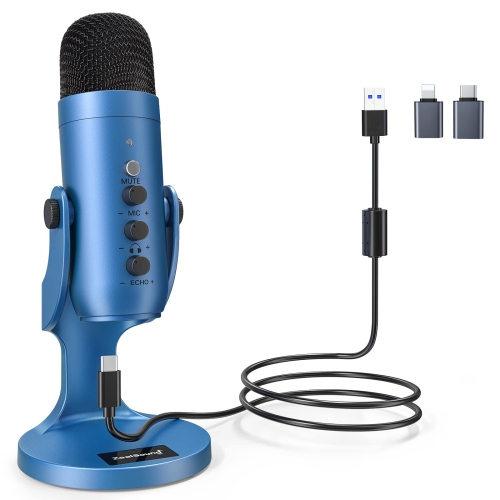
How microphones capture the character in your voice
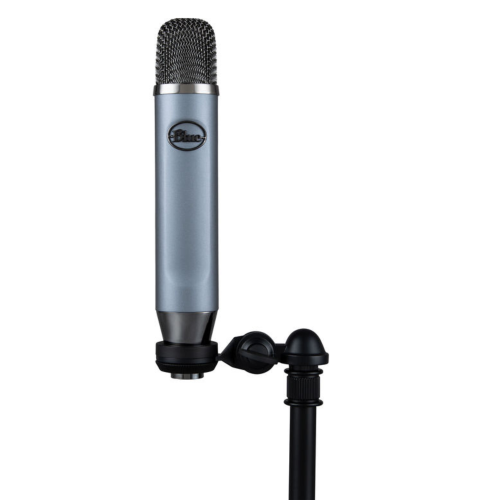
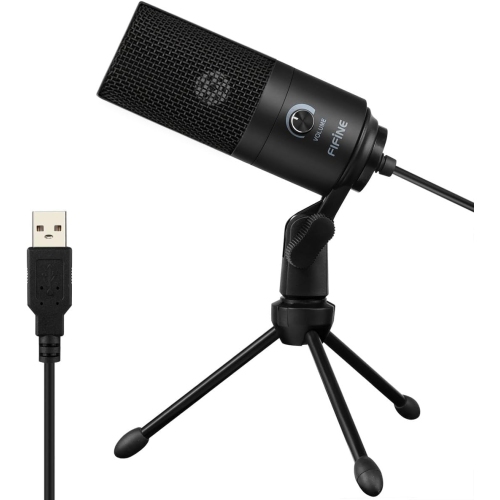
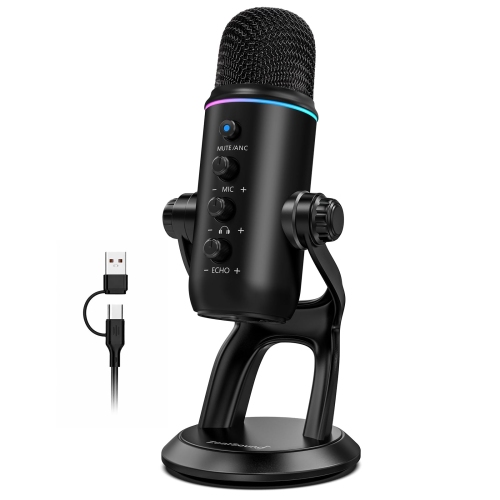
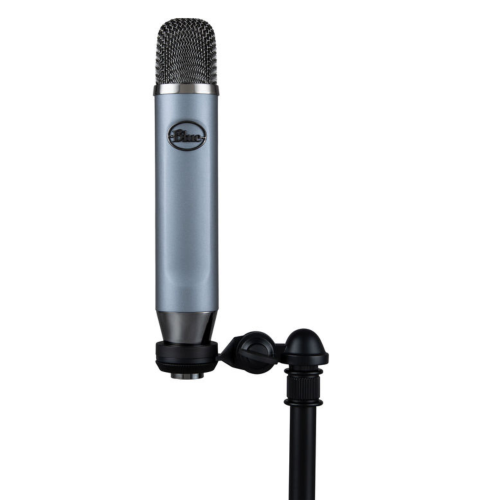
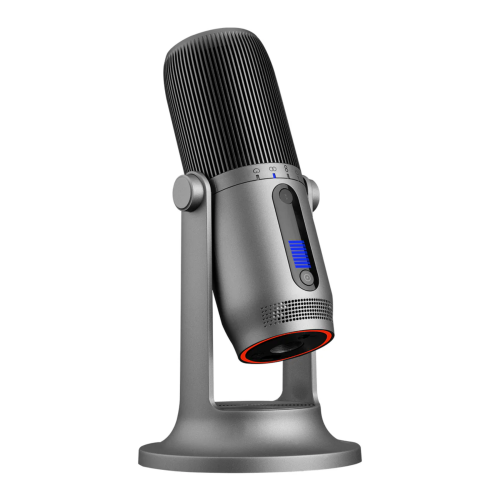
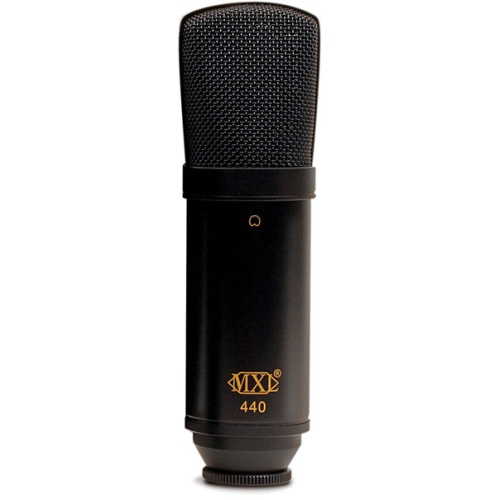
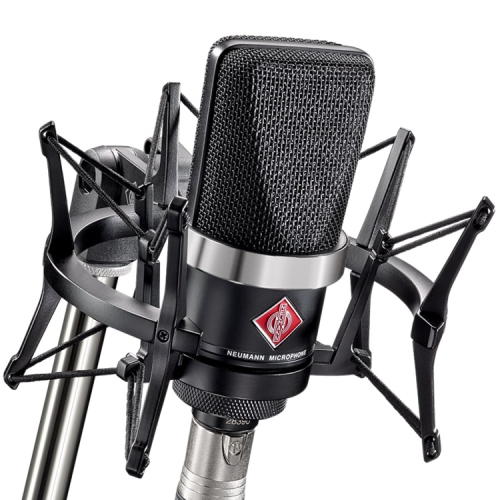
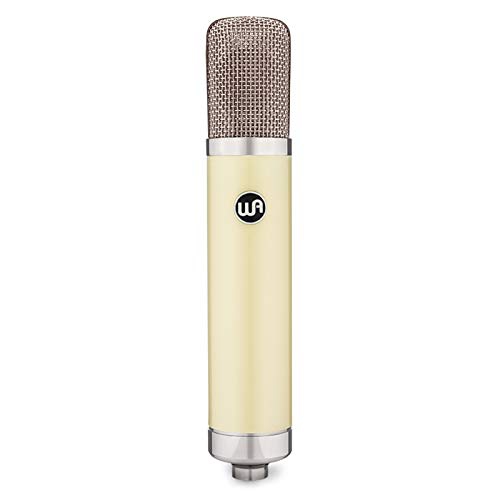
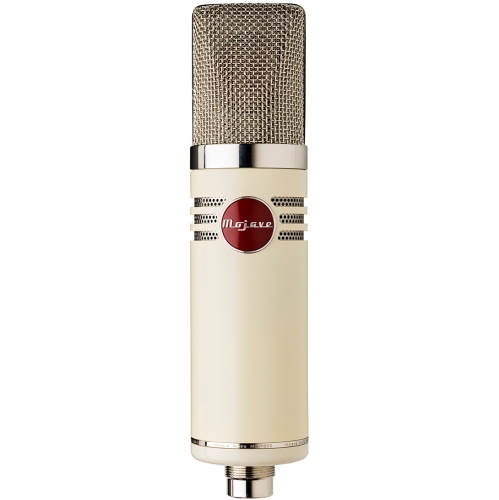
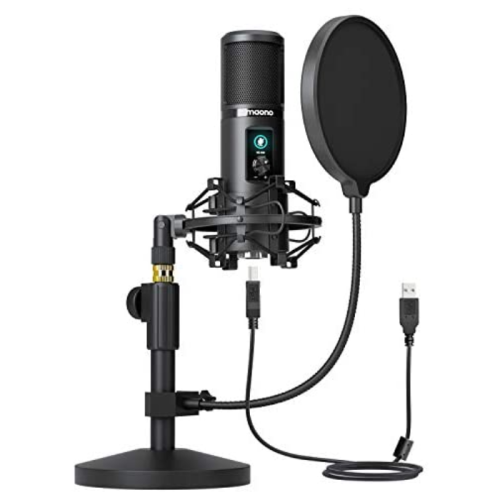
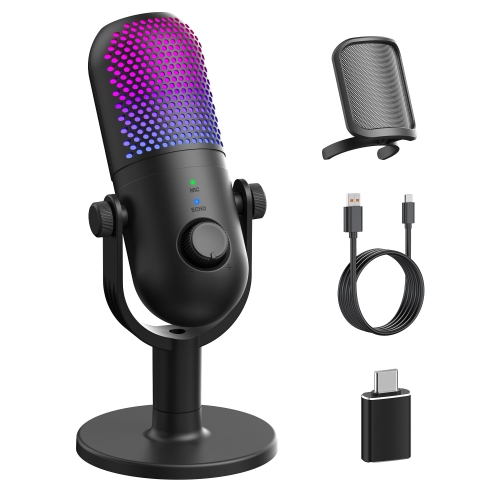
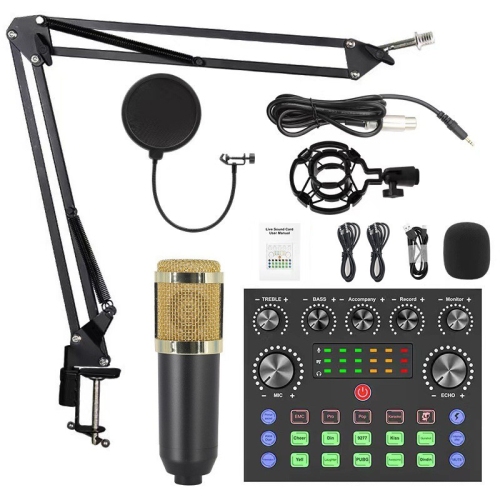
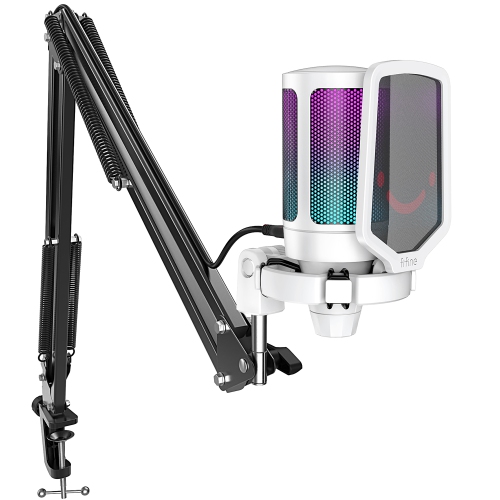
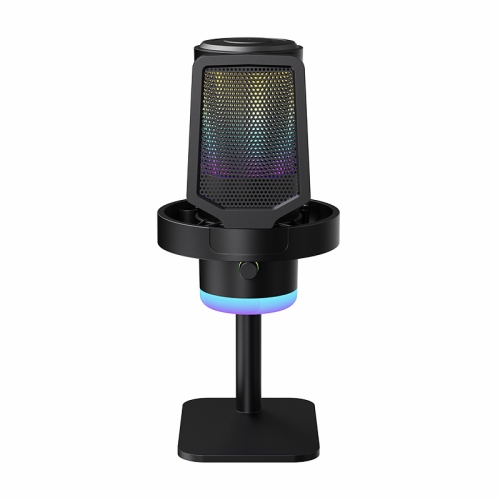
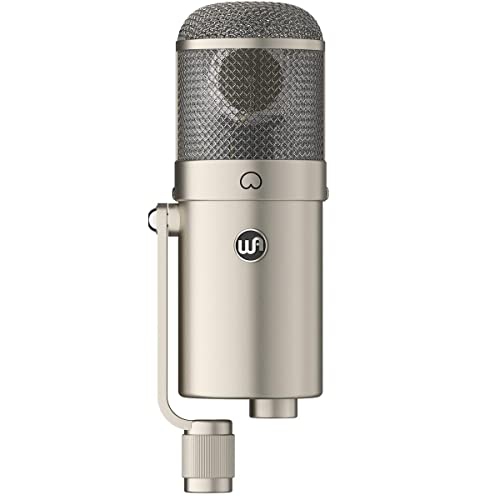
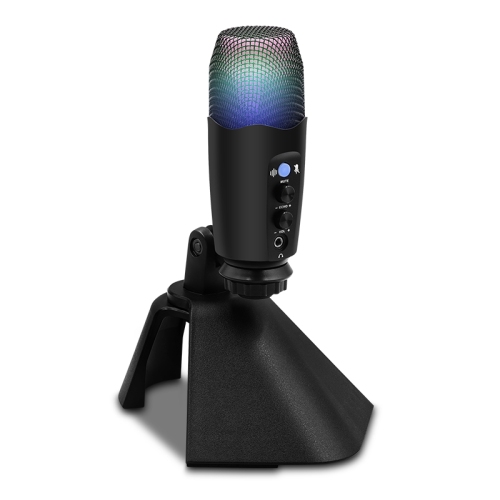
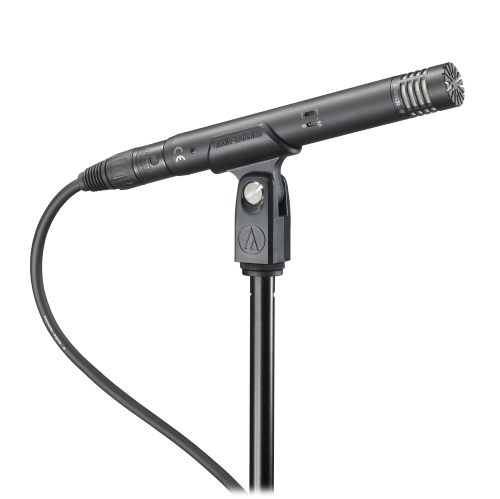
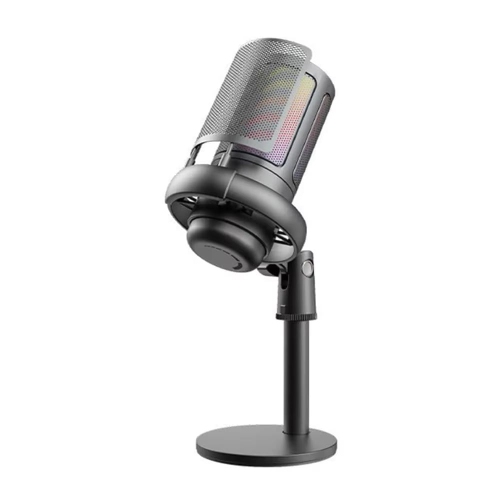
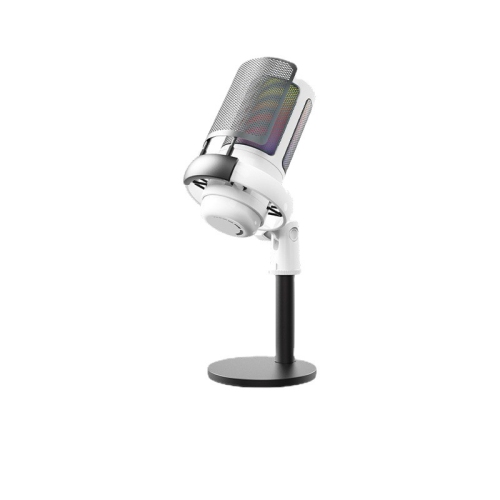
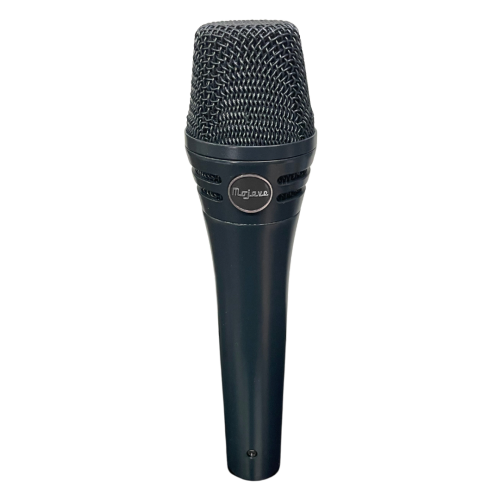
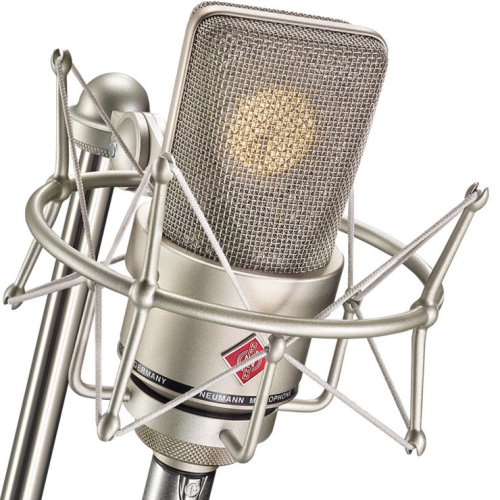
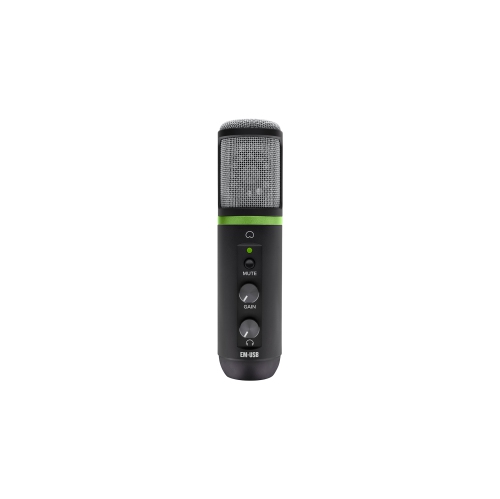
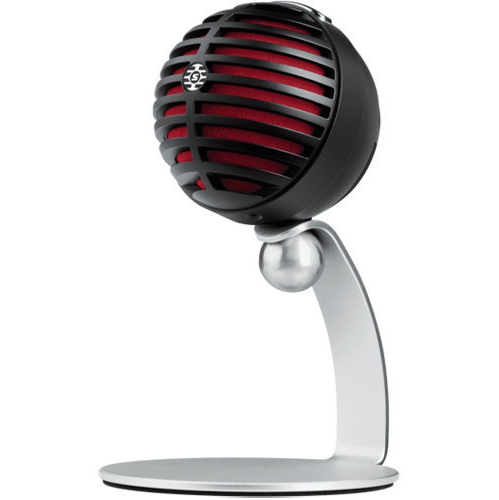
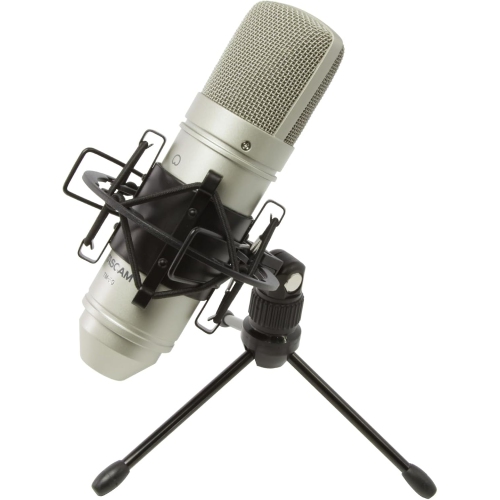
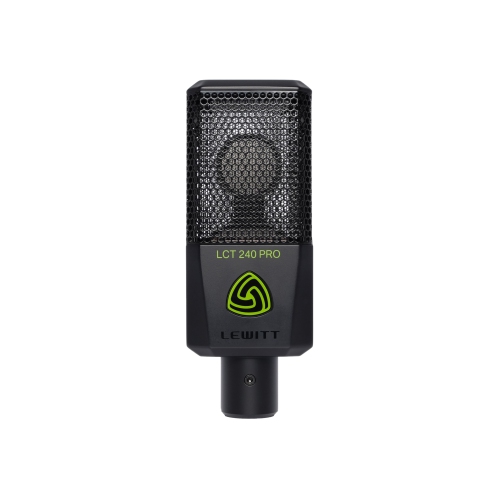
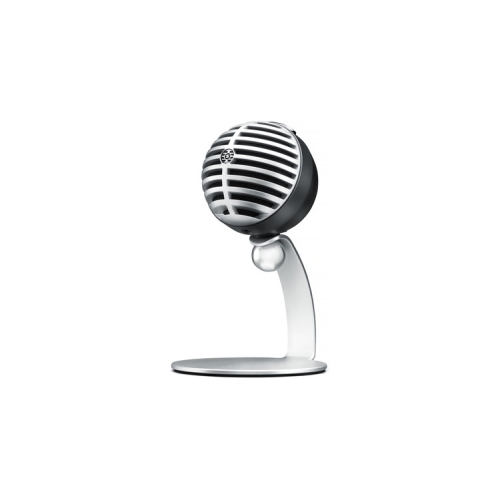
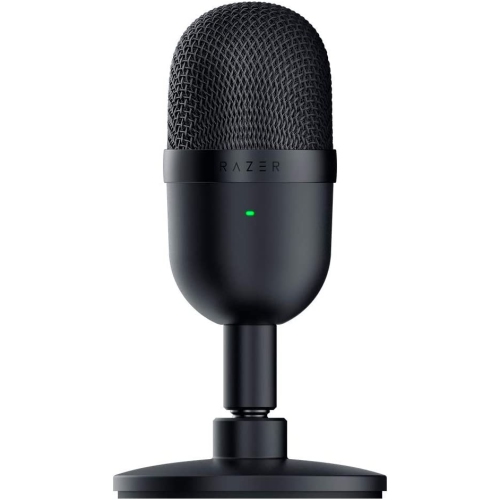
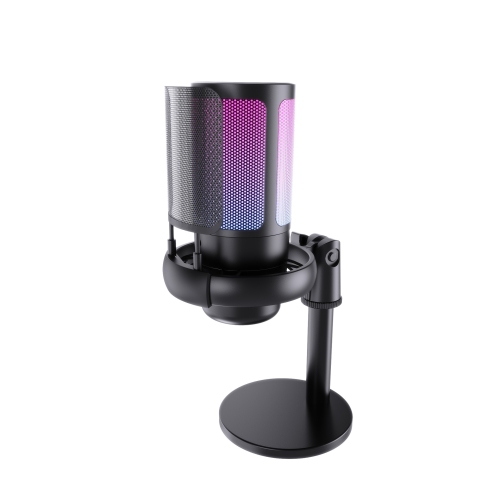
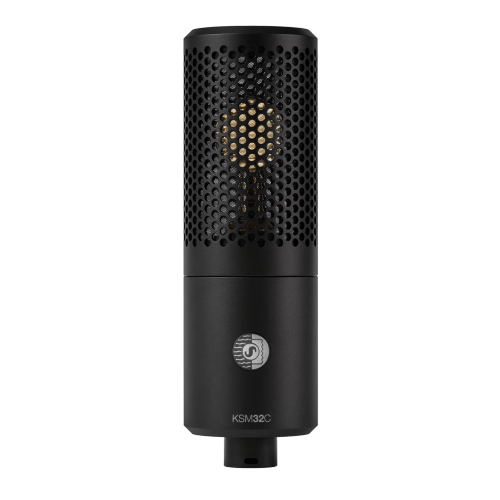
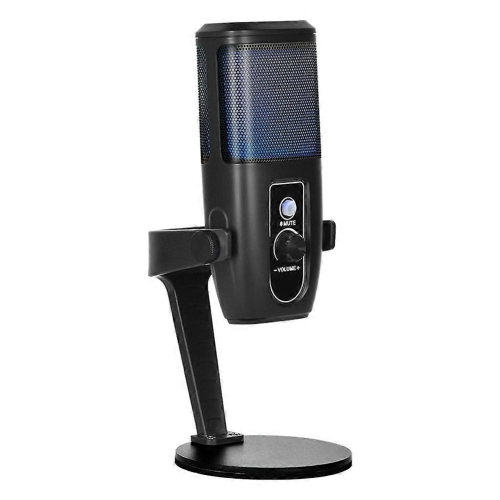
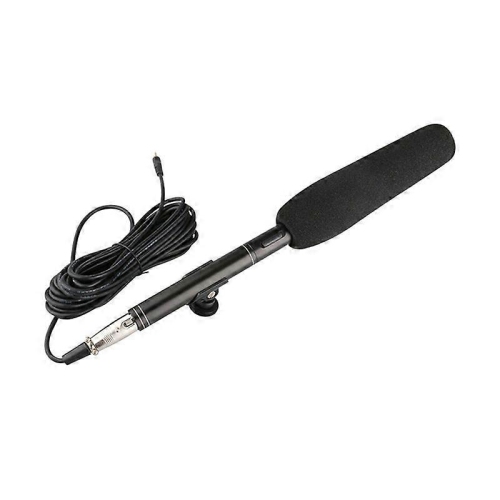
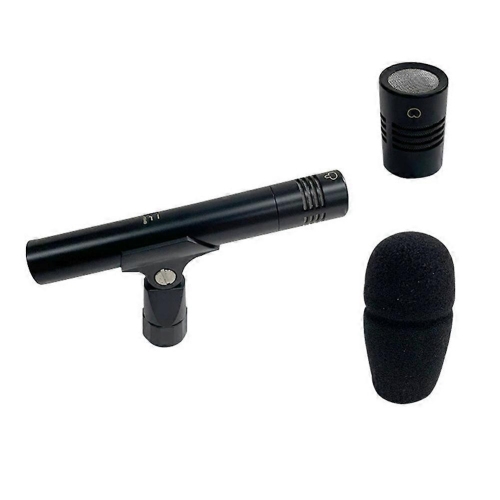
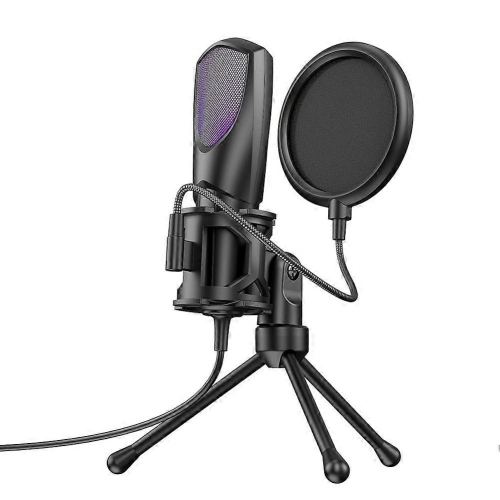
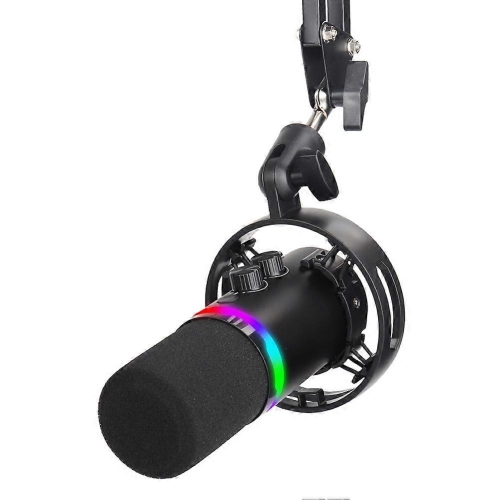
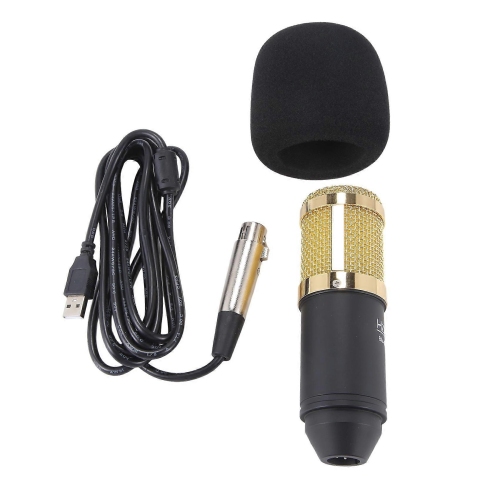
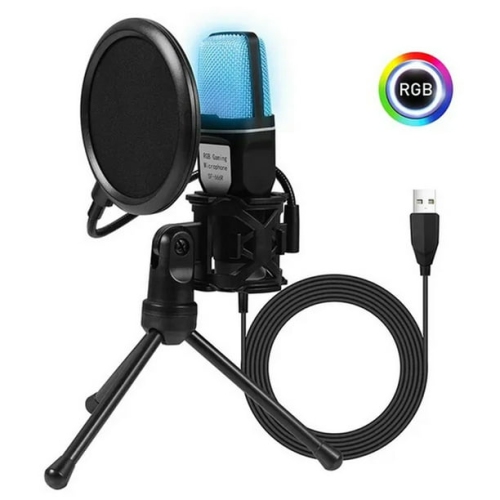
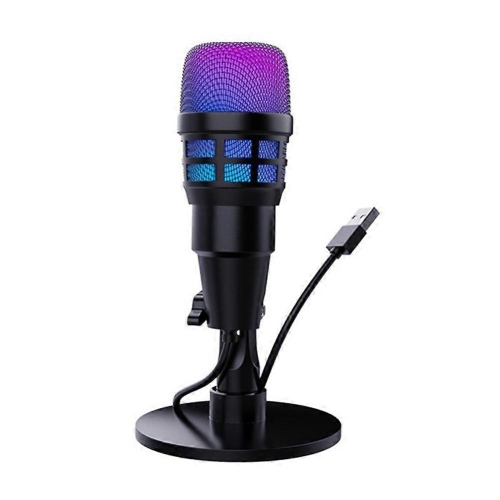
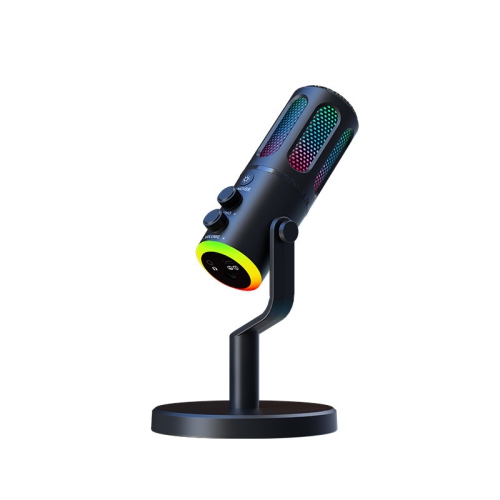
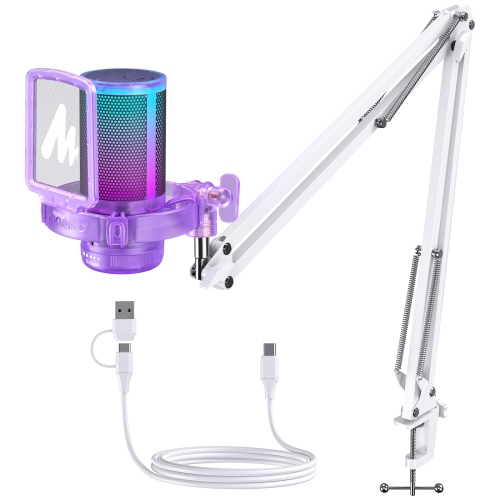
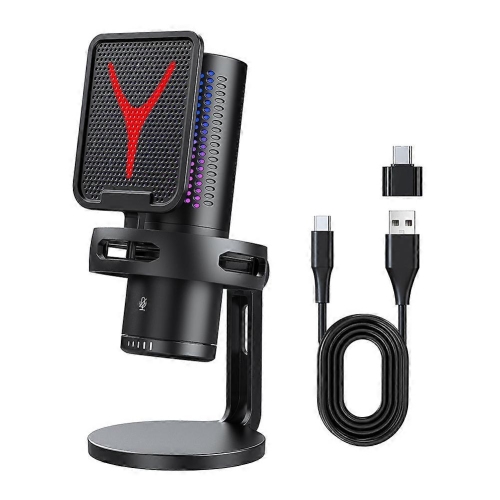
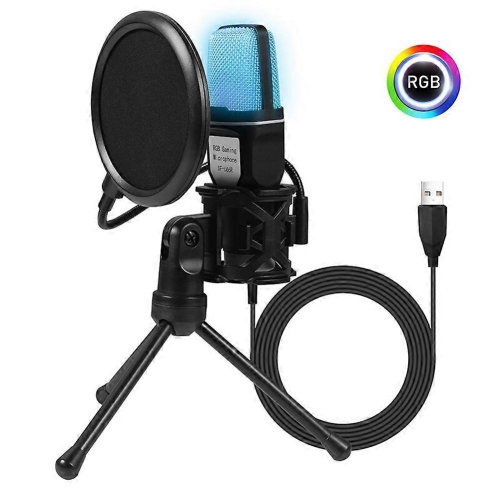
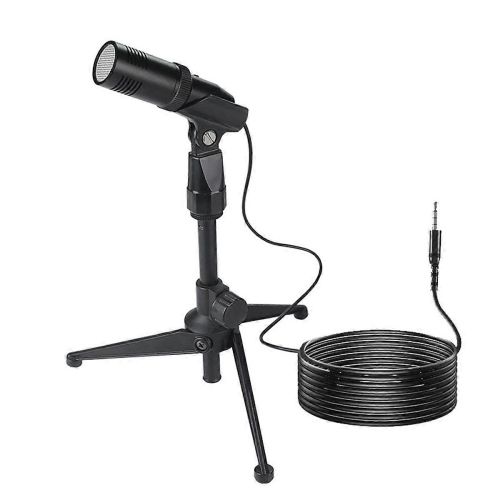
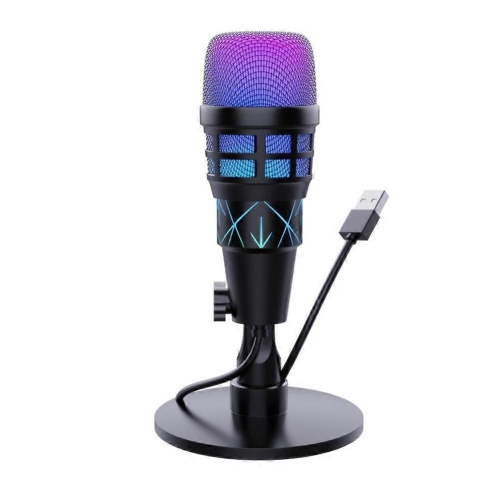
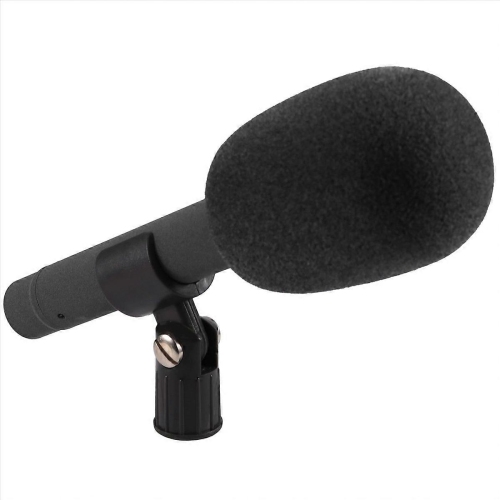
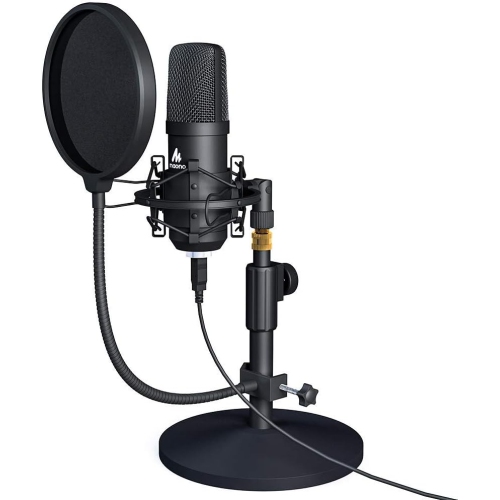
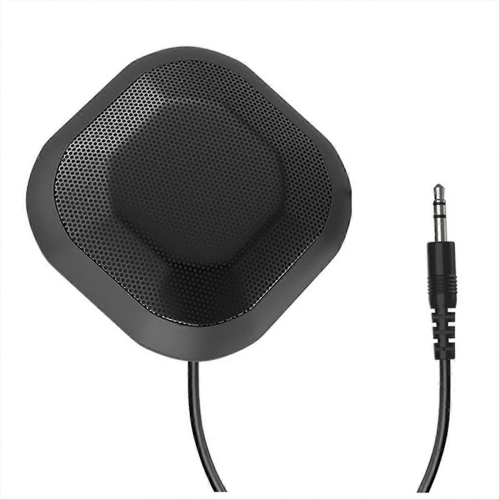
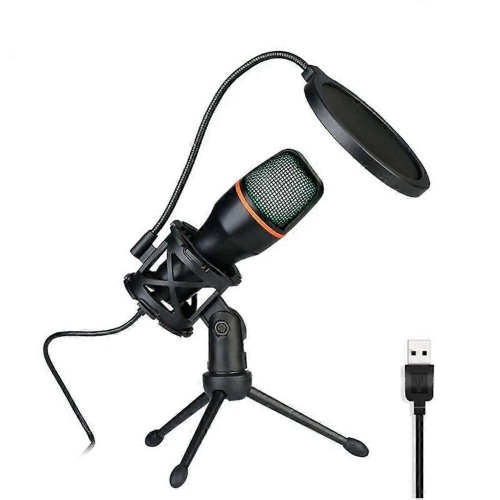
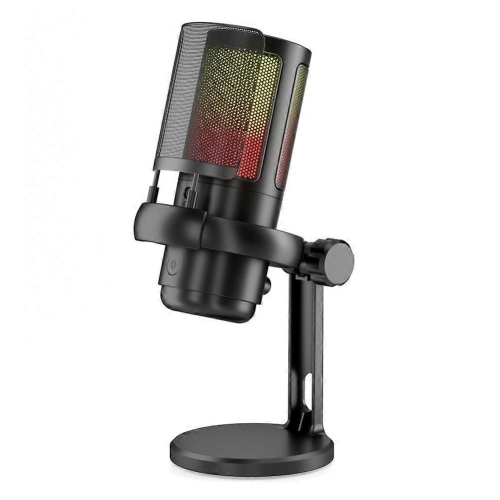
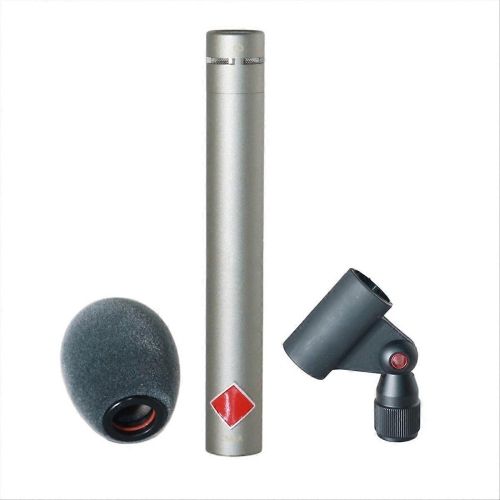
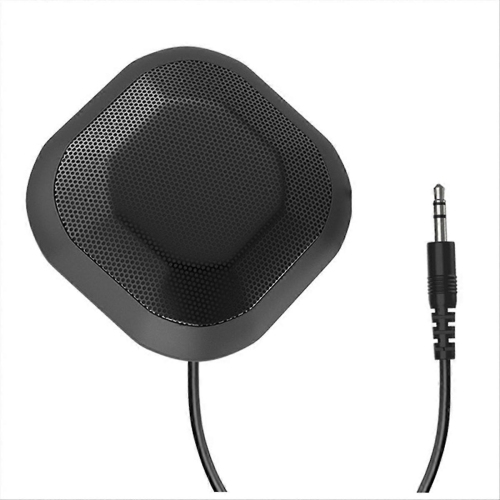
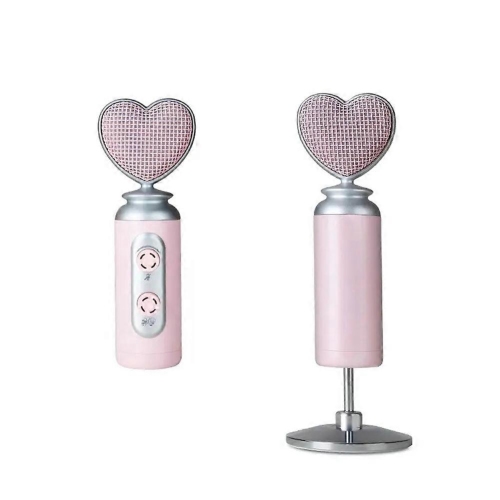
Condenser microphones for vocals capture the small details that give a voice its character: the breath before a phrase, the texture of a low note, and the lift in a harmony. Their lightweight diaphragms respond to subtle changes in sound pressure, making them a popular choice for singing, voice-over work, spoken-word performances, and podcast production. That detail can help a vocal sit clearly in a mix, although the finished sound also depends on the singer, microphone placement, room acoustics, and processing. Large-diaphragm condenser microphones are especially common for studio vocals, with designs ranging from fairly neutral to deliberately bright or warm. A brighter response can add definition to a mellow voice, while a smoother upper range may better suit a singer whose consonants already sound sharp. Diaphragm size alone does not determine quality or tonal balance, so frequency response and pickup pattern are useful distinctions within this category. Cardioid microphones favour sound arriving from the front and reduce pickup from the rear, making them practical for a solo vocalist working in a shared room or compact studio. They still capture reflected sound and nearby noise; a cardioid pattern does not isolate a voice completely. Multi-pattern designs offer additional flexibility, including omnidirectional pickup for sound from all directions and figure-eight pickup for sound from the front and back. Those options can suit particular duet arrangements or more open room sounds, but they also change how much of the space becomes part of the track. For a singer layering quiet harmonies, low self-noise matters because faint microphone hiss can become more noticeable as tracks build up. For a powerful vocalist, maximum sound pressure level and an optional attenuation pad help indicate whether a microphone can handle loud passages without overloading its electronics. Neither specification replaces a comfortable performance setup, but both help distinguish microphones intended for delicate vocal detail from those designed to accommodate a wider range of recording demands.
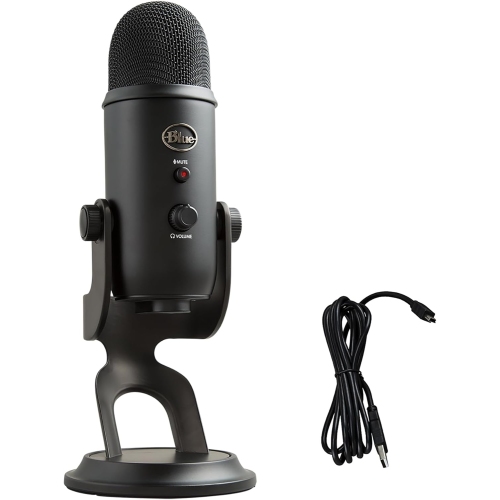
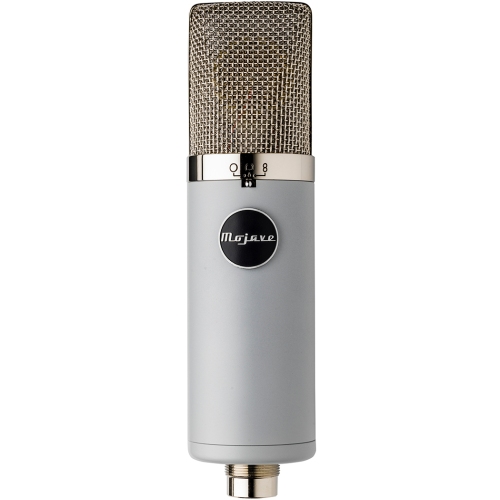
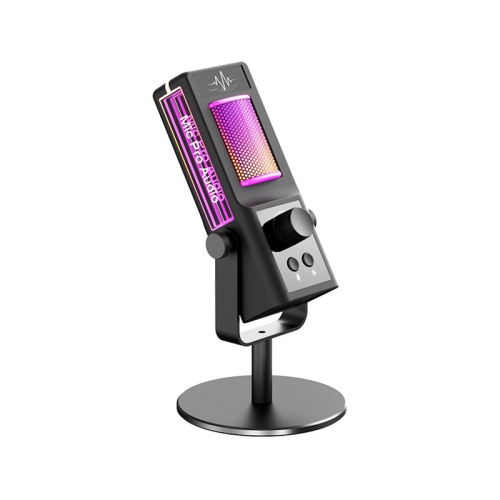
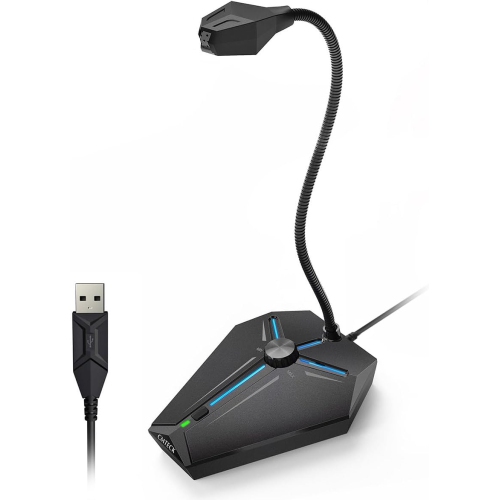
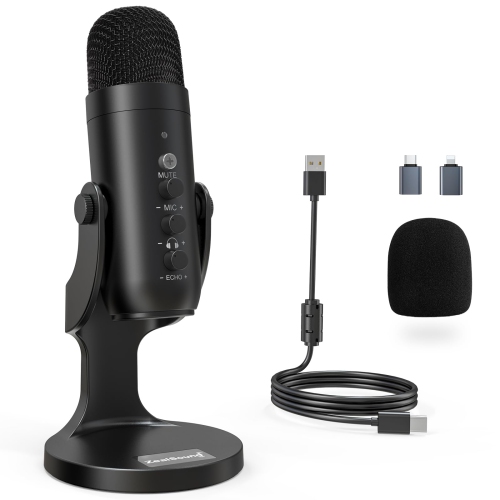
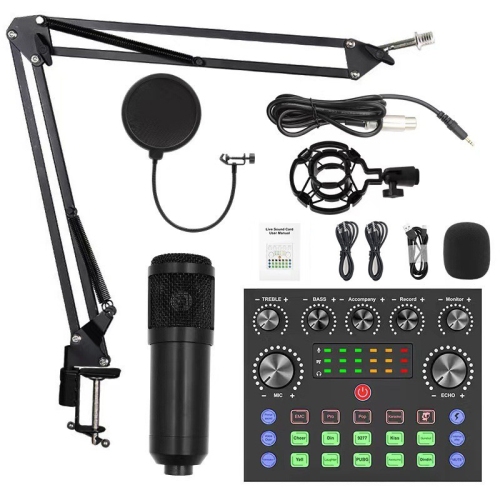
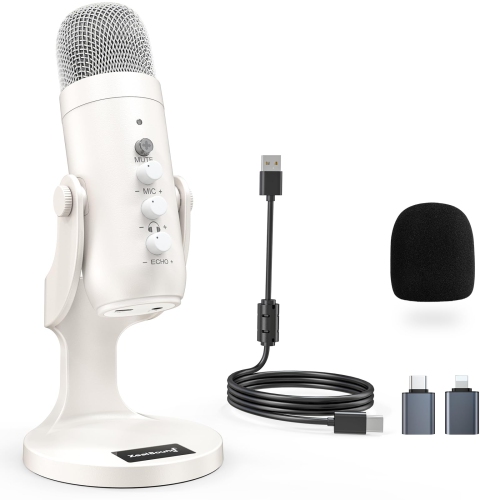
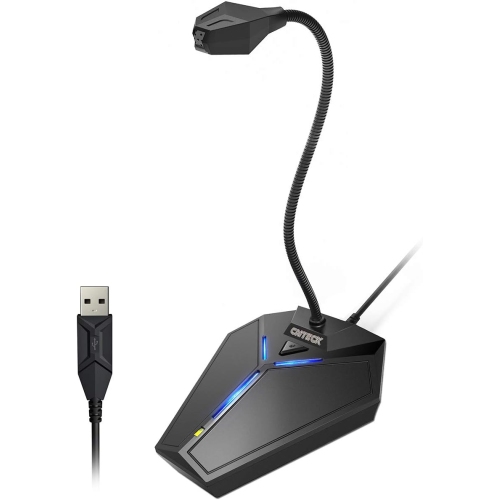
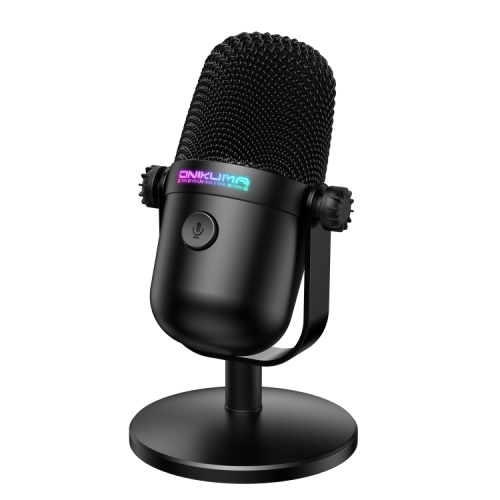
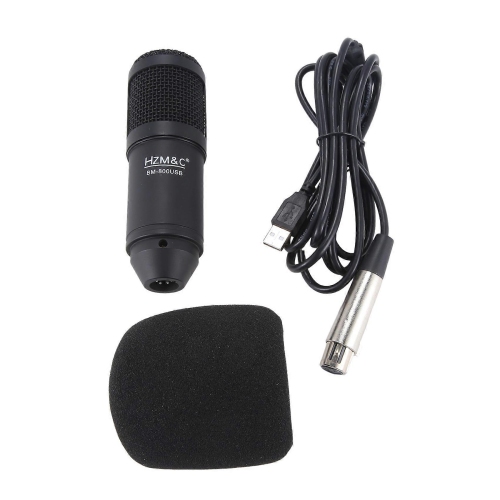
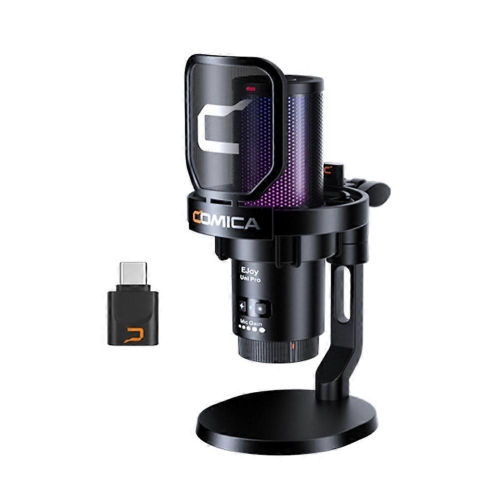
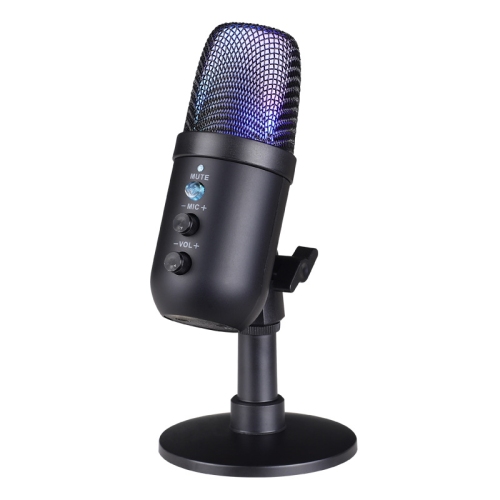
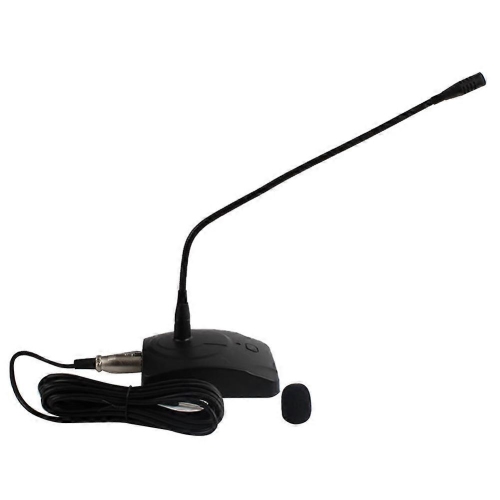
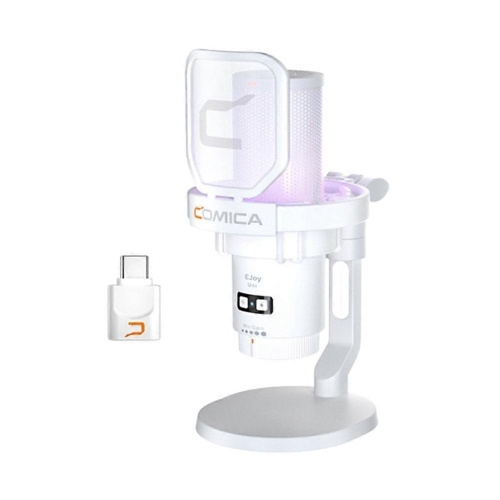
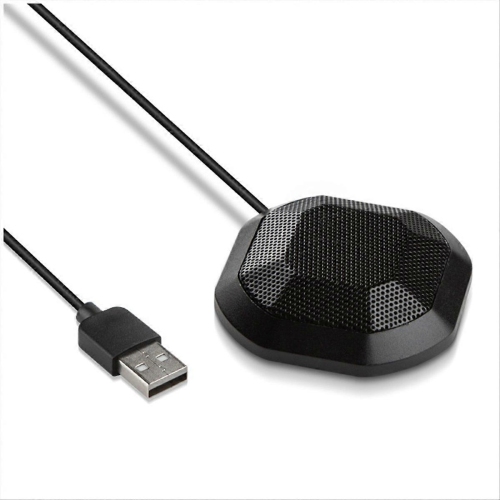
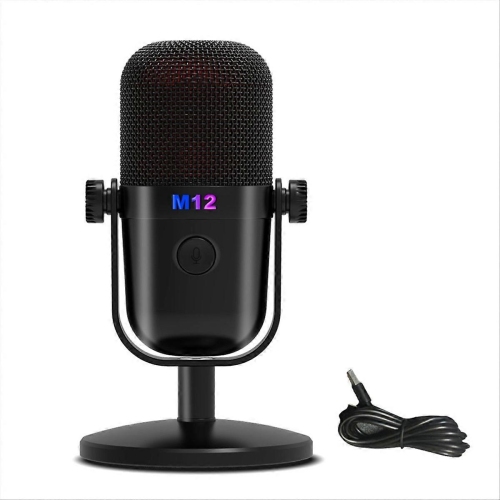
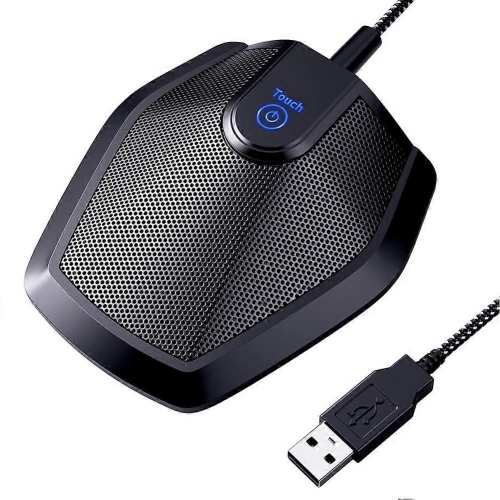
Connection type shapes how a vocal microphone fits into a recording setup. Most studio XLR condenser microphones require phantom power, commonly supplied at 48 volts by a compatible audio interface, microphone preamp, or mixer. The microphone’s stated power requirements should match the connected equipment; an XLR cable alone does not supply power. An audio interface then converts the microphone signal for a computer and typically provides input gain control and headphone monitoring. USB condenser microphones combine the microphone with digital conversion, and they generally receive power through their USB connection. This can make them a straightforward option for a vocalist recording demos at a desk, a voice actor submitting auditions, or a creator adding narration to video. Computer, mobile-device, operating-system, and recording-app compatibility still matter, particularly when adapters or extra power may be needed. A built-in headphone output with direct monitoring can let a performer hear the microphone signal without the distracting delay that some software monitoring introduces. For recording several singers on separate tracks, an XLR setup with a suitable multi-input interface is often easier to expand than a collection of separate USB microphones. Shoppers building a space around vocals and other audio projects can also explore Condenser Microphones for Home Recording for related recording uses. Whatever the connection, the room remains part of the sound. Bare walls, a hard desktop, and a nearby window can send reflections back towards the capsule, giving a close vocal an unexpectedly hollow or splashy quality. Absorptive acoustic treatment can reduce those reflections, while moving away from a humming computer or noisy air vent can lower unwanted background sound. Acoustic treatment is not the same as soundproofing and will not necessarily block traffic or voices from another room. A cardioid microphone positioned with its rear towards a noise source may help, but distance and a quieter recording location usually make a meaningful difference. For a softly sung verse or intimate narration, those practical details can matter as much as the microphone’s tonal character.
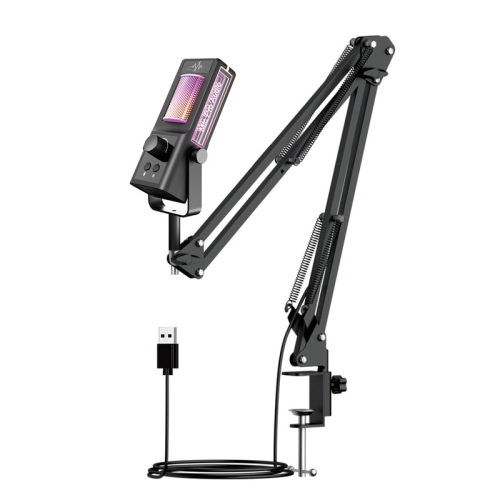
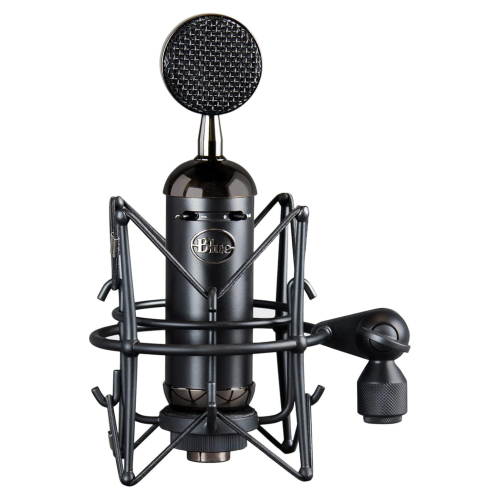
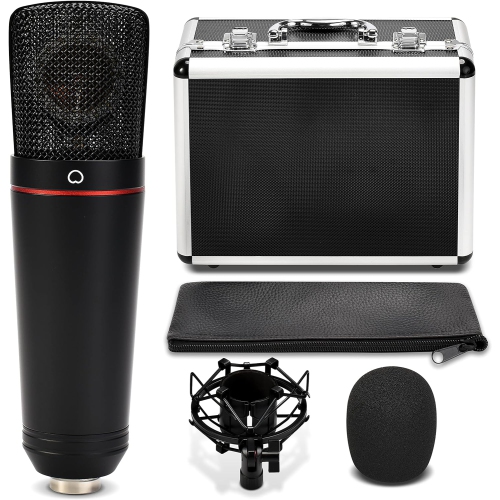
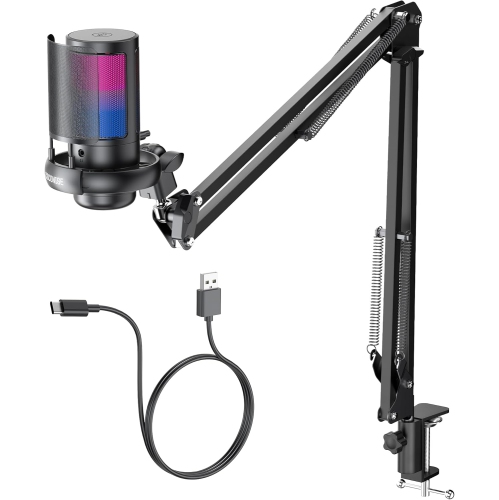
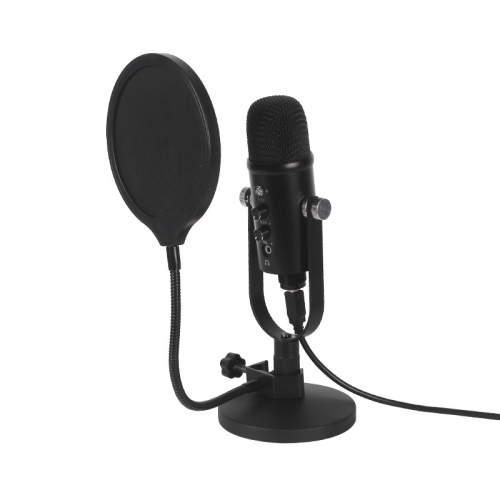
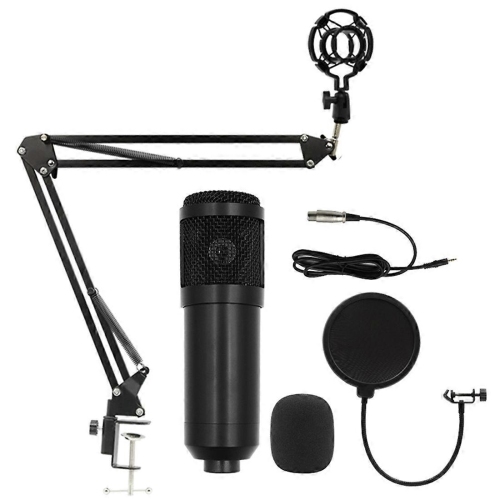
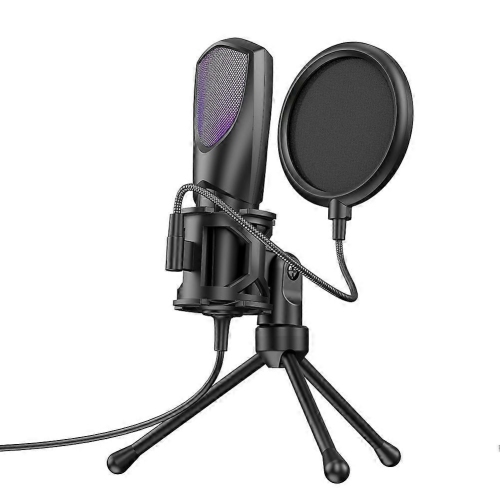
Physical design, mounting, and care also influence how comfortably a condenser microphone works from session to session. Many studio condensers are side-address designs, meaning the singer performs towards the designated front of the grille rather than into the top. Handheld stage condensers are usually end-address designs and are built around different demands, such as secure handling, controlled pickup, and resistance to the bumps of live performance. A studio microphone is not automatically a suitable stage microphone: feedback depends on its pickup pattern, loudspeaker placement, monitoring level, and the room. At a desk or vocal stand, microphone weight, mount compatibility, and boom-arm capacity deserve attention. A heavy metal-bodied microphone needs stable support that will not slowly droop during a take, while the correct thread adapter helps keep the mount secure. Metal housings and protective grilles support durability, but the capsule inside remains delicate. A compatible shock mount reduces the mechanical vibration transmitted through a stand, and a pop filter helps soften bursts of air from words beginning with “p” or “b.” Neither accessory removes every unwanted sound, but both can save an otherwise expressive performance from avoidable distractions. A starting distance of roughly 15 to 30 centimetres often leaves room for natural delivery, with small adjustments shaping the balance of direct voice and room sound. Moving very close to many directional microphones increases bass through the proximity effect; stepping back slightly can help a full voice sound less boomy. Consistent distance is especially useful when recording several takes that need to blend. Between sessions, a clean cover or protective case helps keep dust away from the grille, and careful cable routing reduces the chance of a stand being pulled over. Cleaning should follow the manufacturer’s directions, with no liquid sprayed into the grille or contact made with the diaphragm. For a songwriter, student vocalist, voice actor, or musician receiving a microphone as a gift, the best fit is one that suits the voice, connects to existing equipment, and includes or accommodates the support needed for comfortable, repeatable recording.
Top selling and popular products
-
 Your price for this item is $204.37
-
 Your price for this item is $155.37
-
 Your price for this item is $162.68
-
 Your price for this item is $419.99
-
 Your price for this item is $79.99
-
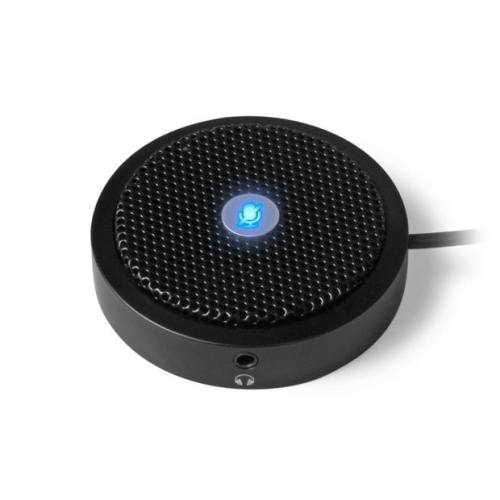 Your price for this item is $75.35
-
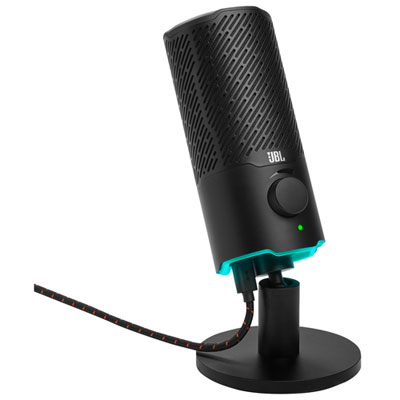 Your price for this item is $139.99
-
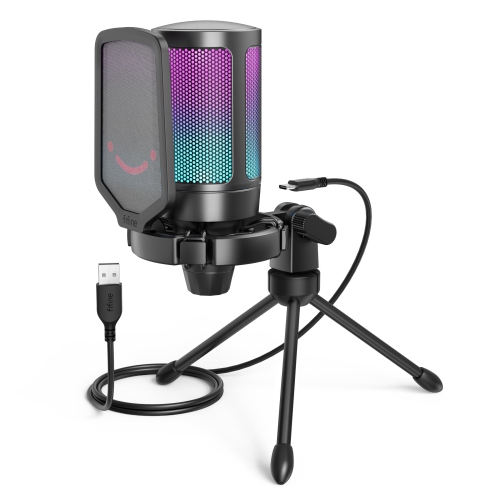 Your price for this item is $62.99
Discover more categories related to Condenser Microphones for Vocals

Top Collections:
Pokemon Centers, Best Cameras for Sports Photography, Kindle Devices, Samsung Galaxy Phones, Canon G7X Cameras, Pokémon 30th Celebration Cards, Refurbished Apple Laptops, iPhone 15 Apple, Laptops for Students, Budget Smartphones
Some products may be subject to Environmental Handling Fees
(EHF) depending on your province.
Learn more about EHFs.