Model Kit Paints
Dive into the world of model kit painting with our exceptional range of high-quality paints, designed to bring your creations to life. Whether you're a seasoned hobbyist or just starting, our selection offers an array of vibrant colors and finishes to suit any project. Achieve stunning detail and realism with paints that provide smooth application and long-lasting results. Enhance your models with the perfect hues and watch as your artistry transforms into a masterpiece. Explore our collection today and elevate your model-building experience to new heights.
Sort
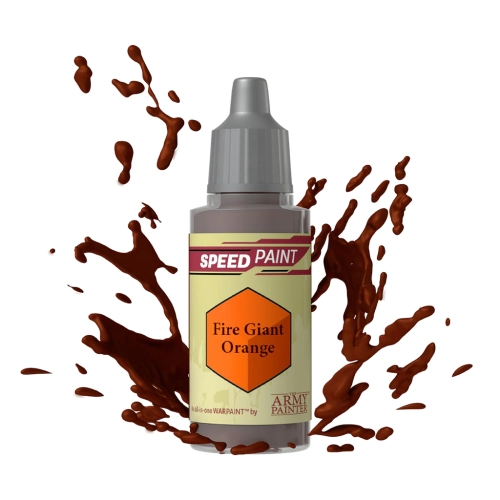
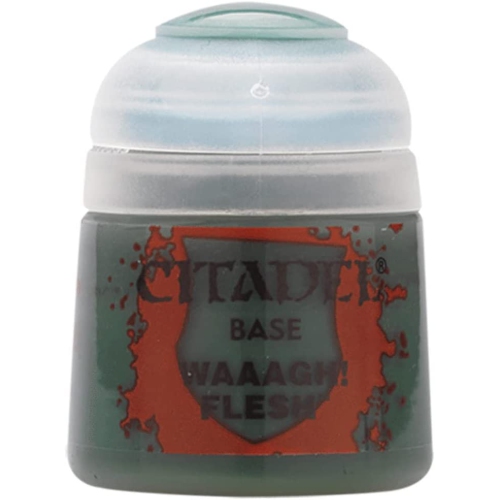
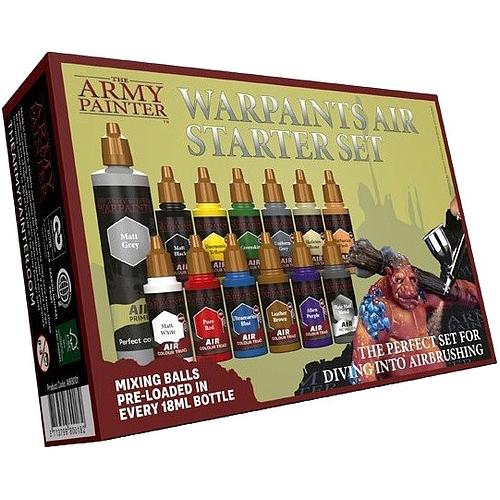
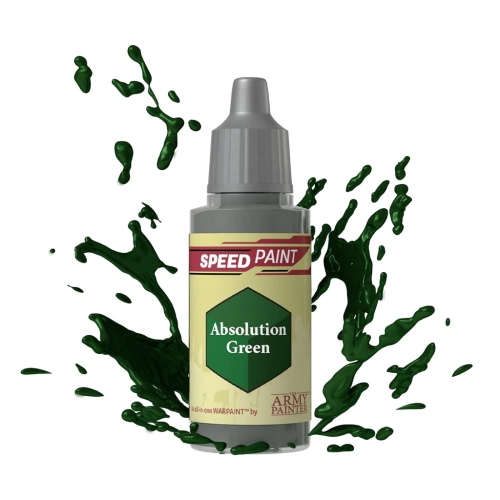
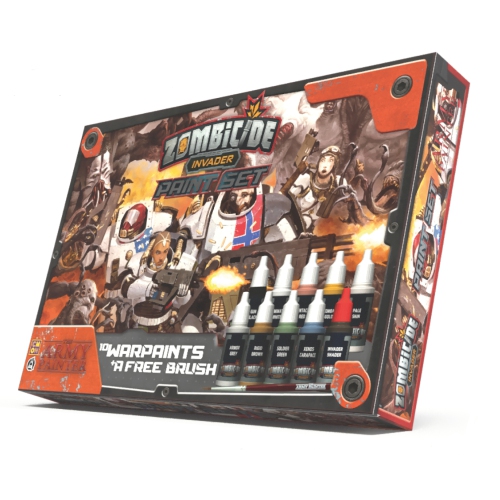
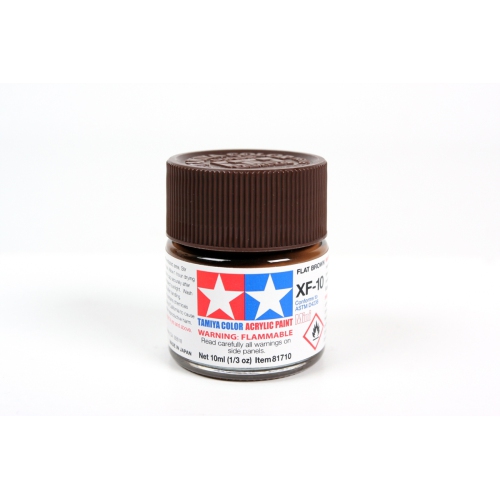
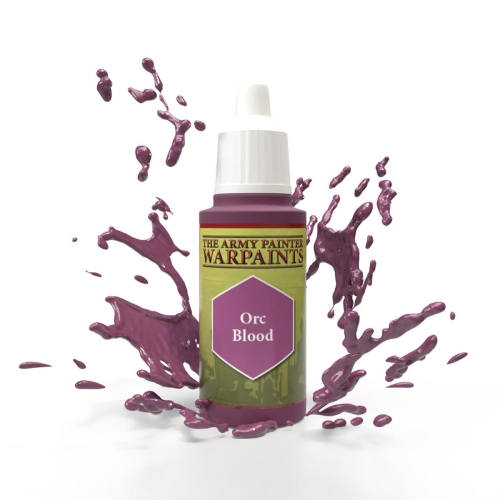
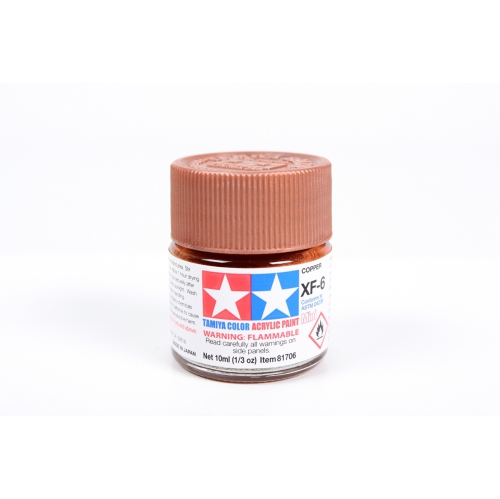
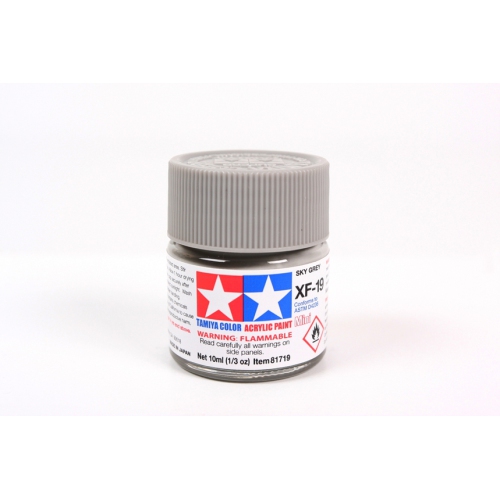
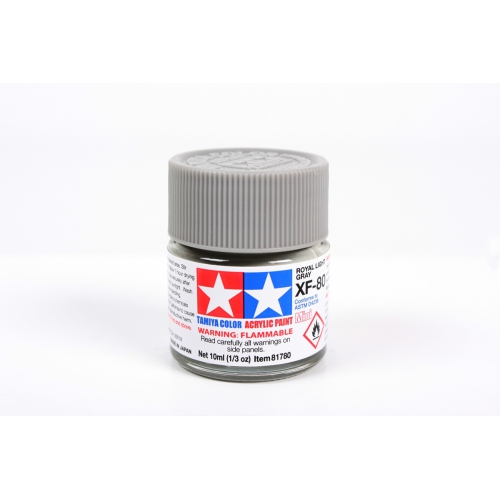
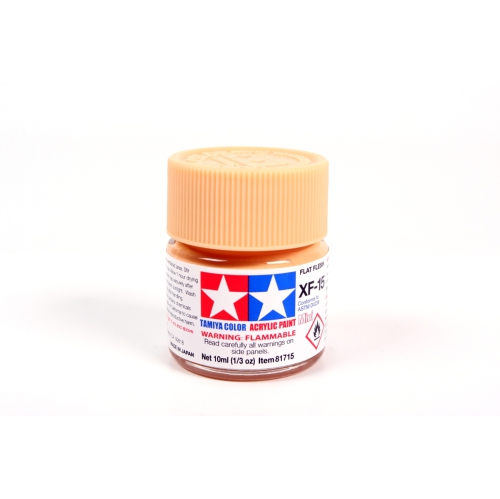
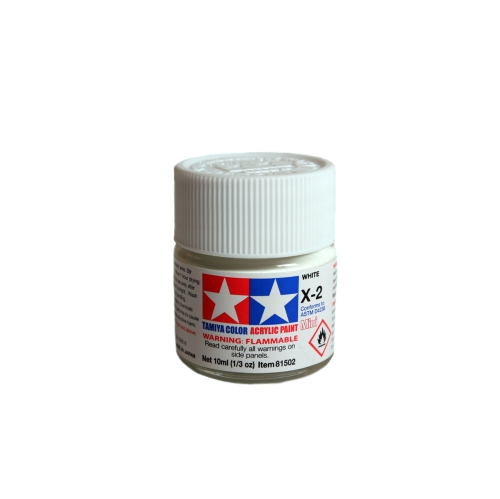
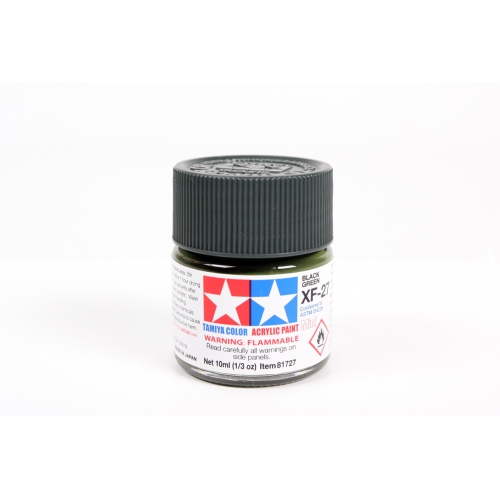
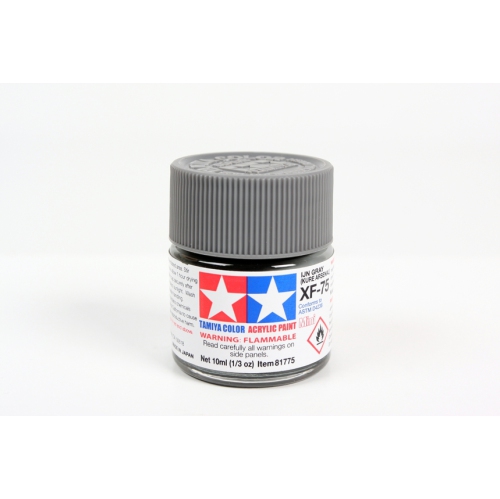
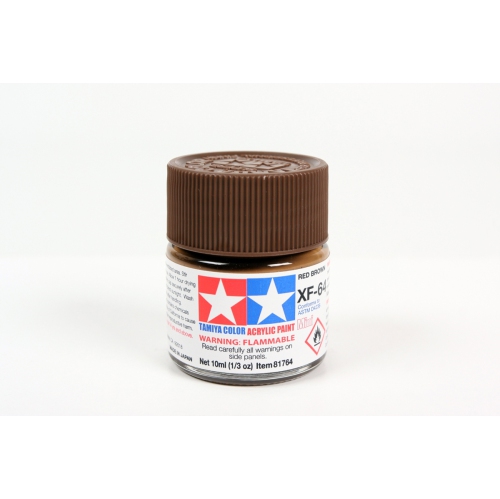
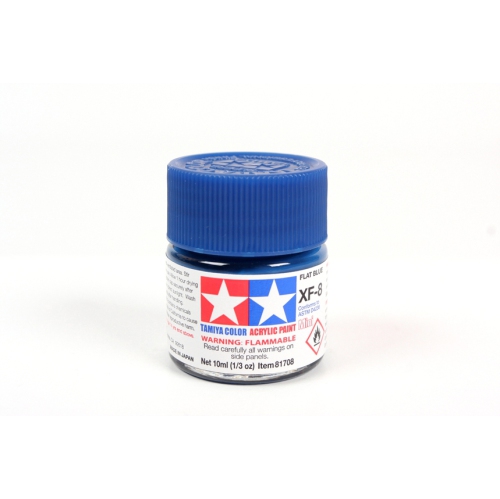
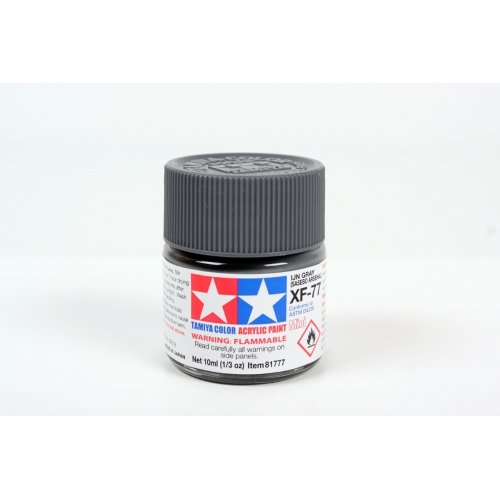
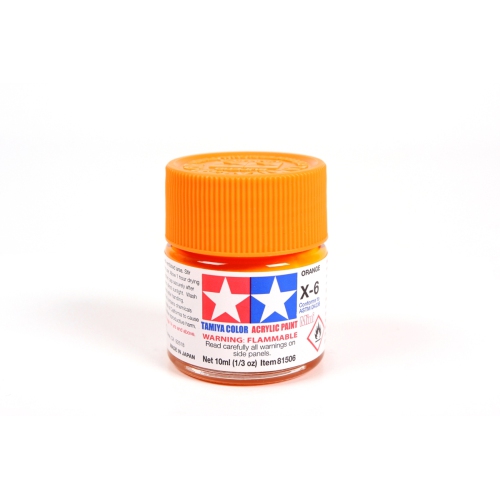
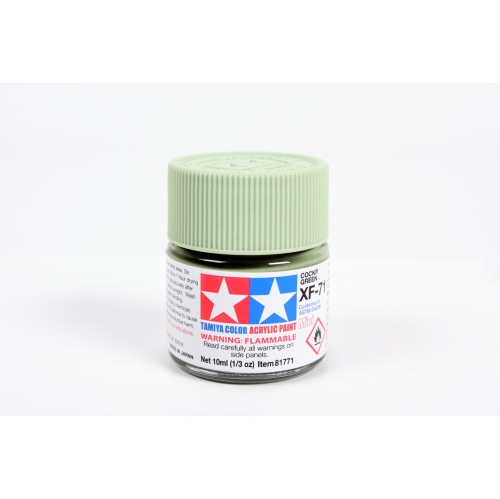
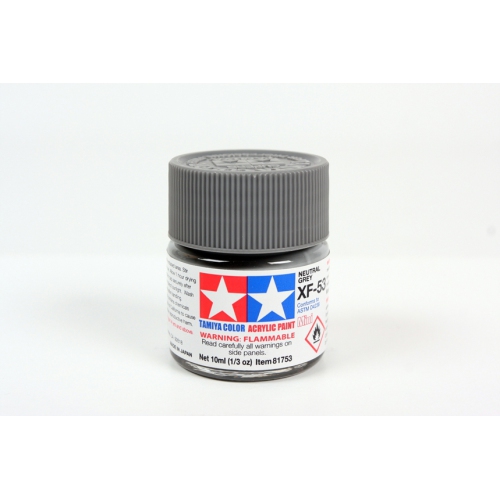
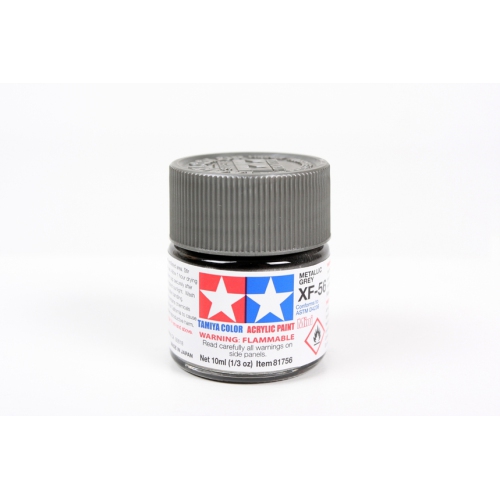
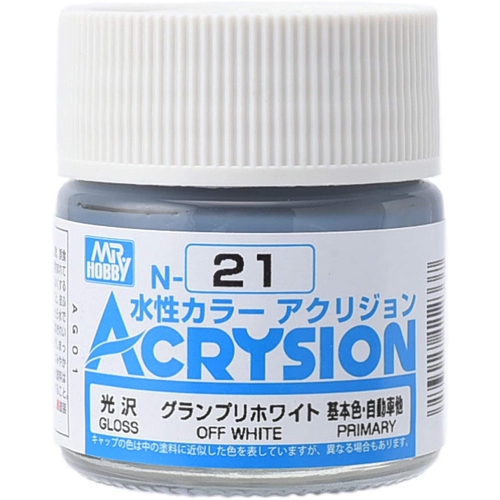
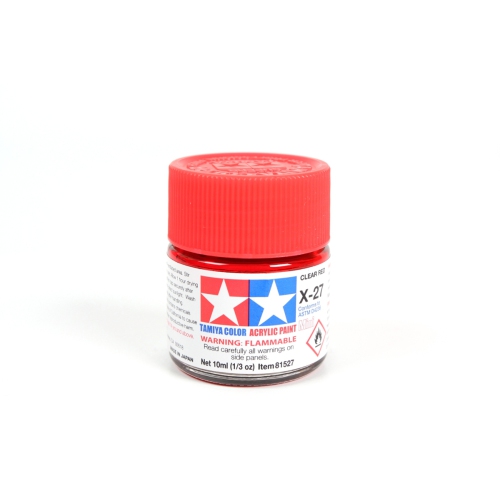
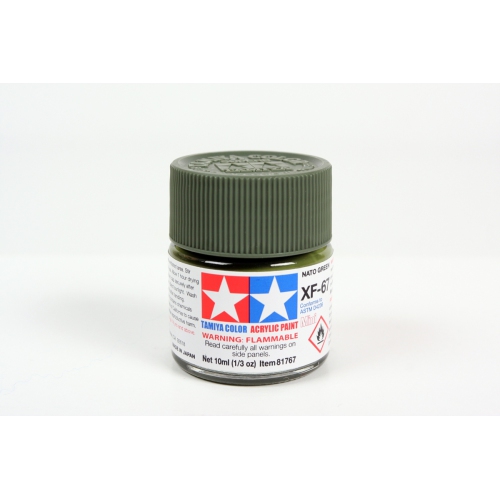
Paint formulas and techniques shape every model’s final finish
Model kit paints help bring scale models to life, whether you are finishing a detailed aircraft, adding realistic colour to a car, weathering a military vehicle, or creating a display piece from a science-fiction or miniature figure kit. The right paint can make small panels, raised details, exhausts, cockpit controls, trim, and surface textures stand out without hiding the fine moulding underneath. Paints are available in several formulas, colours, finishes, and container sizes, so it helps to consider the model material and the way you plan to apply the paint before choosing a set. Plastic is the most common surface, but some kits use resin, metal, vinyl, or a combination of materials, and each may benefit from slightly different preparation. A primer is often a useful first layer because it creates a more even surface and helps colour coats adhere to plastic, metal, and resin. It can also reveal small imperfections that are easier to correct before the final colour is applied. Water-based acrylics are popular for beginners, brush painters, families, and hobbyists who prefer easier cleanup and a milder odour. They generally dry quickly and can often be cleaned from brushes with water when handled before the paint fully sets. Alcohol-based acrylics are also used for model painting and can flow smoothly through an airbrush, while their quick drying time can be helpful when building up several layers. Enamel paints are valued for their smooth coverage, self-levelling qualities, and durable finish, making them useful for certain detail work, panel lines, and weathering effects. Lacquer paints dry very quickly and can create a tough finish, but they require careful handling, suitable ventilation, and the correct cleaning products. Regardless of formula, always read the label and follow the manufacturer’s instructions for thinning, cleanup, surface preparation, and safe storage. Stronger-smelling paints, thinners, and cleaners should be used in a well-ventilated area, away from flames and heat sources, with appropriate protective equipment as recommended. Paint kits can be a thoughtful gift for a model builder, creative teen, adult hobbyist, or collector who enjoys adding a personal finish to a project. They are also a practical companion to Model Vehicle Kits, especially when the recipient wants to move beyond unpainted assembly and create a more distinctive display.
Application method is another important consideration. Brush painting is accessible and works well for small details, touch-ups, cockpit interiors, figures, emblems, and areas that are difficult to reach with a spray or airbrush. Look for paints that are easy to control and suited to the level of detail in the kit. A fine round brush can help with lettering and narrow edges, while a broader, softer brush is useful for larger panels and smooth base coats. Airbrushing can produce an even finish across broad surfaces, subtle colour transitions, and realistic shading, but it usually requires an airbrush, compressor, suitable thinner, masking materials, and a little practice. Paint that is too thick may clog the airbrush or leave visible brush marks, while paint that is too thin can run into seams and panel lines. A useful starting point is to thin paint gradually with the matching thinner, or with water where the formula allows, until it flows smoothly without looking watery. The ideal consistency varies by paint type, nozzle size, pressure, brush, and surface, so testing on a spare piece of plastic or an unused section of the sprue is worthwhile. For brush painting, several thin coats are usually more attractive and more forgiving than one heavy coat. Allowing each layer to dry before adding the next helps preserve rivets, vents, panel lines, and other small details. It is also helpful to begin with lighter colours and move towards darker shading, while checking whether the colours underneath have fully cured before applying masking tape or another formula. If different paint types are used on one model, compatibility matters. Many hobbyists follow a general layering approach of lacquer first, enamel next, and acrylic on top, but the specific products and drying times can affect the result, so testing on a spare surface is the safest approach. Primers, clear coats, washes, and weathering paints can each serve a different purpose: primer prepares the surface, colour coats establish the main finish, washes settle into recessed details, and clear coats can create a glossy, satin, or matte appearance. Matching the finish to the subject can make a model feel more convincing, from the reflective bodywork of a road car to the flat, worn surfaces of a service vehicle.
Colour selection often depends on both the subject and the intended style. Some builders aim for an accurate historical or manufacturer-inspired appearance, while others enjoy custom colour schemes, polished metallics, dramatic contrasts, or imaginative finishes. A basic collection of primary colours, black, white, a neutral grey, metallic shades, and a few earth tones can support many projects, especially when the paints can be mixed carefully for intermediate colours. Dedicated shades can save time when a kit includes small markings or complicated interiors, while larger bottles or multipacks may suit frequent hobbyists who paint several models. Check whether the paint is intended for brush application, airbrushing, detailing, or general coverage, and consider whether the kit instructions recommend particular colour families. Storage is simple but important: close lids firmly, keep containers upright, and store paint away from direct heat and freezing temperatures. Dried paint around a cap can prevent a proper seal, so wiping the rim clean before closing the container can help preserve the remaining paint. For younger builders, choose products that match the recommended age range and supervise cutting, painting, ventilation, and cleanup as needed. For a first project during the cooler months, a compact paint set can provide an inviting indoor activity, while experienced hobbyists may appreciate expanding their selection with metallics, clear colours, primers, weathering shades, or paints suited to airbrush work. A well-chosen assortment gives model builders room to experiment, practise controlled application, and add the small visual details that turn an assembled kit into a personal display piece.
Application method is another important consideration. Brush painting is accessible and works well for small details, touch-ups, cockpit interiors, figures, emblems, and areas that are difficult to reach with a spray or airbrush. Look for paints that are easy to control and suited to the level of detail in the kit. A fine round brush can help with lettering and narrow edges, while a broader, softer brush is useful for larger panels and smooth base coats. Airbrushing can produce an even finish across broad surfaces, subtle colour transitions, and realistic shading, but it usually requires an airbrush, compressor, suitable thinner, masking materials, and a little practice. Paint that is too thick may clog the airbrush or leave visible brush marks, while paint that is too thin can run into seams and panel lines. A useful starting point is to thin paint gradually with the matching thinner, or with water where the formula allows, until it flows smoothly without looking watery. The ideal consistency varies by paint type, nozzle size, pressure, brush, and surface, so testing on a spare piece of plastic or an unused section of the sprue is worthwhile. For brush painting, several thin coats are usually more attractive and more forgiving than one heavy coat. Allowing each layer to dry before adding the next helps preserve rivets, vents, panel lines, and other small details. It is also helpful to begin with lighter colours and move towards darker shading, while checking whether the colours underneath have fully cured before applying masking tape or another formula. If different paint types are used on one model, compatibility matters. Many hobbyists follow a general layering approach of lacquer first, enamel next, and acrylic on top, but the specific products and drying times can affect the result, so testing on a spare surface is the safest approach. Primers, clear coats, washes, and weathering paints can each serve a different purpose: primer prepares the surface, colour coats establish the main finish, washes settle into recessed details, and clear coats can create a glossy, satin, or matte appearance. Matching the finish to the subject can make a model feel more convincing, from the reflective bodywork of a road car to the flat, worn surfaces of a service vehicle.
Colour selection often depends on both the subject and the intended style. Some builders aim for an accurate historical or manufacturer-inspired appearance, while others enjoy custom colour schemes, polished metallics, dramatic contrasts, or imaginative finishes. A basic collection of primary colours, black, white, a neutral grey, metallic shades, and a few earth tones can support many projects, especially when the paints can be mixed carefully for intermediate colours. Dedicated shades can save time when a kit includes small markings or complicated interiors, while larger bottles or multipacks may suit frequent hobbyists who paint several models. Check whether the paint is intended for brush application, airbrushing, detailing, or general coverage, and consider whether the kit instructions recommend particular colour families. Storage is simple but important: close lids firmly, keep containers upright, and store paint away from direct heat and freezing temperatures. Dried paint around a cap can prevent a proper seal, so wiping the rim clean before closing the container can help preserve the remaining paint. For younger builders, choose products that match the recommended age range and supervise cutting, painting, ventilation, and cleanup as needed. For a first project during the cooler months, a compact paint set can provide an inviting indoor activity, while experienced hobbyists may appreciate expanding their selection with metallics, clear colours, primers, weathering shades, or paints suited to airbrush work. A well-chosen assortment gives model builders room to experiment, practise controlled application, and add the small visual details that turn an assembled kit into a personal display piece.
Top selling and popular products
-
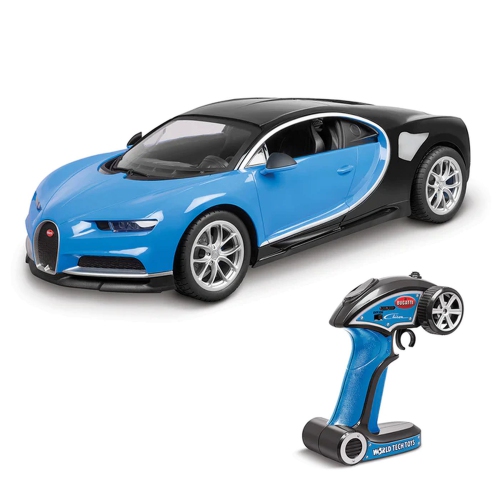 Your price for this item is $119.99
 -
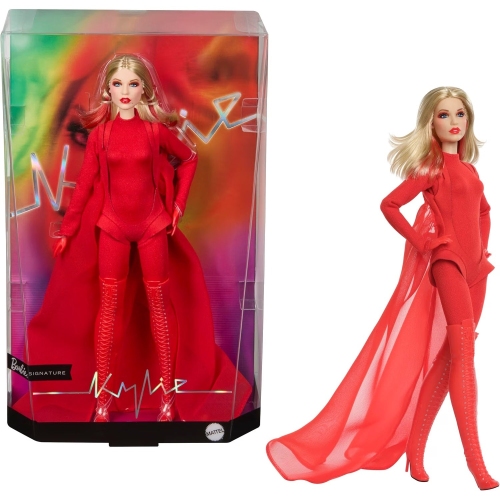 Your price for this item is $103.49
 -
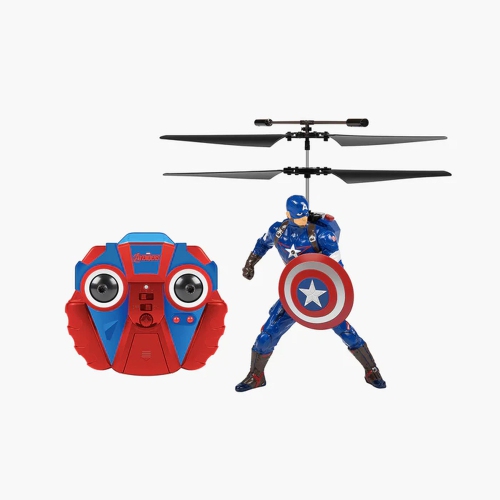 Your price for this item is $59.99
 -
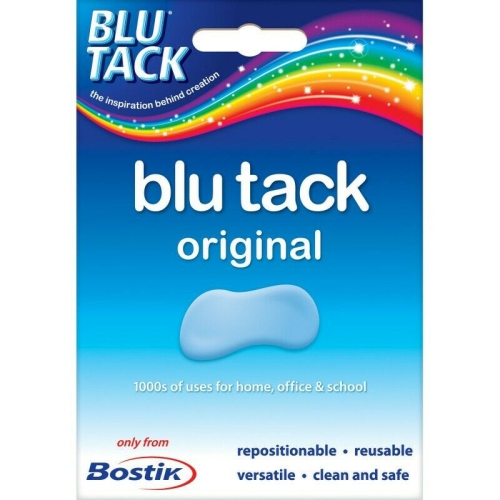 Your price for this item is $6
 -
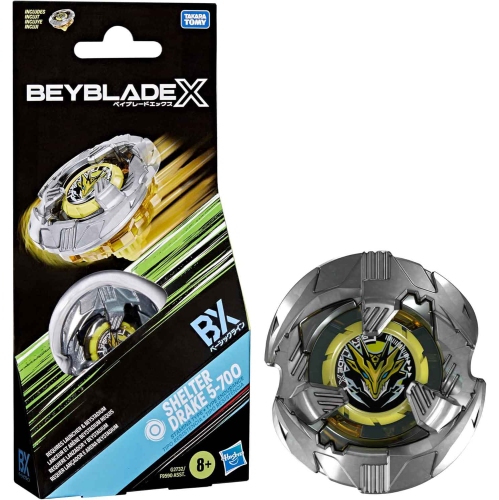 Your price for this item is $13.79
 -
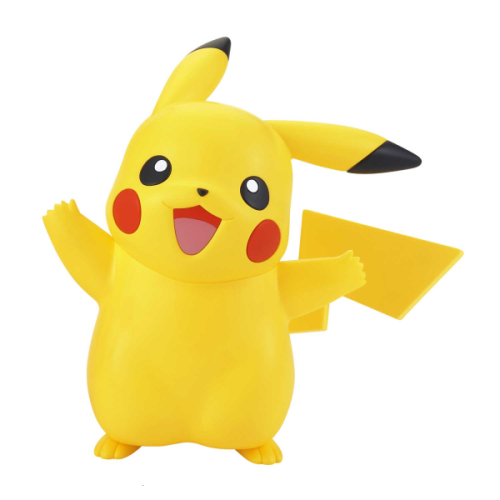 Your price for this item is $16
 -
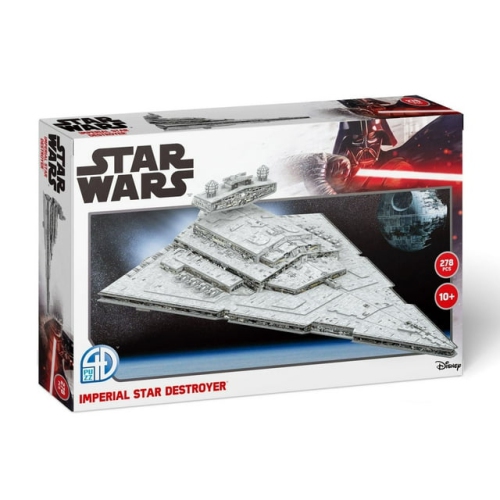 Your price for this item is $69.99
 -
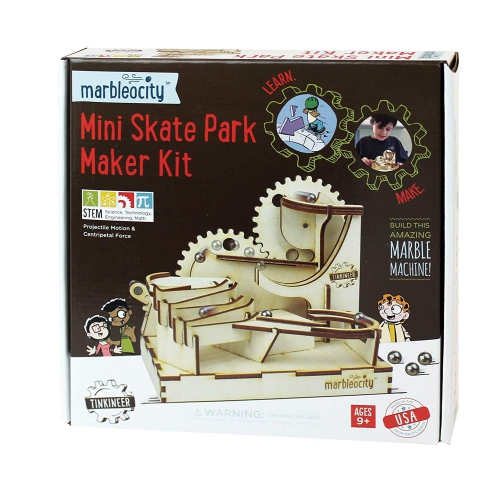 Your price for this item is $38.21
Discover more categories related to Model Kit Paints
Top Collections:
Pokemon Centers, Kindle Devices, Best Budget Office Chairs, Apple iPhones 16, Best Laptops for Writers, iPhone 15 Apple, Canon G7X Cameras, Refurbished Apple Laptops, Alarm Clock, Motorola Razr Phones
Some products may be subject to Environmental Handling Fees
(EHF) depending on your province.
Learn more about EHFs.