Replacement Headlights
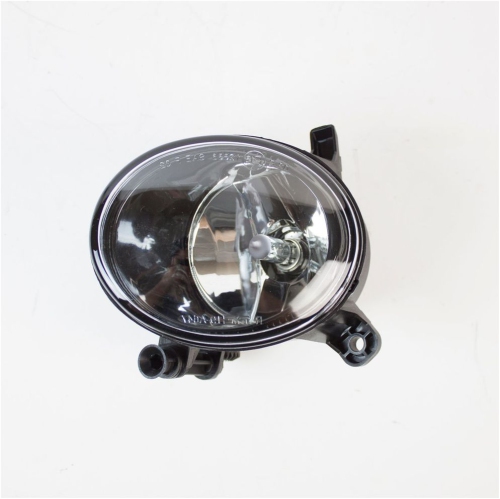
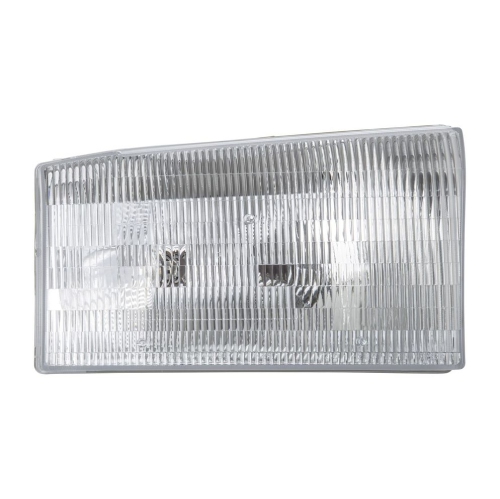
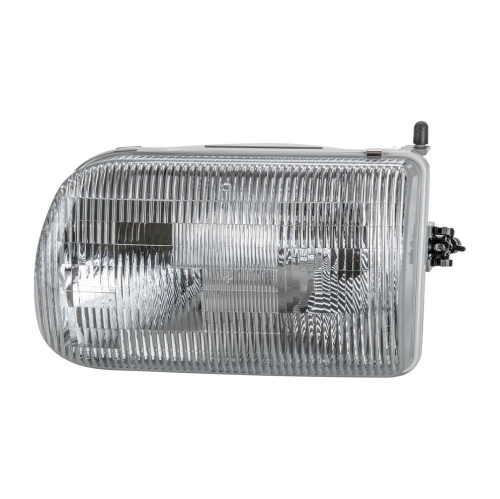
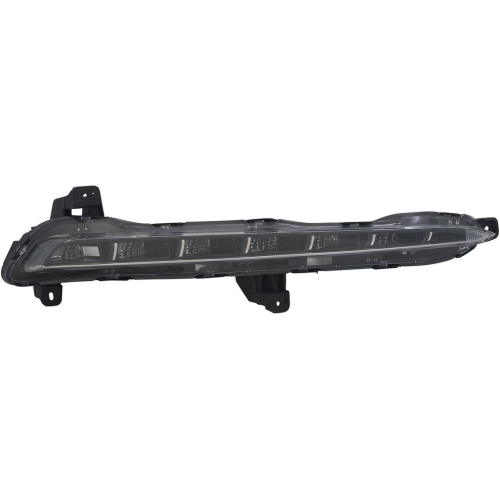
Upgrade your vehicle's lighting with our selection of replacement headlights. Whether you're looking to enhance visibility on the road or simply need to replace a damaged headlight, we have a variety of options to suit your needs. From sleek LED headlights to traditional halogen bulbs, our collection offers high-quality choices to keep you safe and stylish on the road. Browse through our range of replacement headlights to find the perfect fit for your car or truck.
Sort
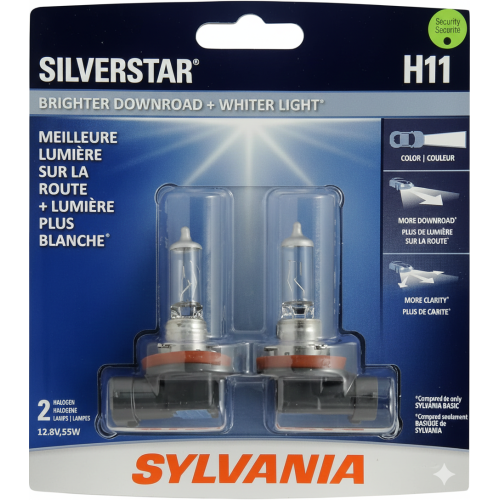
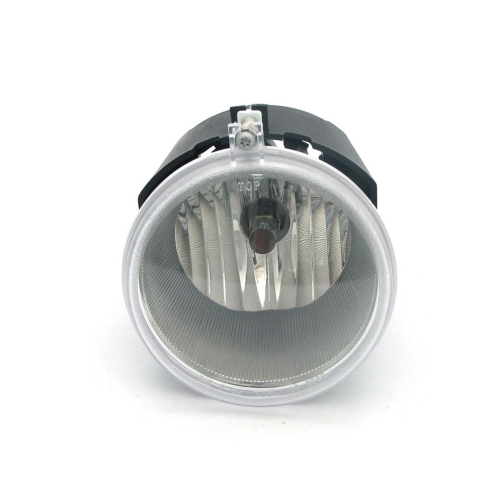
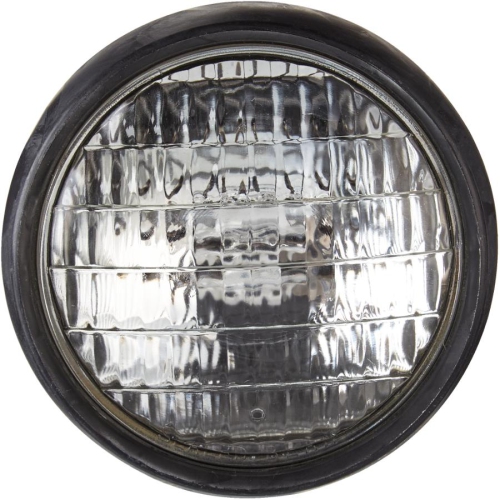
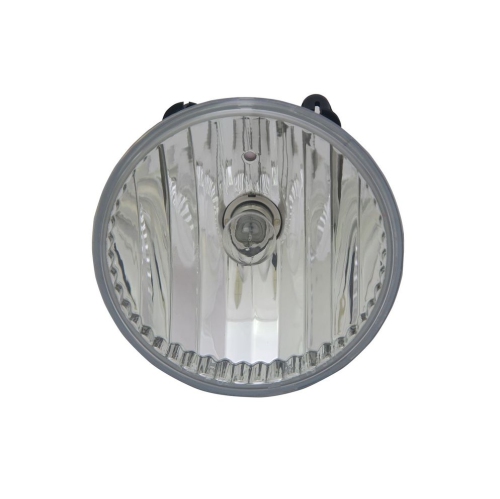
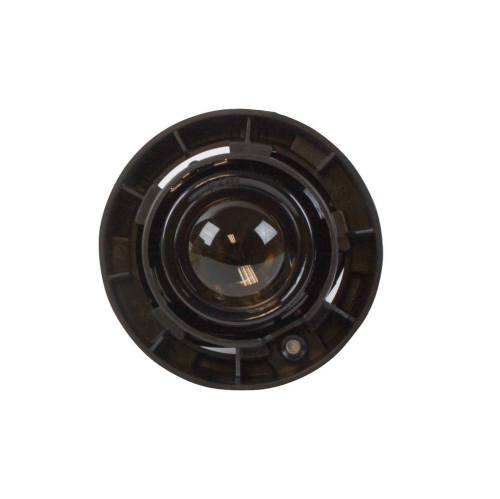
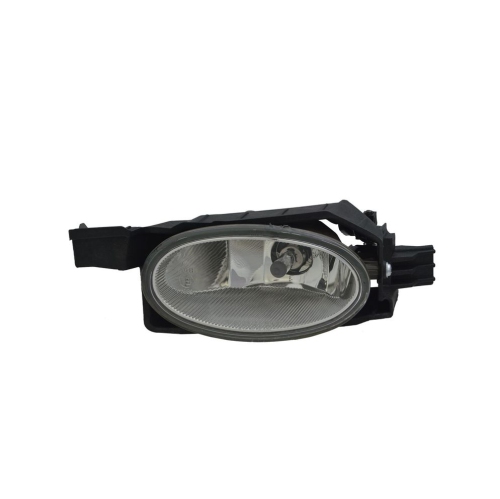
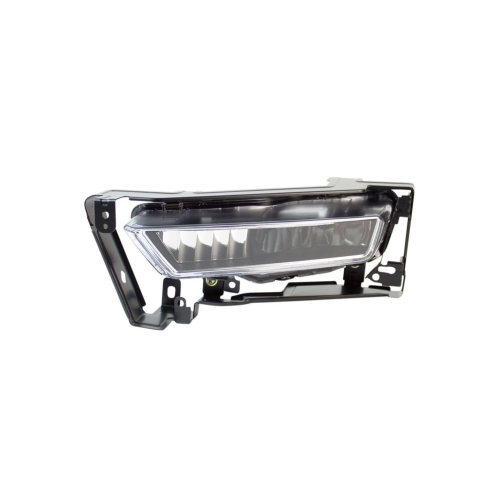
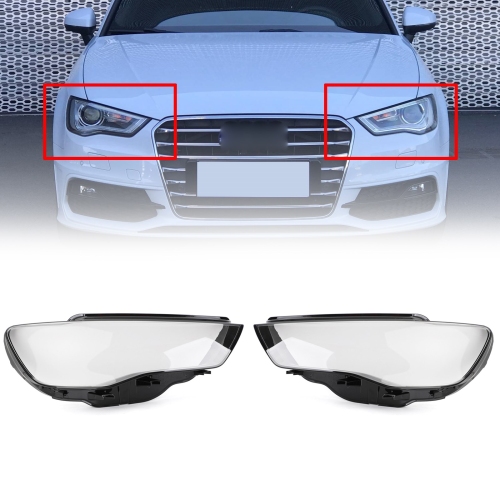
The right fitment supports safer, clearer night driving
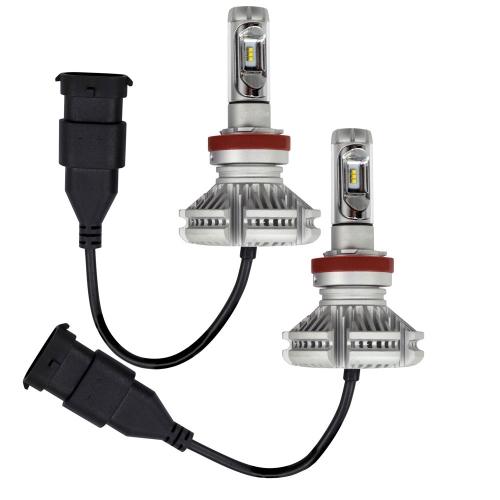
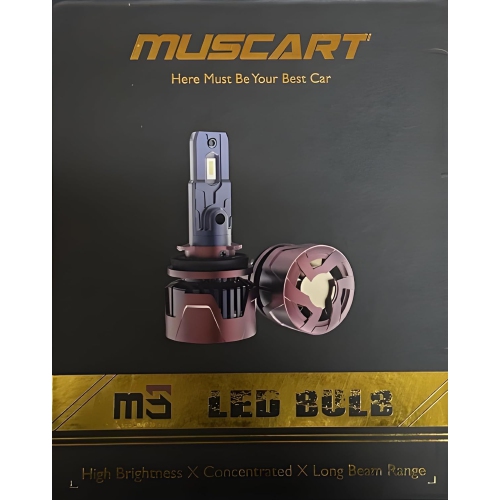
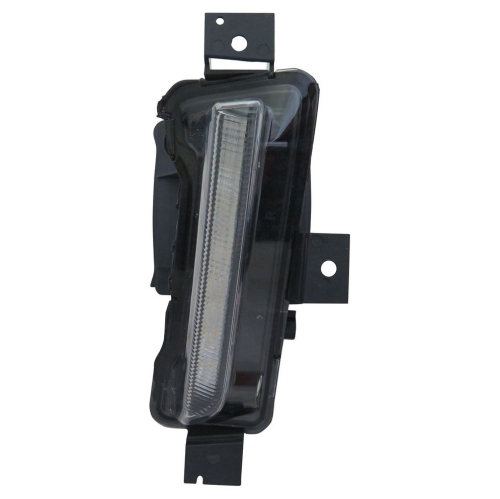
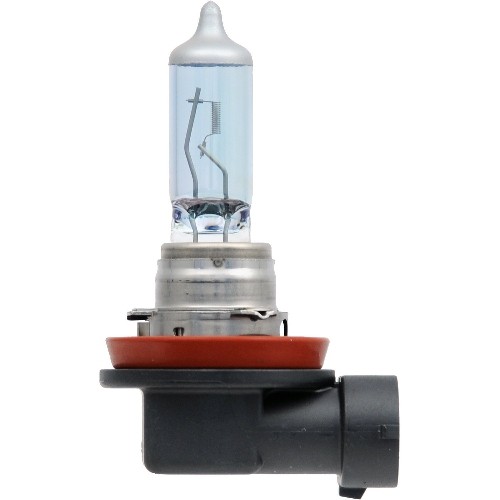
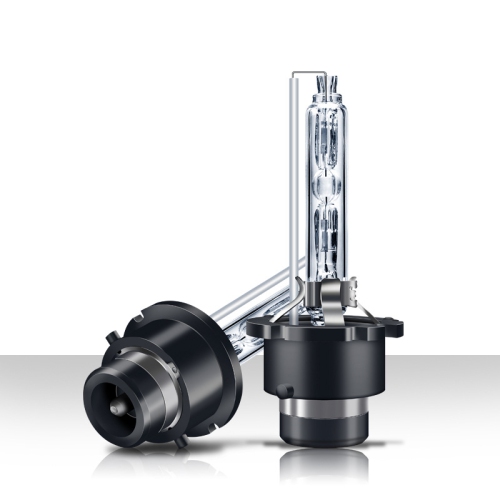
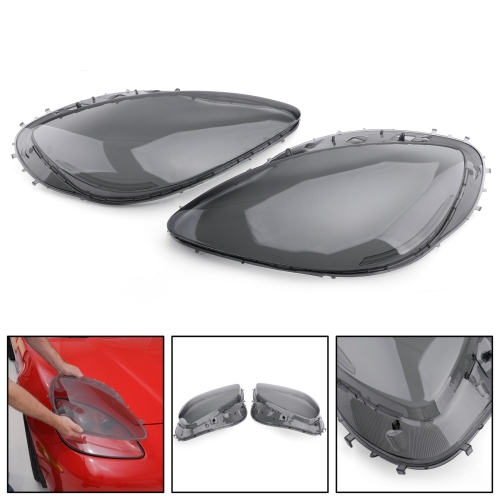
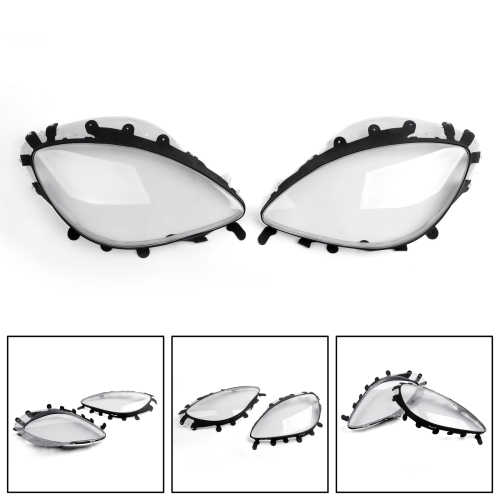
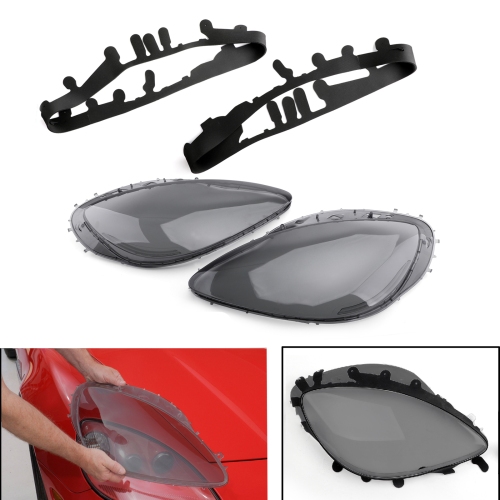
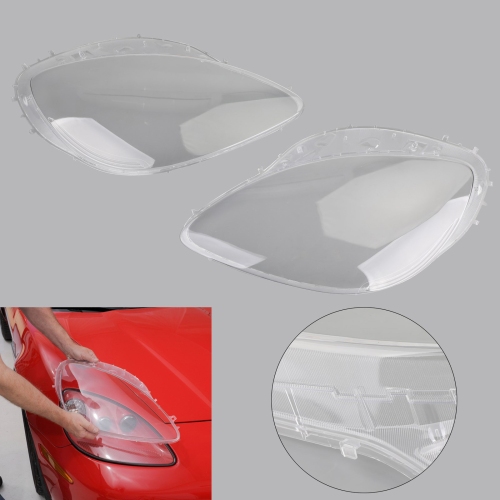
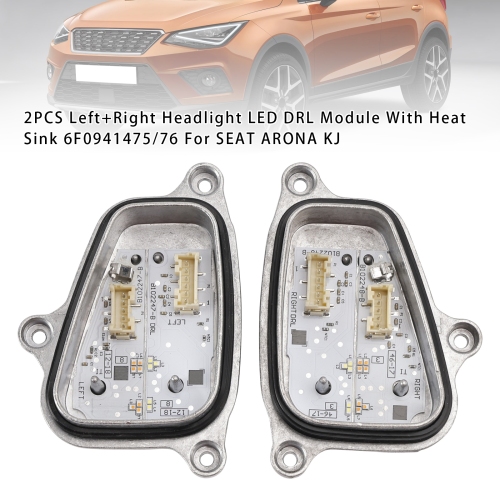
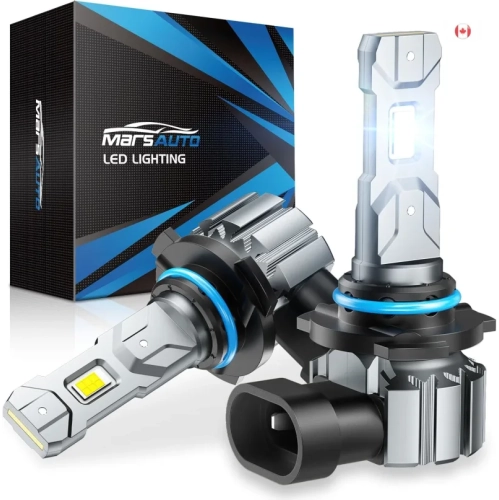
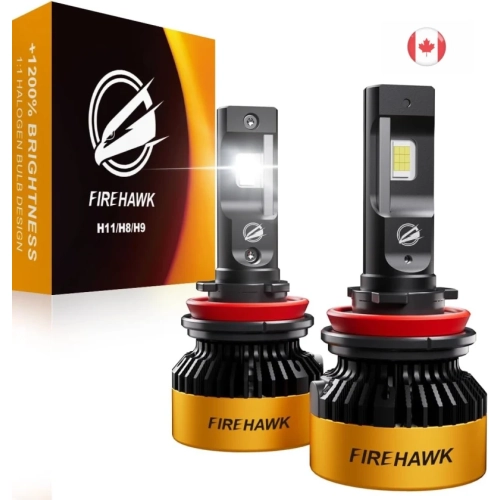
Replacement headlights help restore the visibility and confidence that can fade when a bulb burns out, a lens becomes damaged, or an entire headlight housing no longer performs as it should. A properly working headlight allows you to see road markings, signs, pedestrians, cyclists, wildlife, and unexpected obstacles more clearly, while also helping other road users notice your vehicle. This is especially important during the cooler months, when earlier sunsets, rain, fog, snow, and road spray can make driving conditions change quickly. Replacement headlights may refer to individual bulbs or complete headlight assemblies, so begin by identifying the type of replacement your vehicle needs. A bulb replacement is generally suitable when the housing is intact and only the light source has failed. A complete assembly may be more appropriate when the lens is cracked, the housing is clouded or damaged, moisture has entered the unit, or the vehicle uses an integrated LED system that is not designed for a simple bulb swap. For vehicles that require a full housing, explore Headlight Assemblies to find options that match this type of repair. Before purchasing, check the vehicle’s year, make, model, trim, and lighting configuration against the product information. Many vehicles use different bulbs for low beams, high beams, daytime running lights, and fog lights, and the driver’s side and passenger’s side may not always be identical. The existing bulb may have a size code printed on its base, although the owner’s manual or a vehicle parts guide is often the most dependable source. Some vehicles also have limited access behind the headlight, with the air intake, battery, fuse box, or other components making installation more involved than it first appears. Confirming fitment before opening the bonnet can save a trip to the store and prevent the frustration of discovering that a new bulb has the wrong connector, base, wattage, or technology.
Replacing a standard headlight bulb can often be completed with a few careful steps, but the exact process varies by vehicle. Park on a level surface, switch off the engine, remove the keys, engage the parking brake, and allow the headlights to cool completely before opening the hood. Locate the rear of the headlight housing and identify the connector, retaining clip, dust cover, or locking ring that secures the bulb. If a rubber or plastic cover is present, remove it gently and keep it somewhere clean. Disconnect the electrical plug by pressing its release tab rather than pulling on the wiring. Depending on the design, the old bulb may release by turning the base counterclockwise, lifting a spring clip, or releasing a locking tab. Avoid forcing a component; if it does not move as expected, consult the vehicle manual because a broken retainer can leave the headlight loose or allow water into the housing. When handling a replacement halogen bulb, hold it by the plastic base and avoid touching the glass with bare fingers. Oils from skin can create hot spots on the glass and shorten the bulb’s service life. If the glass is touched, clean it with an appropriate lint-free cloth and rubbing alcohol, then let it dry before installation. Slide the replacement into the same orientation as the original, secure the locking mechanism, reconnect the electrical plug, and replace the dust cover so the seal remains protected. Turn on the low beams and high beams to confirm that the light operates, then check that the bulb sits evenly in the housing. A bulb that is not seated correctly may shine in the wrong direction or produce an uneven pattern. Do not test a headlight while the wiring is loose or while tools are resting near moving engine components. If access is difficult, the connector is corroded, or the lighting system includes high-voltage HID components, professional installation is the safer choice.
Choosing the right replacement also involves more than selecting the brightest option available. Headlights should provide a clear, controlled beam that illuminates the road without creating excessive glare for oncoming drivers. Verify that the replacement is approved for use with the vehicle’s original housing and that its voltage, wattage, connector, and beam position are compatible. Some newer vehicles use LED modules, automatic levelling, adaptive lighting, or computer-controlled systems that may require additional programming or a complete assembly rather than a conventional plug-in bulb. Installing a component that does not match the vehicle’s electrical system can trigger warning messages, flickering, rapid failure, or other fitment problems. It is also worth inspecting both headlights when one fails. Bulbs installed at the same time often have a similar service history, and replacing them as a pair can provide more consistent colour and brightness from side to side. After installation, park facing a wall on level ground and compare the beam height and shape with the vehicle’s recommended adjustment. Headlights that point too high can dazzle other drivers, while headlights that point too low can reduce useful visibility on dark roads. Keep the lens clean, look for condensation that does not clear after normal operation, and have a technician inspect persistent moisture, cracked seals, damaged wiring, or an unstable housing. Replacement headlights can be a practical purchase for a commuter, a new driver, a family member preparing for longer drives, or anyone maintaining an older vehicle, particularly when clear lighting is needed for school runs, evening shifts, rural roads, or changing weather. A careful fitment check, safe installation, and final beam inspection help ensure that the replacement performs as intended whenever the road ahead becomes difficult to see.
Replacing a standard headlight bulb can often be completed with a few careful steps, but the exact process varies by vehicle. Park on a level surface, switch off the engine, remove the keys, engage the parking brake, and allow the headlights to cool completely before opening the hood. Locate the rear of the headlight housing and identify the connector, retaining clip, dust cover, or locking ring that secures the bulb. If a rubber or plastic cover is present, remove it gently and keep it somewhere clean. Disconnect the electrical plug by pressing its release tab rather than pulling on the wiring. Depending on the design, the old bulb may release by turning the base counterclockwise, lifting a spring clip, or releasing a locking tab. Avoid forcing a component; if it does not move as expected, consult the vehicle manual because a broken retainer can leave the headlight loose or allow water into the housing. When handling a replacement halogen bulb, hold it by the plastic base and avoid touching the glass with bare fingers. Oils from skin can create hot spots on the glass and shorten the bulb’s service life. If the glass is touched, clean it with an appropriate lint-free cloth and rubbing alcohol, then let it dry before installation. Slide the replacement into the same orientation as the original, secure the locking mechanism, reconnect the electrical plug, and replace the dust cover so the seal remains protected. Turn on the low beams and high beams to confirm that the light operates, then check that the bulb sits evenly in the housing. A bulb that is not seated correctly may shine in the wrong direction or produce an uneven pattern. Do not test a headlight while the wiring is loose or while tools are resting near moving engine components. If access is difficult, the connector is corroded, or the lighting system includes high-voltage HID components, professional installation is the safer choice.
Choosing the right replacement also involves more than selecting the brightest option available. Headlights should provide a clear, controlled beam that illuminates the road without creating excessive glare for oncoming drivers. Verify that the replacement is approved for use with the vehicle’s original housing and that its voltage, wattage, connector, and beam position are compatible. Some newer vehicles use LED modules, automatic levelling, adaptive lighting, or computer-controlled systems that may require additional programming or a complete assembly rather than a conventional plug-in bulb. Installing a component that does not match the vehicle’s electrical system can trigger warning messages, flickering, rapid failure, or other fitment problems. It is also worth inspecting both headlights when one fails. Bulbs installed at the same time often have a similar service history, and replacing them as a pair can provide more consistent colour and brightness from side to side. After installation, park facing a wall on level ground and compare the beam height and shape with the vehicle’s recommended adjustment. Headlights that point too high can dazzle other drivers, while headlights that point too low can reduce useful visibility on dark roads. Keep the lens clean, look for condensation that does not clear after normal operation, and have a technician inspect persistent moisture, cracked seals, damaged wiring, or an unstable housing. Replacement headlights can be a practical purchase for a commuter, a new driver, a family member preparing for longer drives, or anyone maintaining an older vehicle, particularly when clear lighting is needed for school runs, evening shifts, rural roads, or changing weather. A careful fitment check, safe installation, and final beam inspection help ensure that the replacement performs as intended whenever the road ahead becomes difficult to see.
Top selling and popular products
-
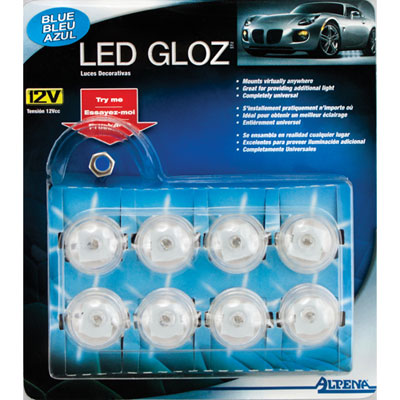 Your price for this item is $16.99
 -
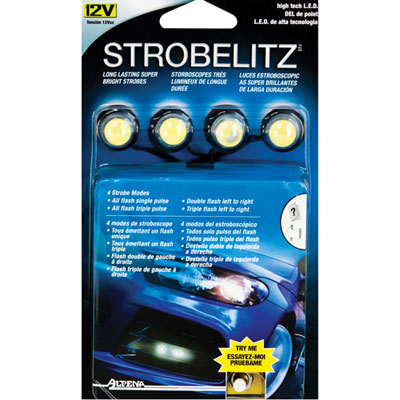 Your price for this item is $31.99
 -
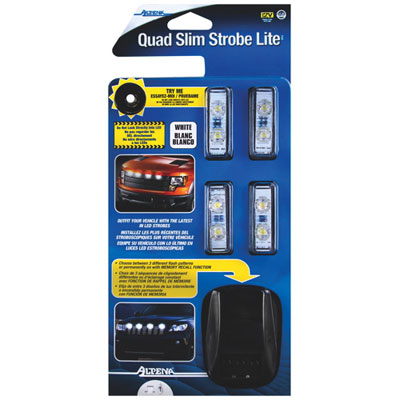 Your price for this item is $48.99
 -
 Your price for this item is $36.99
 -
 Your price for this item is $36.96
 -
 Your price for this item is $52.96
 -
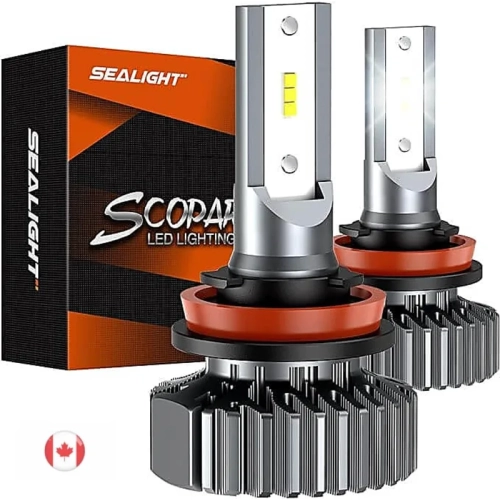 Your price for this item is $59.99
 -
 Your price for this item is $29.99
Discover more categories related to Replacement Headlights
Top Collections:
Pokemon Centers, Budget 4K TVs, Best Budget Office Chairs, Kindle Devices, Canon G7X Cameras, Apple iPhones 16, iPhone 15 Apple, Laptops for Business Work, Xiaomi Phones, Flip Phones
Some products may be subject to Environmental Handling Fees
(EHF) depending on your province.
Learn more about EHFs.