Menu Laminating Pouches
Menu laminating pouches provide a convenient solution for protecting and preserving your menus, keeping them looking clean and professional in any setting. Ideal for restaurants, cafes, and catering businesses, these pouches help maintain the quality of your printed materials while making cleanup easy. With menu laminating pouches, you can ensure your menus stand up to frequent handling and continue to impress your customers day after day. Explore a variety of sizes and thicknesses to find the perfect fit for your needs.
Sort






Built for frequent handling and polished presentation
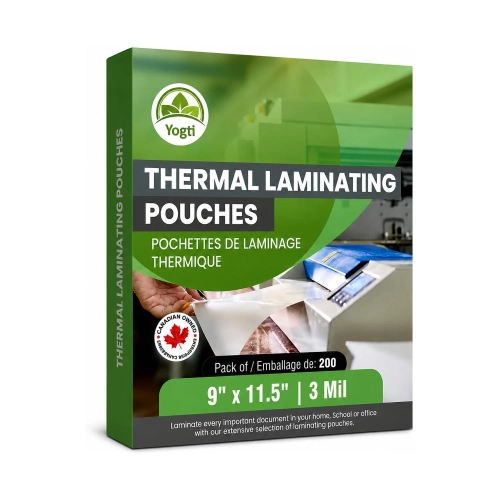
Menu laminating pouches are designed to give restaurant, café, catering and hospitality menus a durable protective finish that stands up to frequent handling. These thermal plastic sleeves typically have a sealed edge on one short side, allowing a printed menu to slide into place before it passes through a compatible laminator. Heat activates the adhesive inside the pouch, bonding the film around the paper and creating a smooth, sealed surface that helps guard against splashes, fingerprints, food residue and everyday wear. Menu-sized pouches are commonly available in formats such as 11 x 17 inches, 11 x 14 inches and 12 x 18 inches, although the precise finished size can vary by manufacturer and pouch design. Before ordering, measure the menu sheets you plan to laminate and allow enough room for the pouch’s sealed borders. A menu that fits neatly inside the pouch will have a more professional appearance and is less likely to develop exposed edges or uneven seals. It is also important to confirm that your laminator can accommodate the pouch dimensions and thickness. Most laminators list a maximum pouch width and a supported thickness range, so checking those specifications first can help prevent jams, incomplete seals or damage to the machine. These pouches are especially useful for menus that move constantly between tables, servers, counters and kitchen areas, where a paper sheet can quickly become creased, stained or difficult to read. They can also protect drink lists, dessert menus, daily specials, food-service price sheets, event menus and other frequently handled documents that need a clean, polished finish.
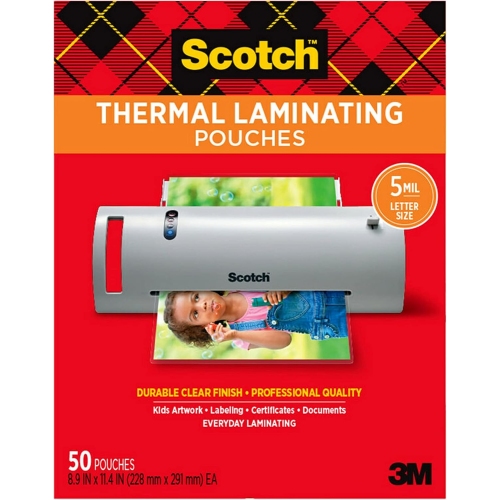
Pouch thickness is measured in mil, and the right option depends on how much handling and rigidity the finished menu needs. A 3 mil pouch offers a lighter, more flexible finish that can work well for menus that are stored in holders, filed away between services or updated regularly. A 5 mil pouch provides a noticeable increase in stiffness and protection, making it a practical choice for menus that are passed from person to person throughout the day. Thicker 7 mil and 10 mil options create a more rigid, substantial feel and are suited to high-use menus, larger sheets or applications where extra structure is helpful. Keep in mind that a thicker pouch may require a laminator built to handle heavier materials, and it may take longer to pass through the machine. Finish is another consideration. Glossy pouches bring out colour and contrast, helping photographs, logos, headings and decorative details appear bright and sharp. They are a popular choice when visual presentation is a priority, particularly for food and beverage menus with colourful images. Matte pouches have a softer, low-glare surface that can be easier to read under overhead lighting, near windows or in spaces with bright fixtures. The finish can also affect how the menu feels in the hand, so it is worth considering the atmosphere of the setting as well as the printed design. For example, a busy counter-service area may benefit from a sturdy pouch that is easy to wipe clean, while a quieter dining room may place greater emphasis on reduced glare and comfortable reading. If you are comparing formats for related office, school or home projects, you can also browse Heat Seal Laminating Pouches for additional pouch styles and applications.
When preparing menus for lamination, use clean, dry sheets with toner or ink that has fully set. Trim uneven edges carefully, but avoid cutting the printed page too close to important text or artwork. Place the sheet evenly inside the pouch, leaving a consistent border on all sides, and insert the sealed edge into the laminator first unless the machine’s instructions specify another direction. Feeding the sealed edge first helps the rollers draw the pouch through smoothly and can reduce the chance of an open side catching during lamination. Allow the laminated sheet to cool flat before stacking it with other menus; this gives the seal time to set and helps prevent unwanted curling. It is also wise to order pouches in a size that matches the documents you use most often rather than relying on oversized pouches for every project. Excess plastic around the menu can make handling awkward, while a pouch that is too small may leave corners or edges unprotected. For businesses that change pricing or offerings frequently, flexible 3 mil or 5 mil pouches may be convenient because they balance protection with easier storage and replacement. For menus that remain in circulation through busy service periods, thicker pouches can provide the added stiffness needed for repeated use. These products are useful for independent restaurants, cafés, food trucks, banquet halls, community kitchens, hotels, schools and home entertainers who want printed menus to look presentable from the first seating through the final table. During the cooler months, when indoor gatherings and catered events often bring more people together, laminated menus can make serving areas feel organised while helping printed information remain neat and legible. Whether you are preparing a complete set of dining menus or protecting a few frequently used sheets, choosing the correct size, finish, thickness and laminator compatibility will help produce a clean result that fits the way your menus are used.
Top selling and popular products
-
 Your price for this item is $45.68
-
 Your price for this item is $71.68
-
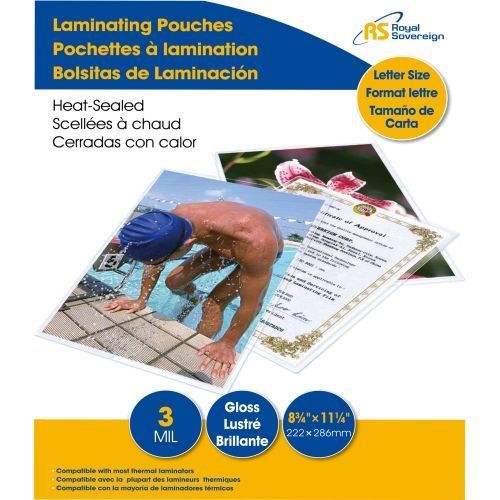 Your price for this item is $64.68
-
 Your price for this item is $26.98
-
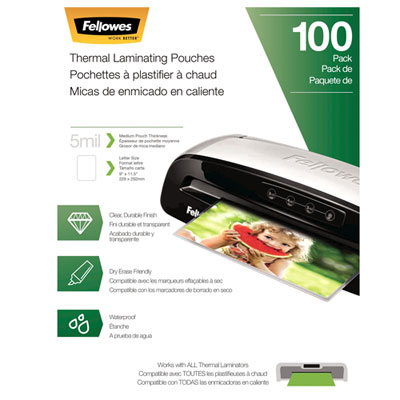 Your price for this item is $34.99
-
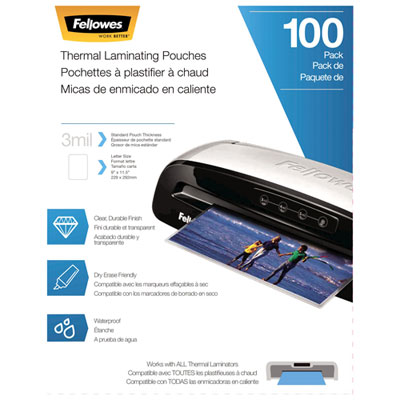 Your price for this item is $24.99
-
 Your price for this item is $39.99
-
 Your price for this item is $189.99
Discover more categories related to Menu Laminating Pouches
Top Collections:
Pokemon Centers, Best Cameras for Sports Photography, Kindle Devices, Samsung Galaxy Phones, Canon G7X Cameras, Pokémon 30th Celebration Cards, Refurbished Apple Laptops, iPhone 15 Apple, Laptops for Students, Budget Smartphones
Some products may be subject to Environmental Handling Fees
(EHF) depending on your province.
Learn more about EHFs.