Photography Lighting Setups
Whether you're a professional photographer, a content creator, or just someone who loves taking photos, the right lighting can make all the difference in achieving that perfect shot. From softbox kits to umbrella lights, LED panels to ring lights, we have everything you need to enhance your photography skills and capture stunning images in almost any setting. Explore this selection of versatile lighting setups designed to elevate your photography game and bring your creative vision to life.
Sort
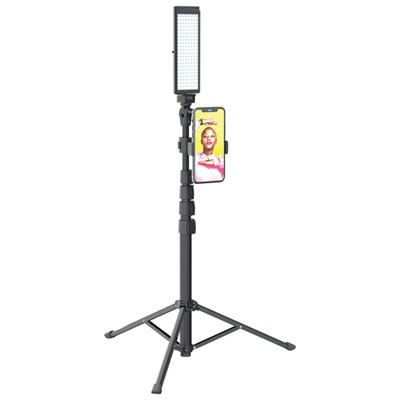
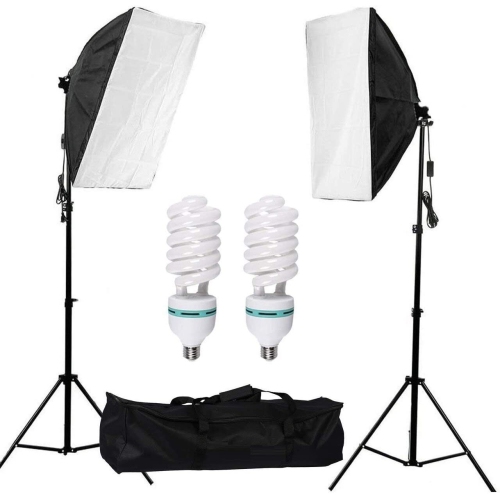
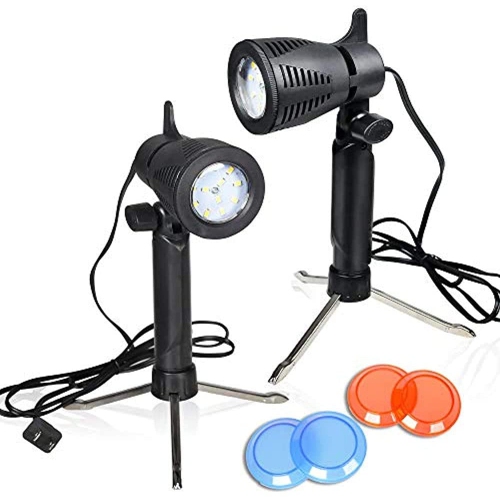
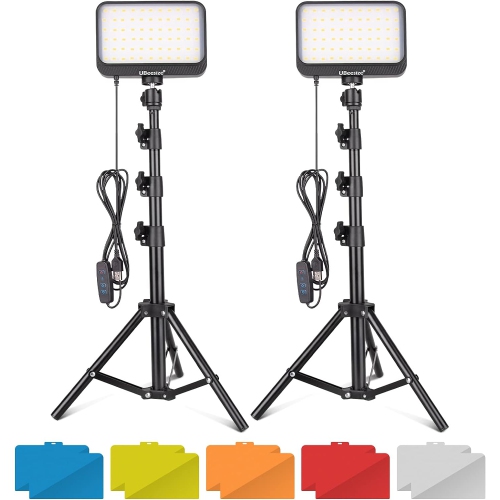
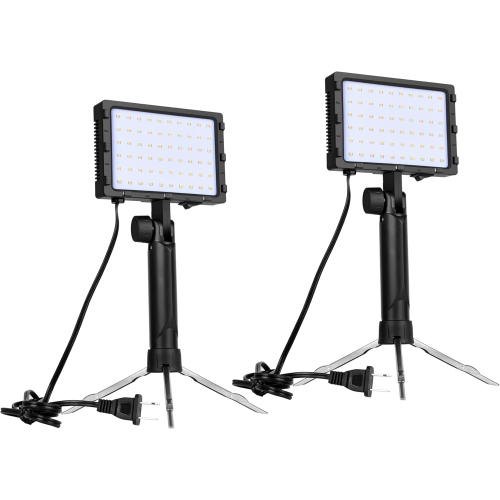
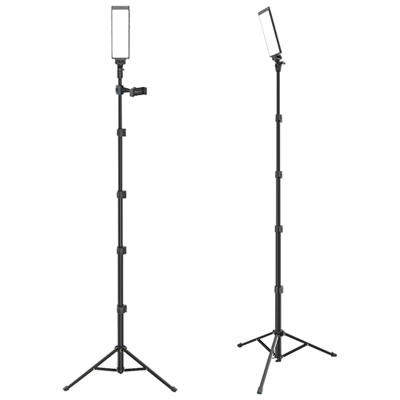

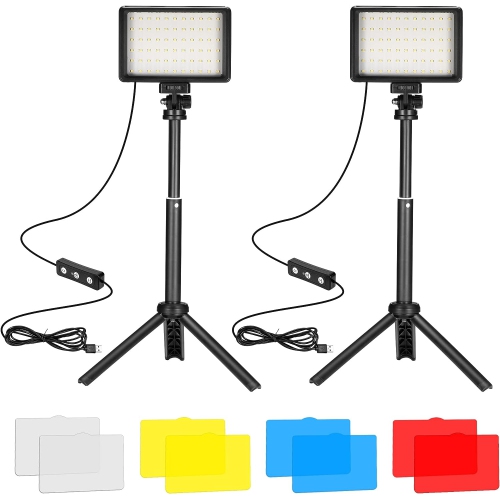
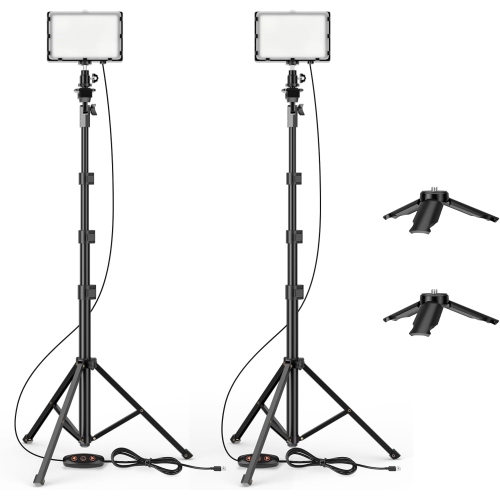
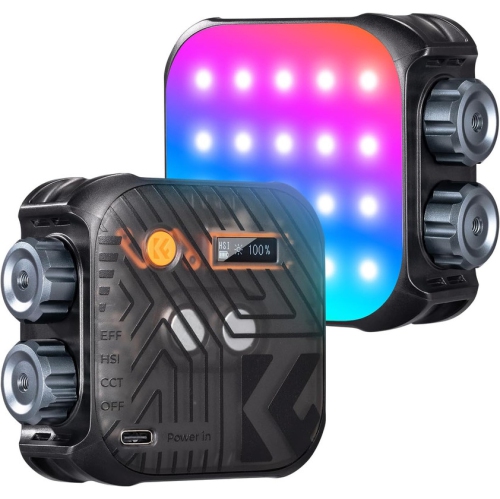
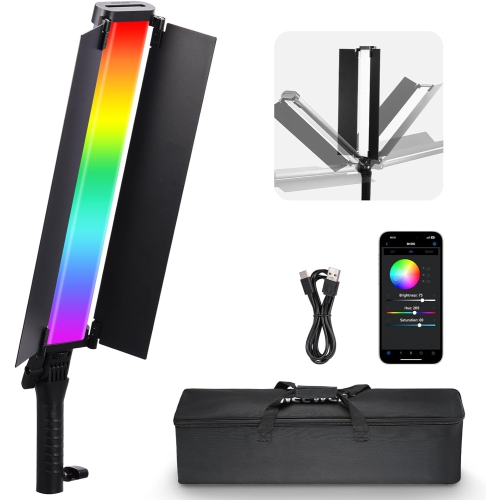
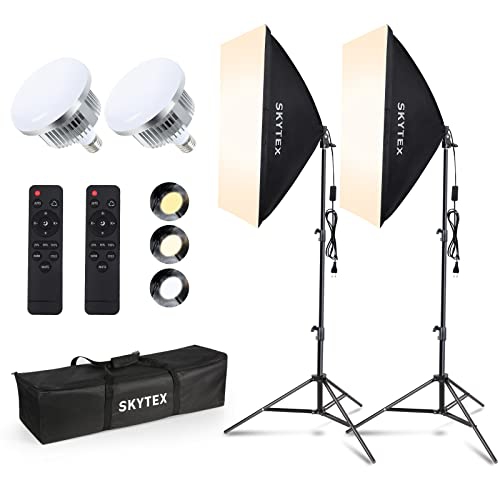
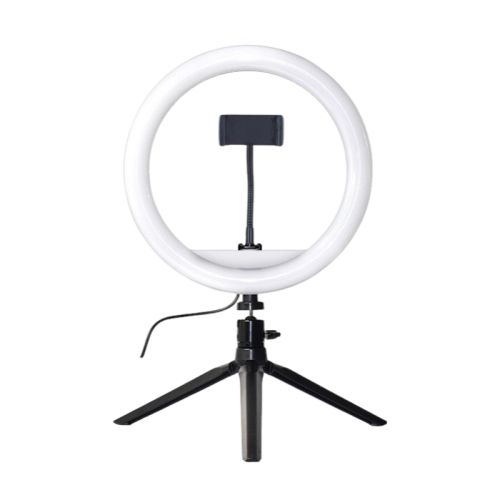
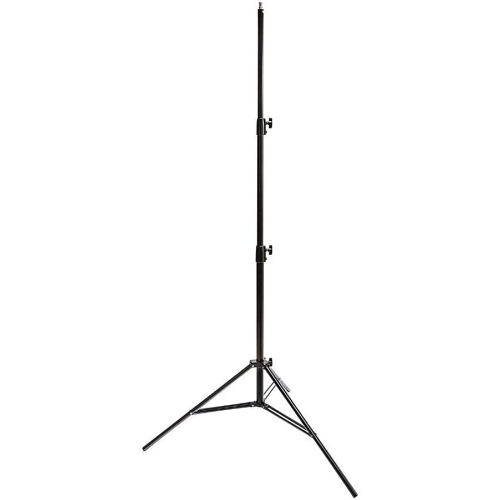
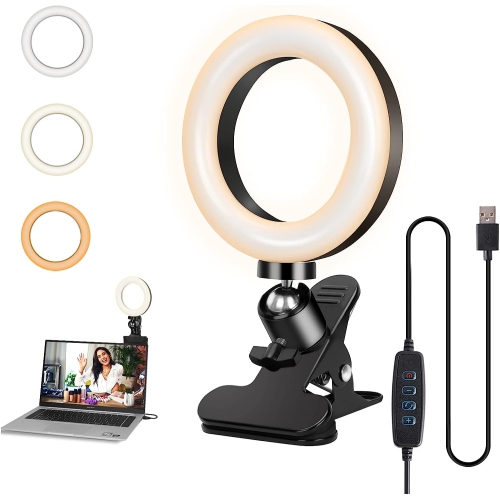

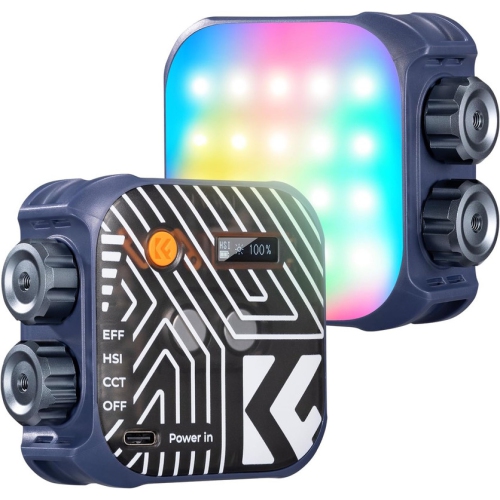
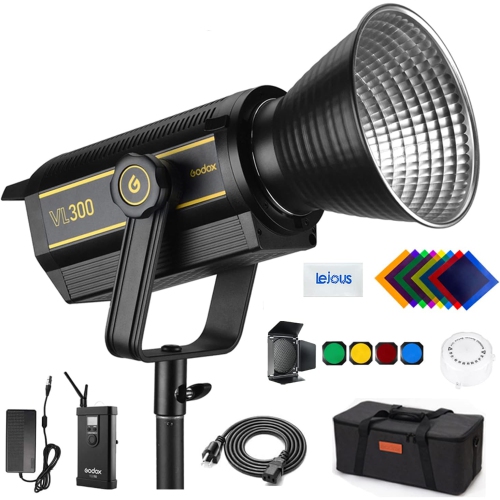
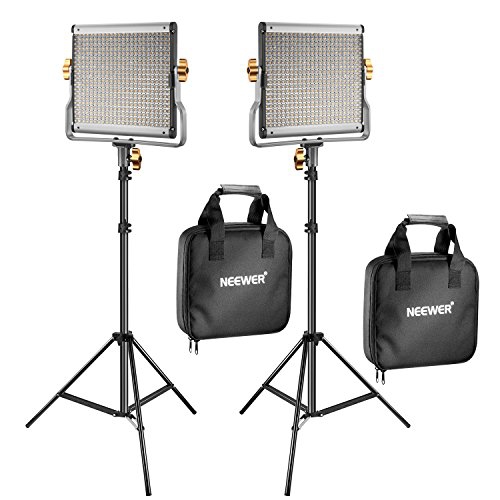
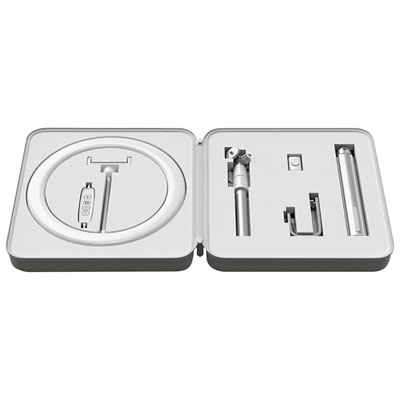
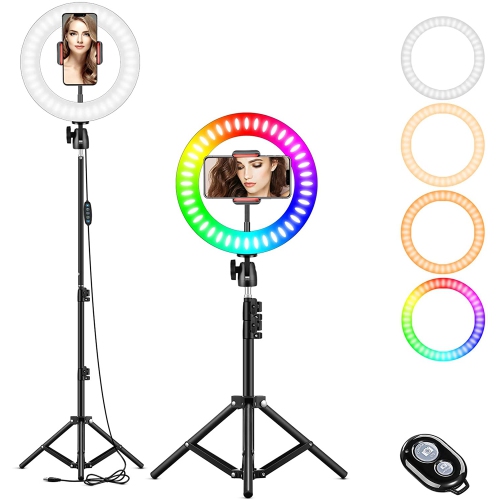
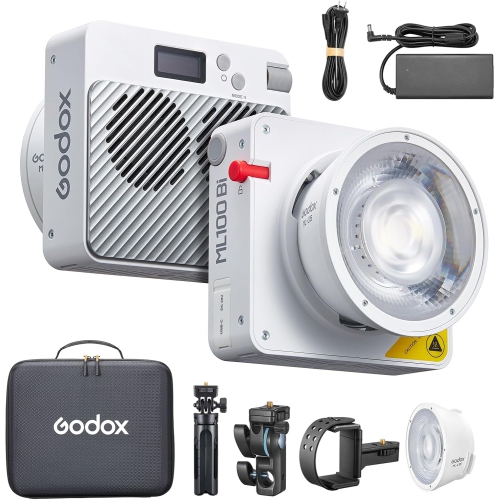
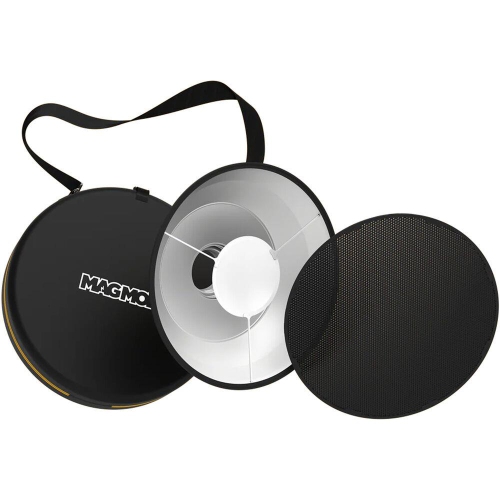
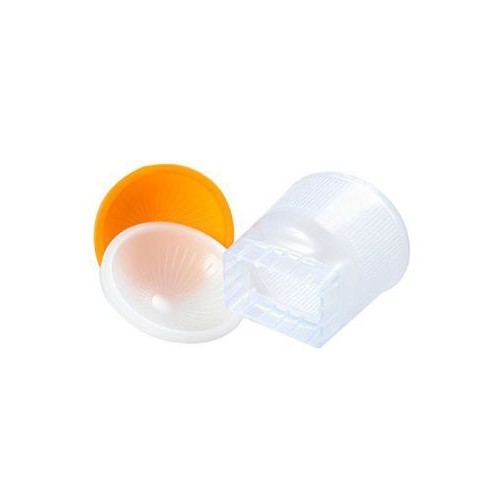
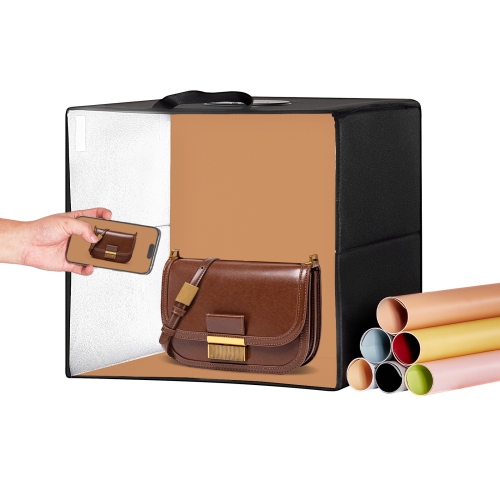
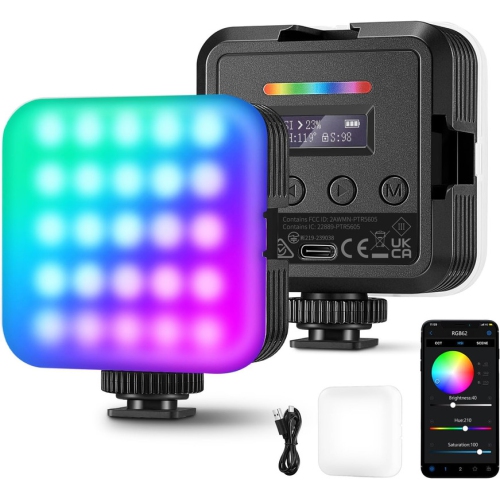
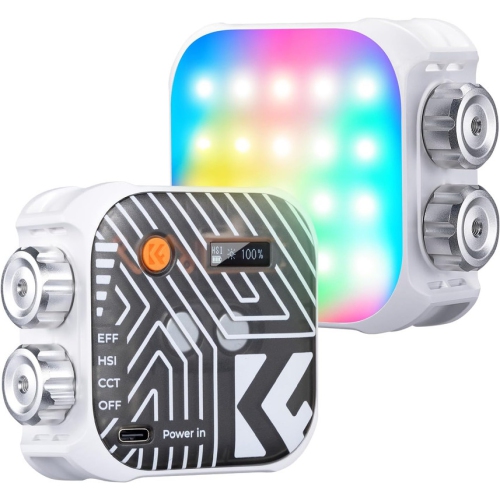
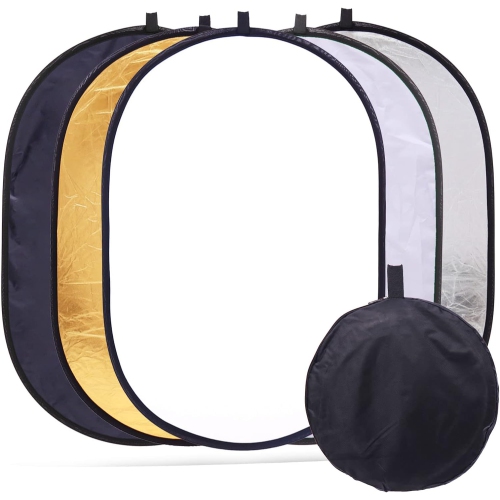
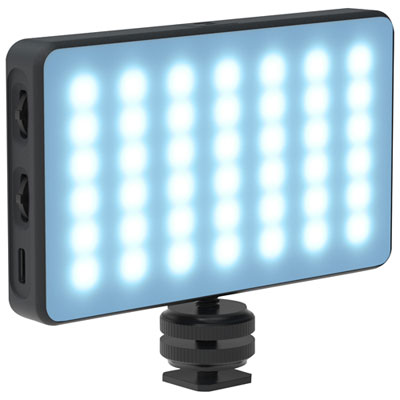
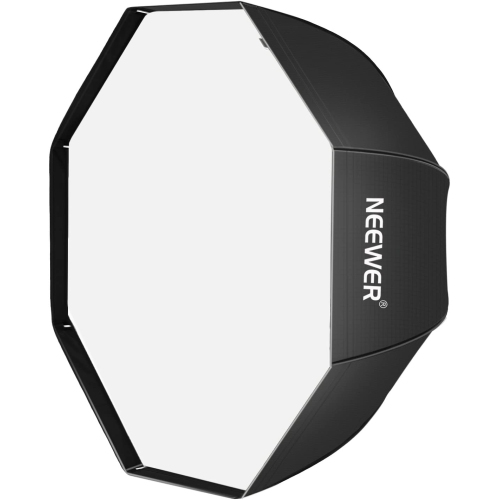
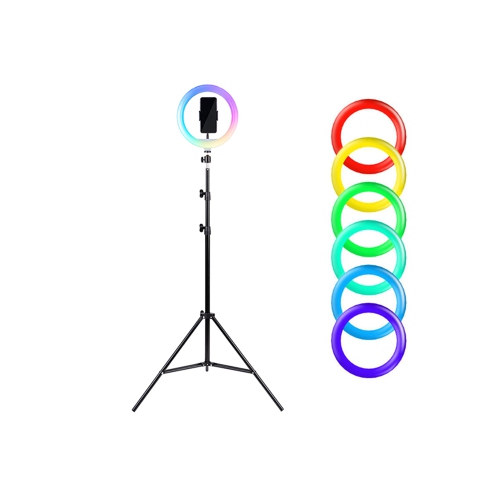
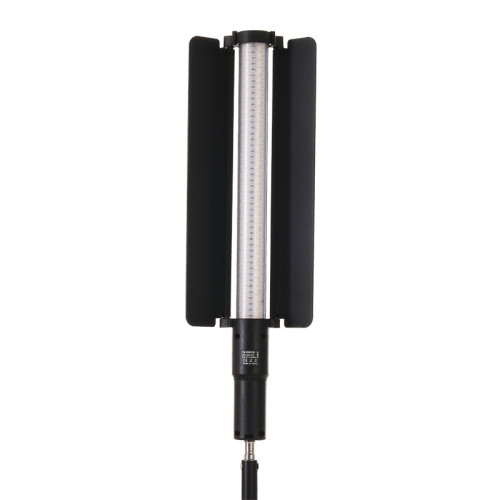
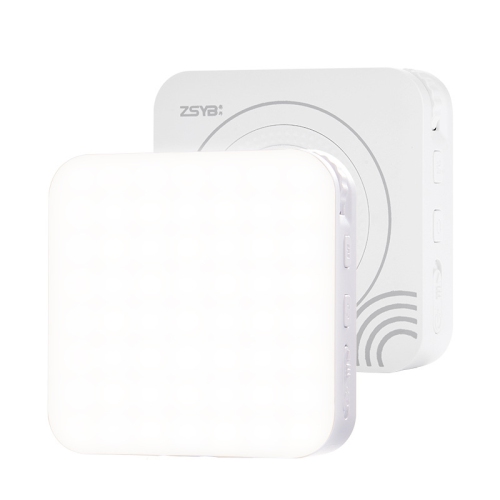
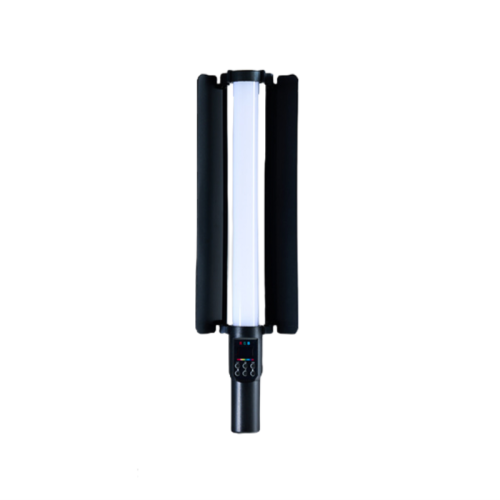
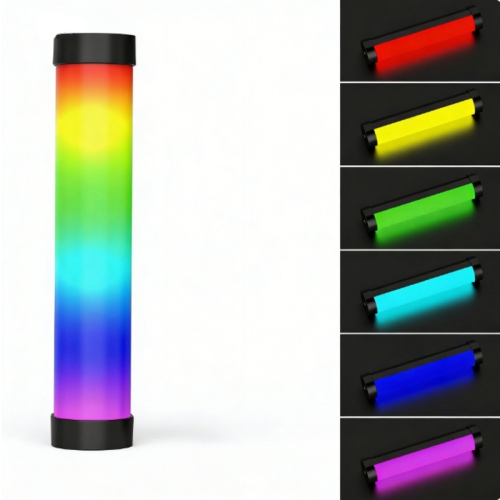
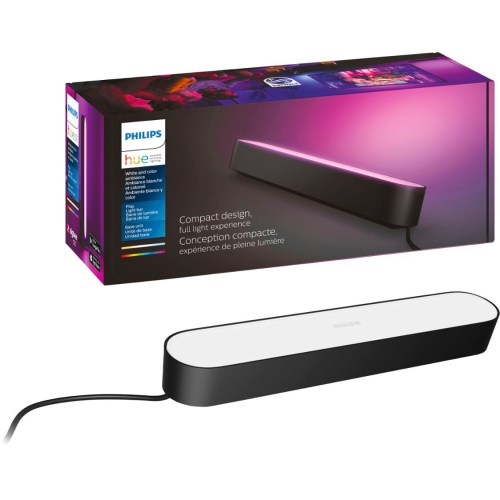
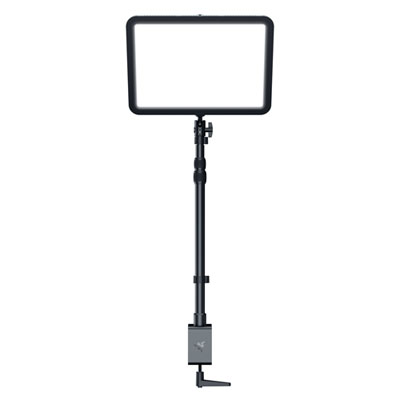
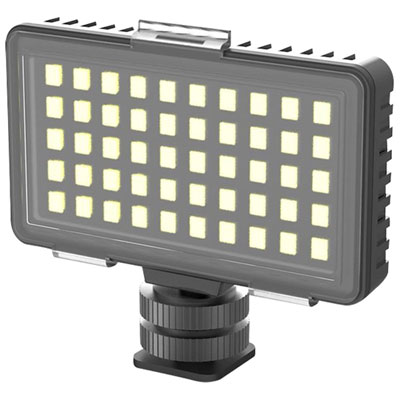
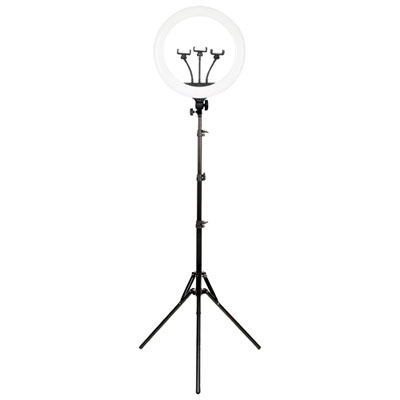
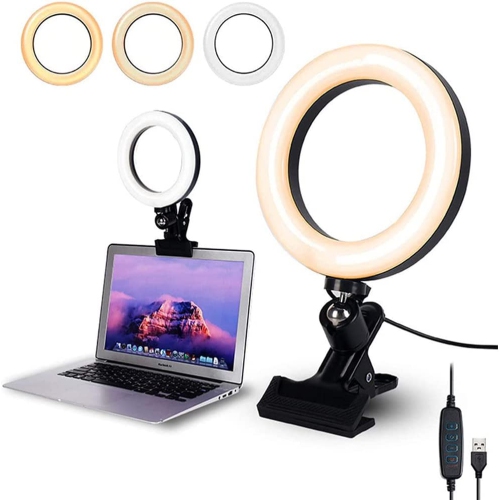
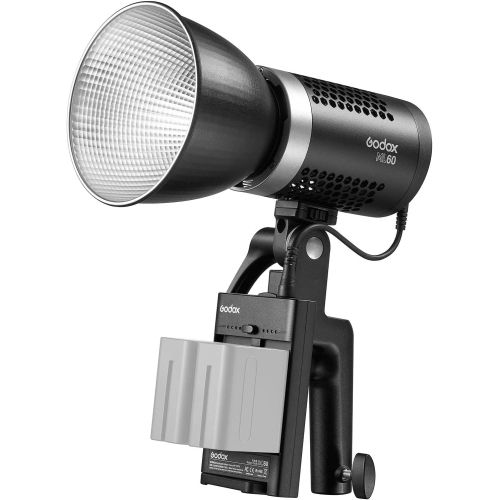
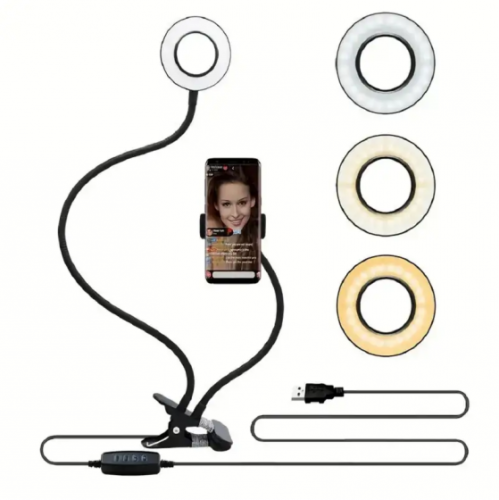
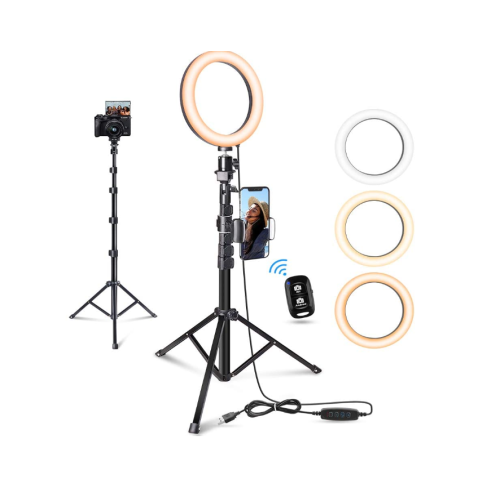
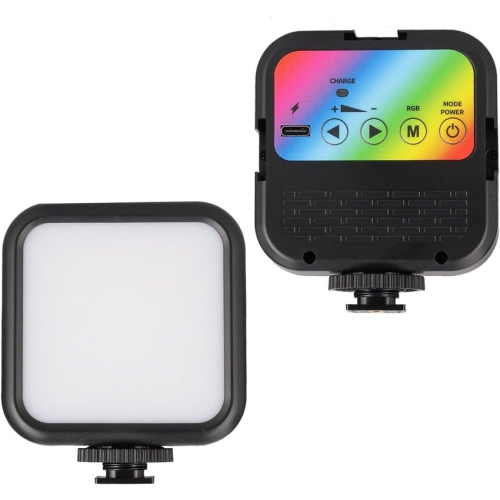
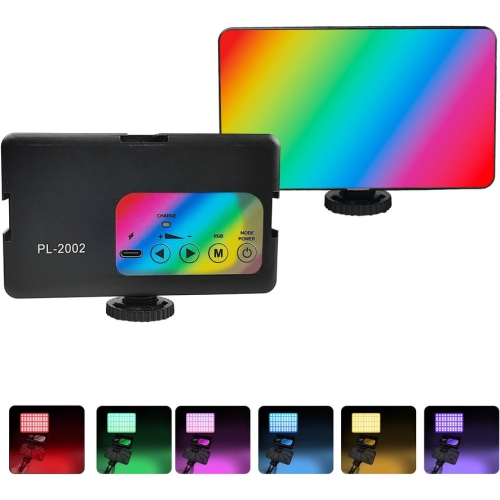
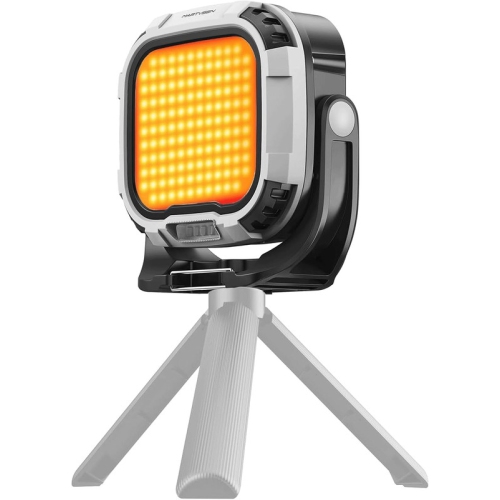
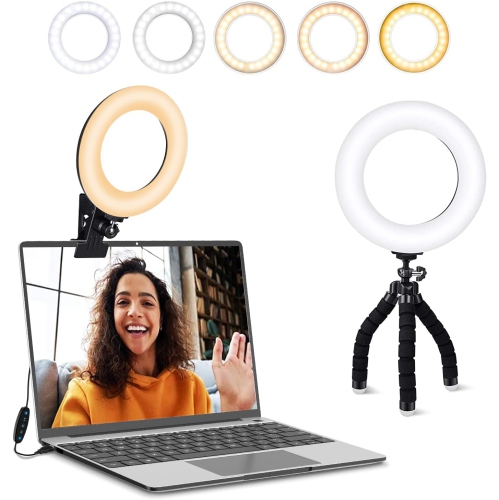

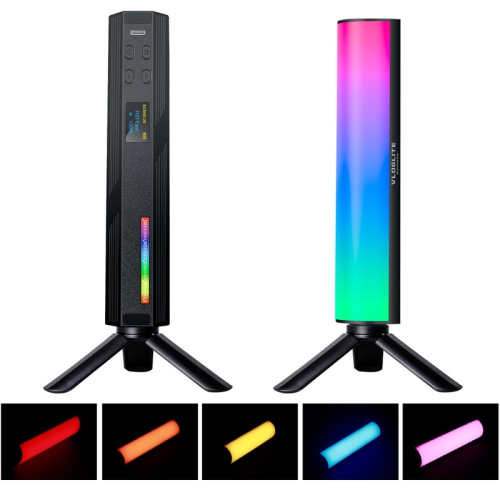
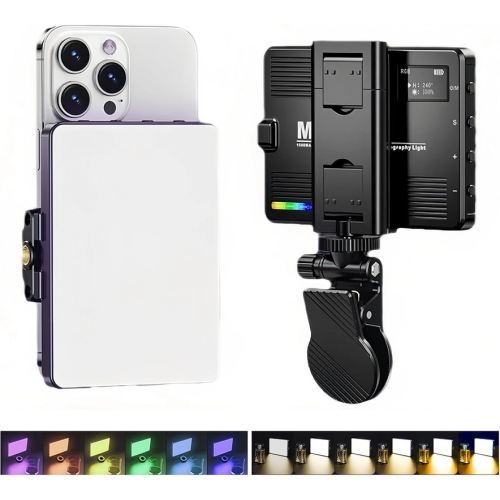
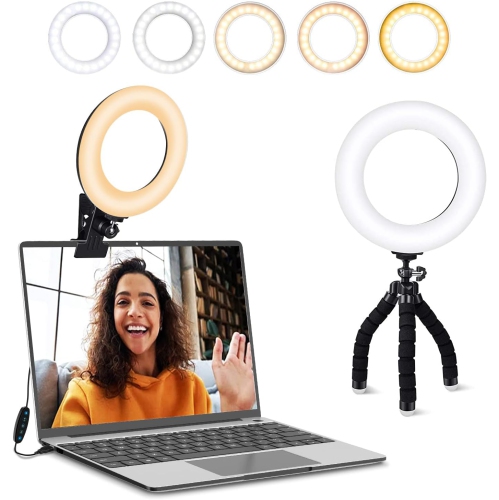
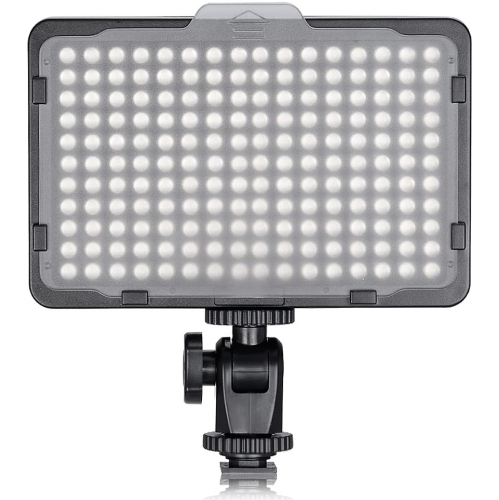

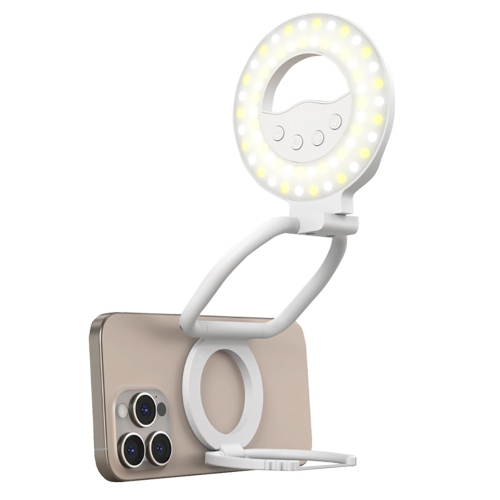
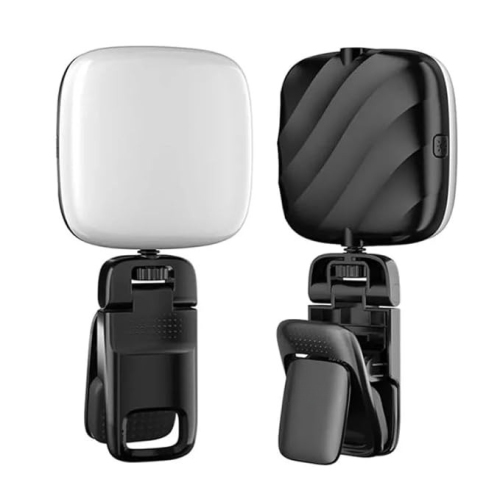

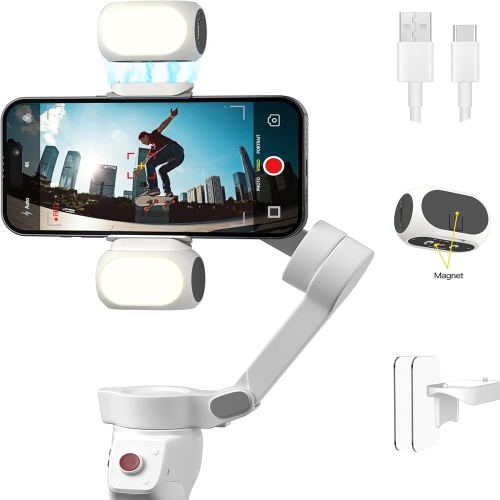
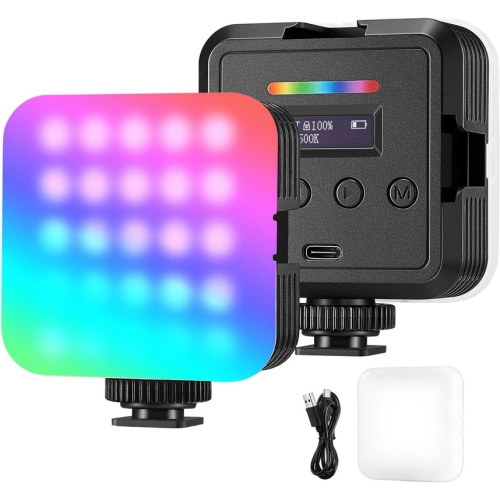

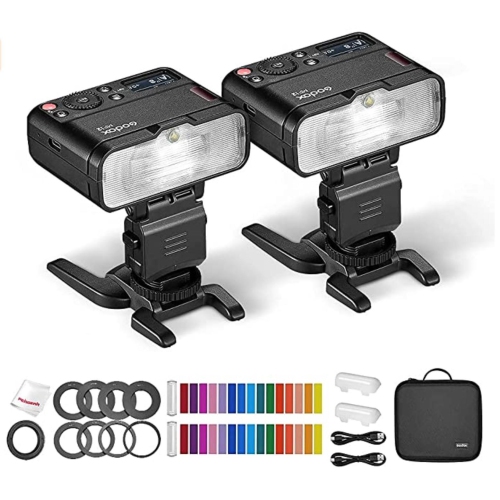
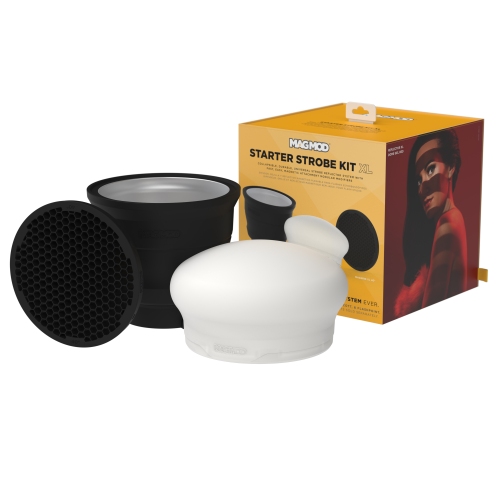
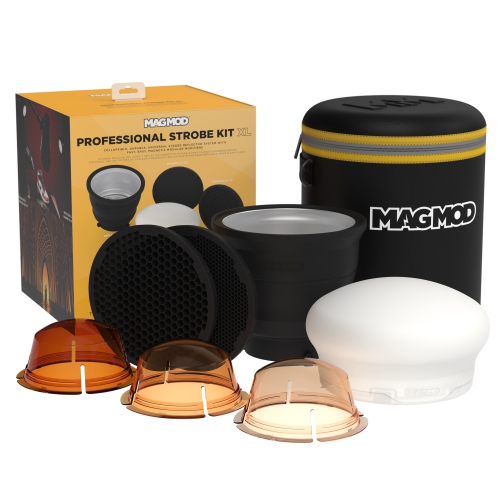
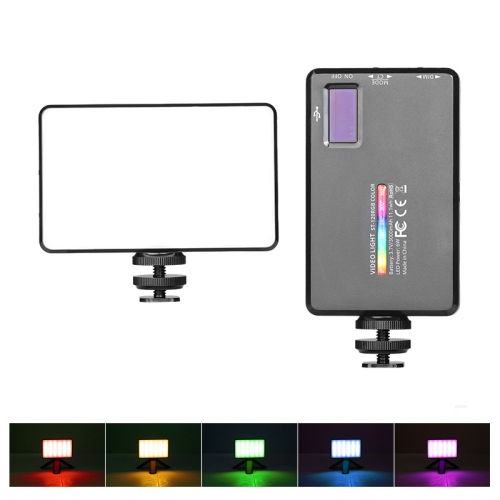
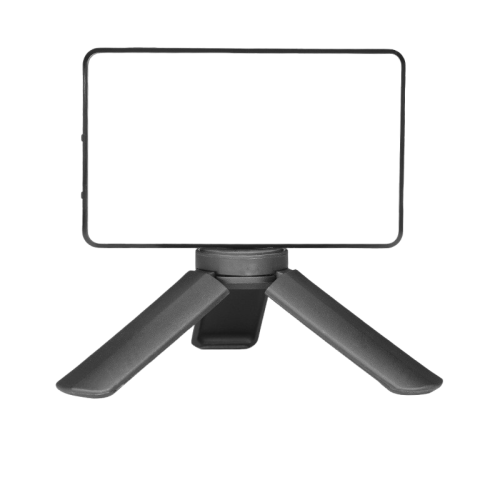
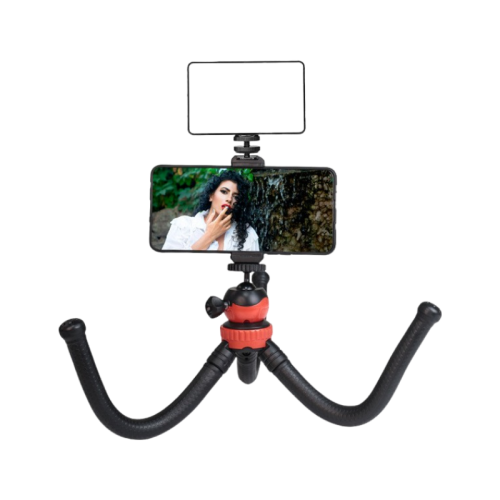
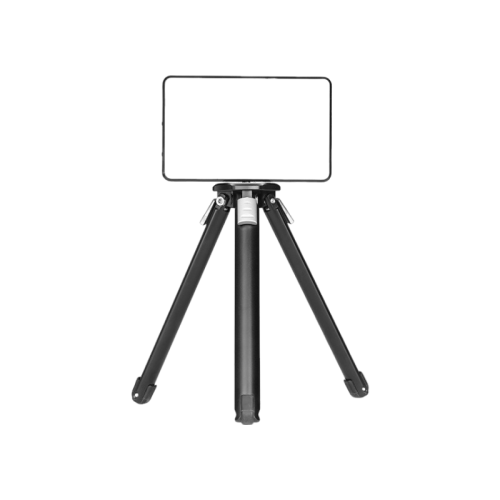
How controlled light shapes mood and subject depth
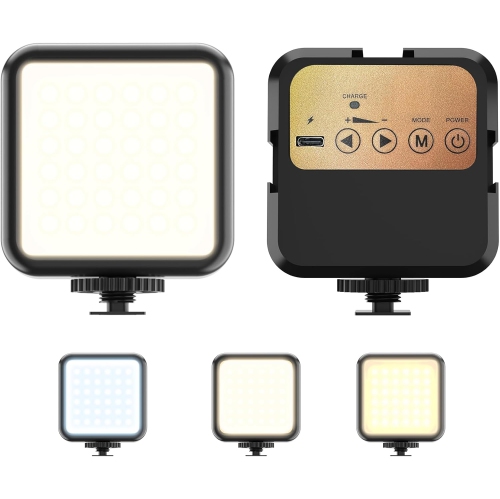
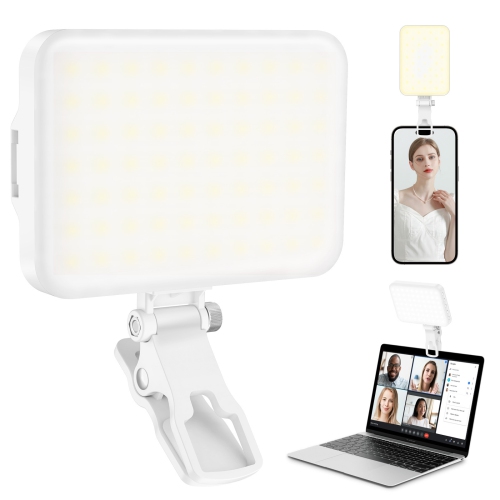
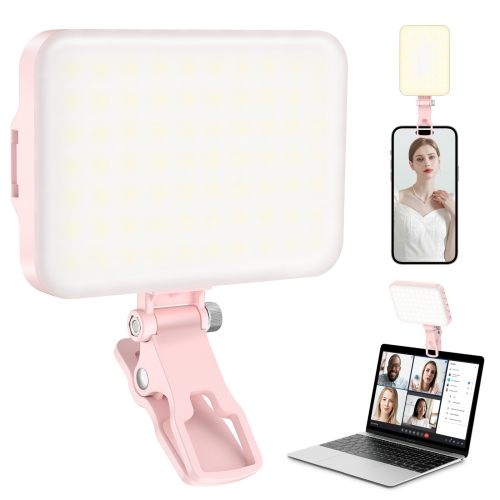
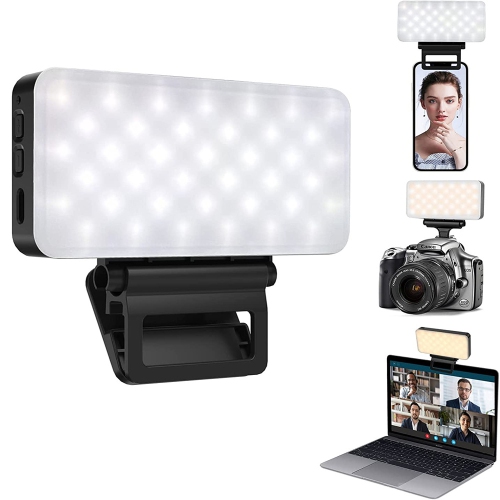
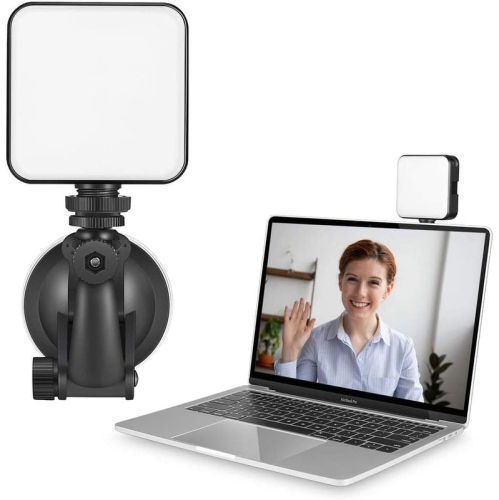
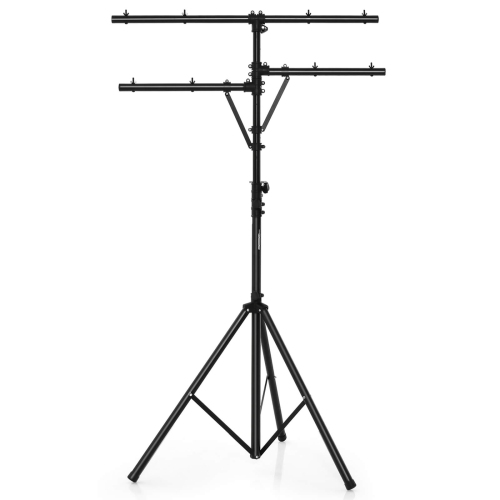
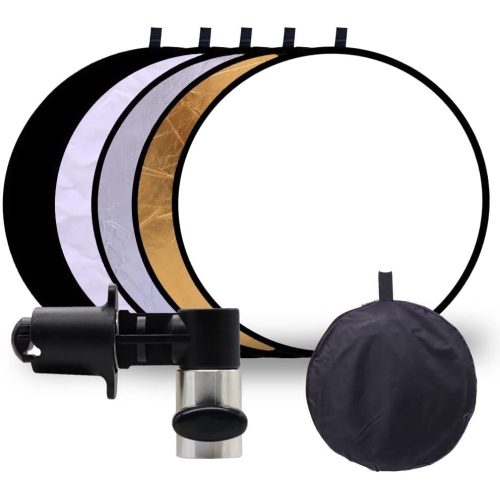
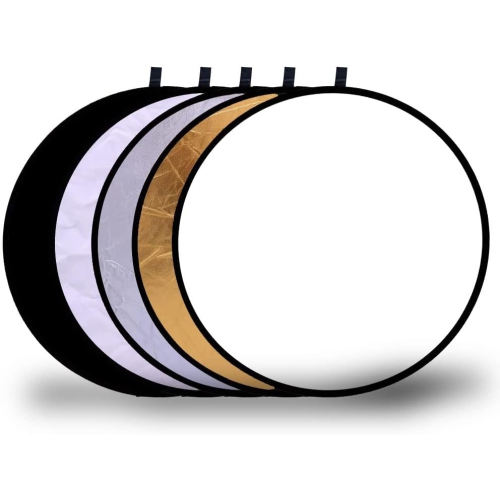
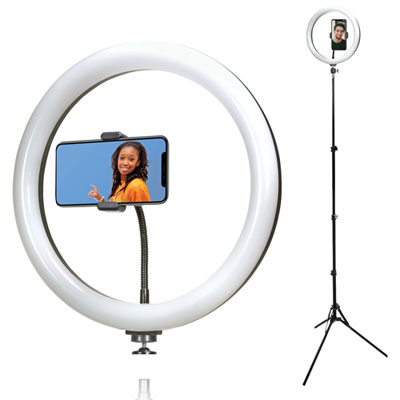
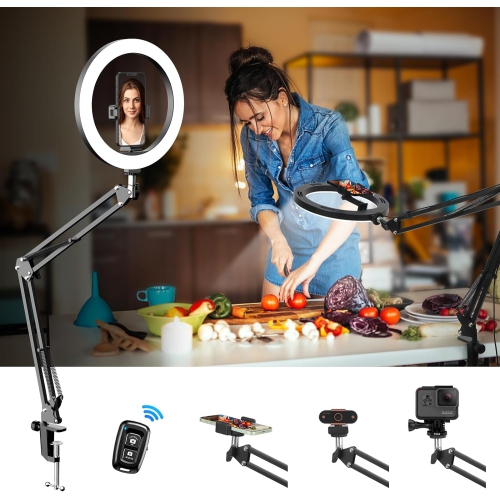
Photography lighting setups help you shape the look, mood, and detail of an image rather than relying entirely on the light already in the room. A basic setup often begins with a two-point or three-point arrangement, giving you more control over shadows, contrast, and separation between the subject and the background. The key light is the primary source and does most of the work: it defines the subject’s features, creates dimension, and establishes the direction of the light. For portraits, place it roughly 45 degrees to one side of the camera and slightly above the subject, then angle it down gently. A softbox or umbrella can diffuse the light for smoother skin tones and more gradual shadows, while a more direct source can create a crisp, dramatic effect. The fill light sits on the opposite side of the camera and reduces the shadows made by the key light without removing all of the contrast. Keeping the fill about one stop dimmer than the key light is a useful starting point, although the ideal balance depends on the mood you want. A simple reflector can often serve as a non-powered fill, bouncing light back toward the subject with a subtle, natural appearance. The third point, commonly called a backlight or hair light, is positioned behind the subject and aimed toward the back of the head, shoulders, or upper edges of the object. This creates a fine rim of light that helps the subject stand out from a darker backdrop and adds a sense of depth. For a quick overview of compatible lighting options, browse Photography Lighting Gear and consider how each piece could fit into the space, camera system, and style of photography you already enjoy.
The best setup depends on what you photograph and where you work. A portrait photographer may value broad, flattering light that wraps around a face, while someone photographing jewellery, handmade items, collectibles, or small products may need even illumination that reveals texture without creating distracting reflections. Food photography often benefits from a large, soft source placed to one side, allowing gentle highlights to show the shape of a glass, the grain of a wooden table, or the texture of a freshly baked surface. For full-body portraits or group photos, a larger light source and a greater working distance can help cover the scene more evenly. If you are creating videos, livestreams, online lessons, or social media content, a light placed near the camera can keep your face clear and consistent, particularly in a home office or room with limited daylight. Continuous lighting is useful when you want to see the effect before pressing the shutter or recording, whereas flash-based lighting can provide a powerful burst for freezing movement and controlling ambient light. Adjustable brightness and colour temperature can make it easier to match the warm glow of household bulbs, the cooler tone of daylight, or the lighting in a mixed indoor environment. Look for stands that suit your ceiling height and floor space, modifiers that can be opened and positioned comfortably, and controls that are straightforward to reach while you are working. Portability also matters: a compact setup can be practical for photographing at a client’s home, a community event, or a temporary studio, while sturdier equipment may be preferable for a dedicated workspace. Before choosing, consider the size of your subjects, the distance between your camera and the background, available power outlets, storage space, and whether you will usually work alone. A neat arrangement with securely placed stands and tidy cables makes it easier to adjust the scene without bumping the camera or casting an accidental shadow.
Photography lighting equipment can be a thoughtful gift for a student building a portfolio, a family member exploring portrait photography, a content creator improving their videos, or an experienced photographer expanding a home studio. It can also be useful for small business owners who want clearer images of inventory, menus, artwork, or services. Beginners do not need a complicated studio to make meaningful improvements; one softened key light and a reflector can reveal how direction changes the appearance of a face or object, and a second light can gradually introduce more control. As skills develop, additional stands, modifiers, backgrounds, and wireless controls can support more elaborate arrangements without requiring an entirely new approach. Try moving the key light closer or farther away and watch how the softness changes. Raising it slightly can create a natural-looking shadow beneath the nose and chin, while lowering it may produce a flatter, more direct look. A reflector placed just outside the frame can brighten the shadow side, and a darker background can make a well-lit subject feel more prominent. During the cooler months, when natural daylight may be limited or inconsistent, an indoor lighting setup makes it easier to create a dependable shooting routine without waiting for a particular window of light. Even in a bright room, controlled artificial lighting can provide repeatable results from one session to the next. With the right combination of power, diffusion, positioning, and colour control, photography lighting setups give you the flexibility to make images feel polished, intimate, dramatic, or true to life while keeping the focus on the subject.
The best setup depends on what you photograph and where you work. A portrait photographer may value broad, flattering light that wraps around a face, while someone photographing jewellery, handmade items, collectibles, or small products may need even illumination that reveals texture without creating distracting reflections. Food photography often benefits from a large, soft source placed to one side, allowing gentle highlights to show the shape of a glass, the grain of a wooden table, or the texture of a freshly baked surface. For full-body portraits or group photos, a larger light source and a greater working distance can help cover the scene more evenly. If you are creating videos, livestreams, online lessons, or social media content, a light placed near the camera can keep your face clear and consistent, particularly in a home office or room with limited daylight. Continuous lighting is useful when you want to see the effect before pressing the shutter or recording, whereas flash-based lighting can provide a powerful burst for freezing movement and controlling ambient light. Adjustable brightness and colour temperature can make it easier to match the warm glow of household bulbs, the cooler tone of daylight, or the lighting in a mixed indoor environment. Look for stands that suit your ceiling height and floor space, modifiers that can be opened and positioned comfortably, and controls that are straightforward to reach while you are working. Portability also matters: a compact setup can be practical for photographing at a client’s home, a community event, or a temporary studio, while sturdier equipment may be preferable for a dedicated workspace. Before choosing, consider the size of your subjects, the distance between your camera and the background, available power outlets, storage space, and whether you will usually work alone. A neat arrangement with securely placed stands and tidy cables makes it easier to adjust the scene without bumping the camera or casting an accidental shadow.
Photography lighting equipment can be a thoughtful gift for a student building a portfolio, a family member exploring portrait photography, a content creator improving their videos, or an experienced photographer expanding a home studio. It can also be useful for small business owners who want clearer images of inventory, menus, artwork, or services. Beginners do not need a complicated studio to make meaningful improvements; one softened key light and a reflector can reveal how direction changes the appearance of a face or object, and a second light can gradually introduce more control. As skills develop, additional stands, modifiers, backgrounds, and wireless controls can support more elaborate arrangements without requiring an entirely new approach. Try moving the key light closer or farther away and watch how the softness changes. Raising it slightly can create a natural-looking shadow beneath the nose and chin, while lowering it may produce a flatter, more direct look. A reflector placed just outside the frame can brighten the shadow side, and a darker background can make a well-lit subject feel more prominent. During the cooler months, when natural daylight may be limited or inconsistent, an indoor lighting setup makes it easier to create a dependable shooting routine without waiting for a particular window of light. Even in a bright room, controlled artificial lighting can provide repeatable results from one session to the next. With the right combination of power, diffusion, positioning, and colour control, photography lighting setups give you the flexibility to make images feel polished, intimate, dramatic, or true to life while keeping the focus on the subject.
Top selling and popular products
-
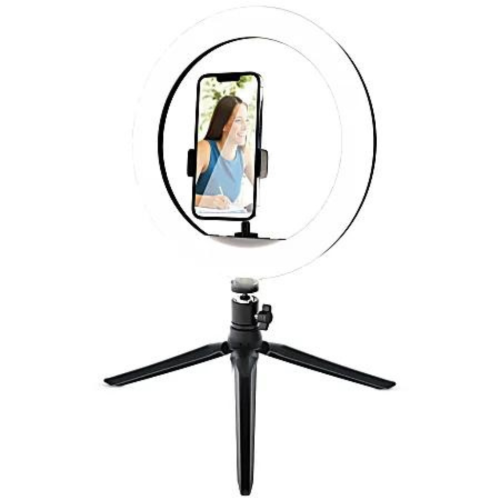 Your price for this item is $24.95
 -
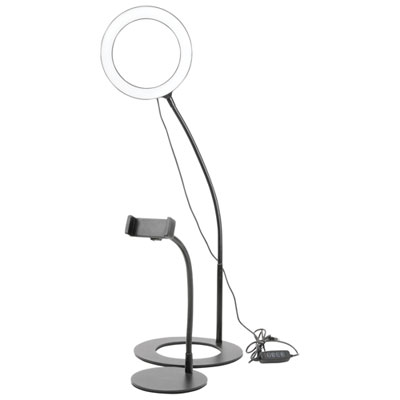 Your price for this item is $29.99
 -
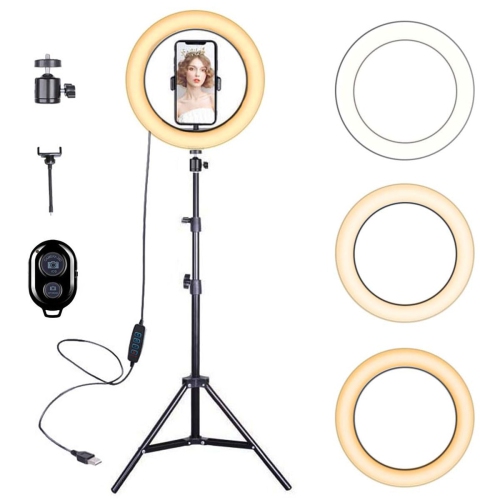 Your price for this item is $24.99
 -
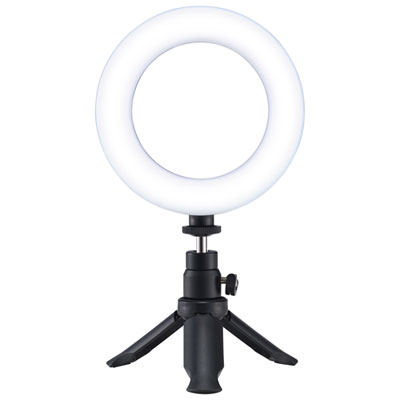 Your price for this item is $14.99
 -
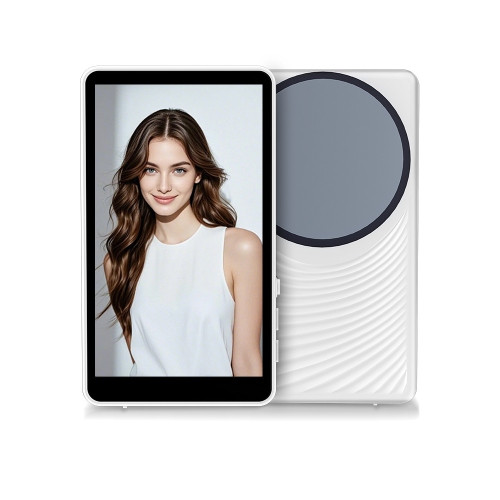 Your price for this item is $65.99
 -
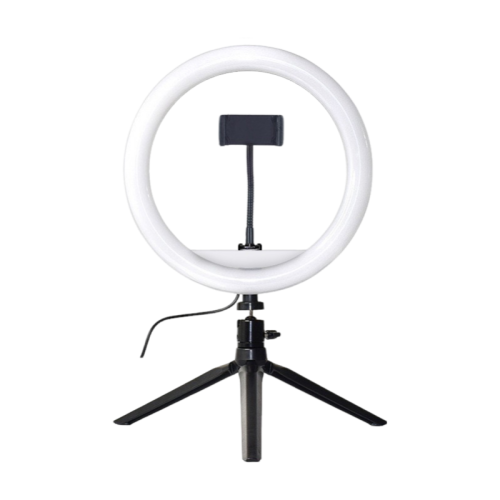
![VIVIDER (Tm) Selfie Ring Light With Cell Phone Holder Stand for Live Stream/makeup, Led Camera Lighting [3-Light Mode] [10-Level Brightness]](https://multimedia.bbycastatic.ca/multimedia/products/500x500/150/15002/15002237.jpg) Your price for this item is $59.99
Your price for this item is $59.99 -
 Your price for this item is $39.99
 -
 Your price for this item is $79.99
Discover more categories related to Photography Lighting Setups
Top Collections:
Pokemon Centers, Budget 4K TVs, Best Budget Office Chairs, Kindle Devices, Canon G7X Cameras, Apple iPhones 16, iPhone 15 Apple, Laptops for Business Work, Xiaomi Phones, Flip Phones
Some products may be subject to Environmental Handling Fees
(EHF) depending on your province.
Learn more about EHFs.