Sink Installations
Looking to upgrade your kitchen or bathroom with a new sink installation? Discover a wide selection of options to suit your style and space requirements. From sleek and modern designs to classic and timeless choices, find the perfect sink that not only enhances the aesthetics of your room but also provides functionality for your daily needs. Whether you're renovating your home or simply looking to replace an old sink, explore a variety of materials, sizes, and configurations to create the ideal setup for your space.
Sort


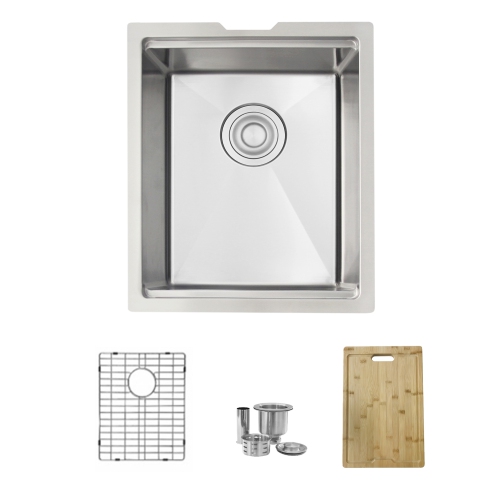
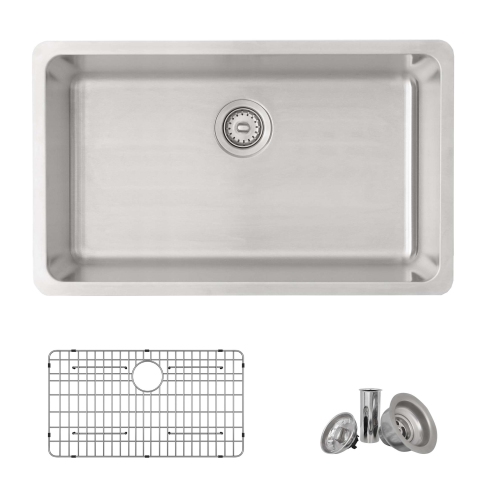
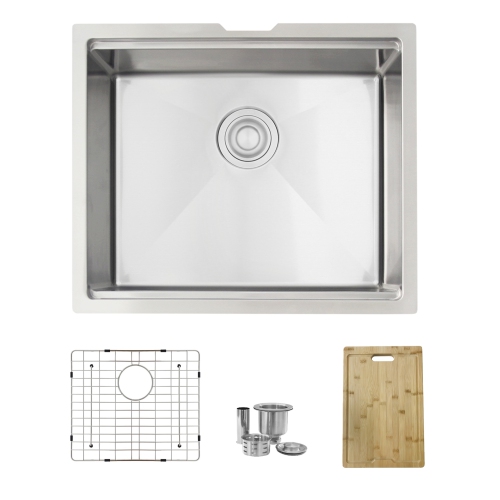


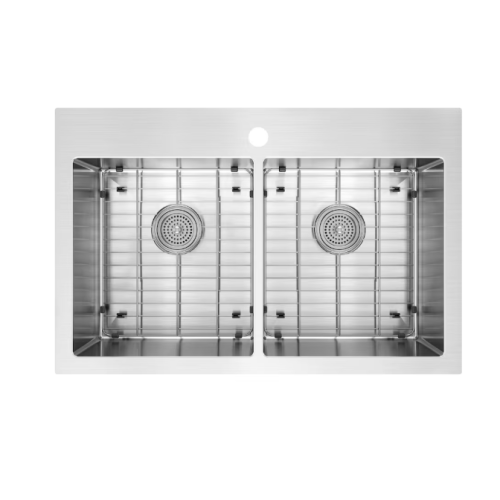
























































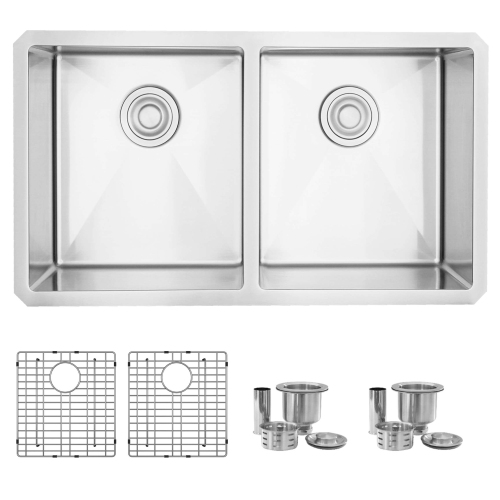

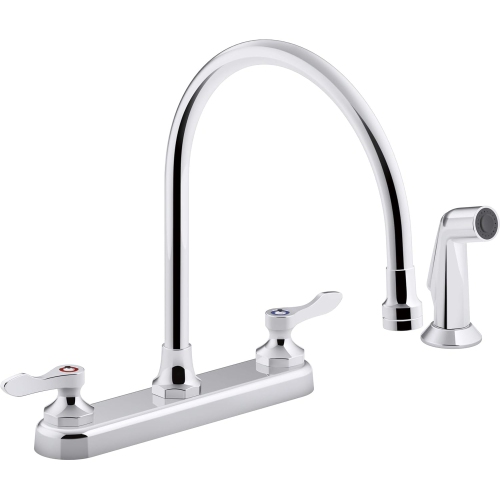
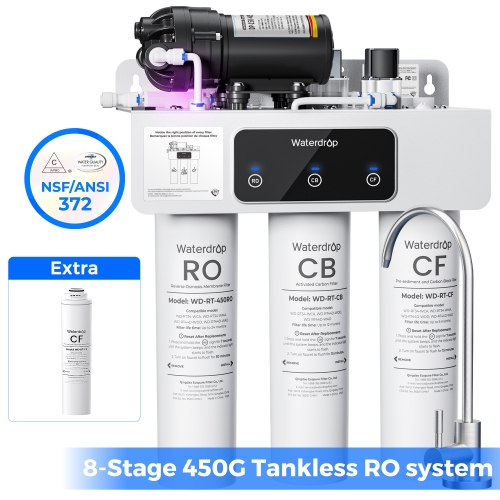


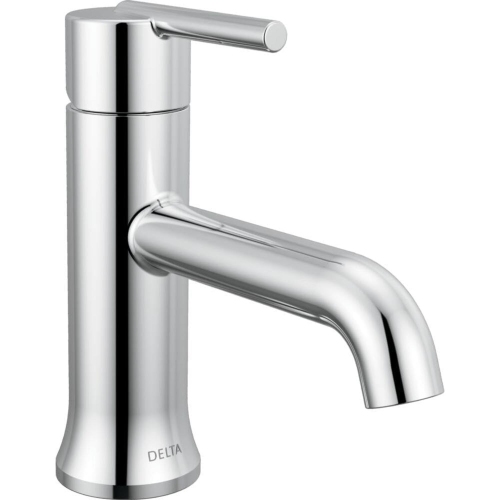
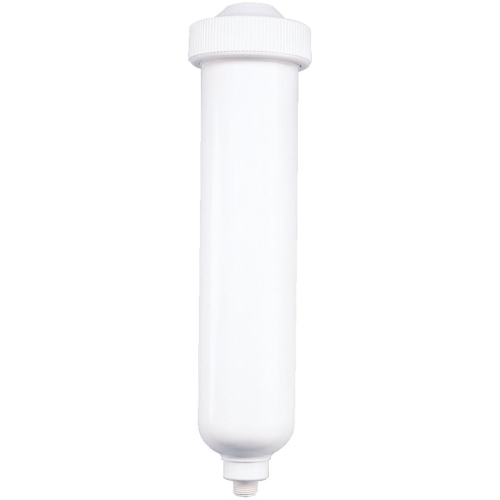


Accurate measurements support a clean fit and lasting seal
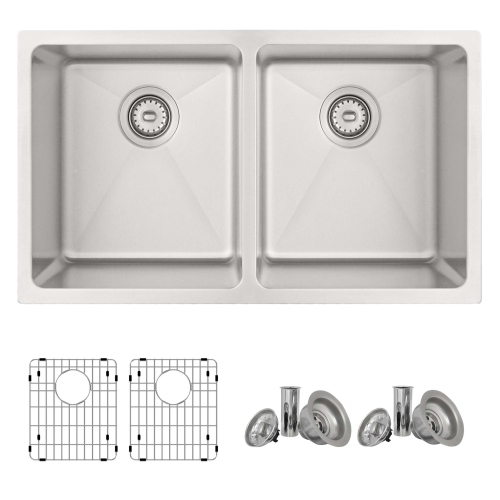
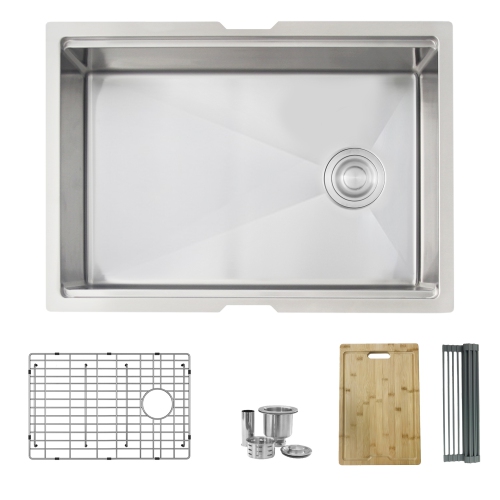
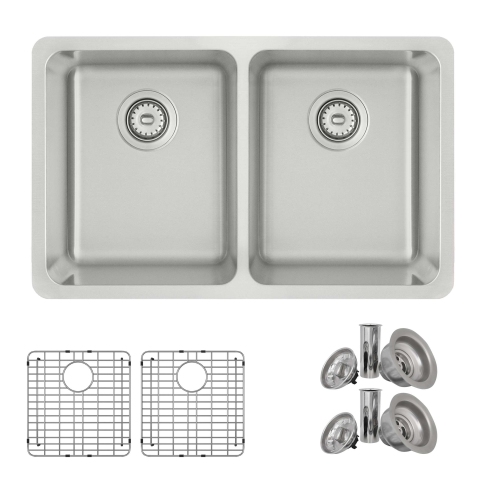
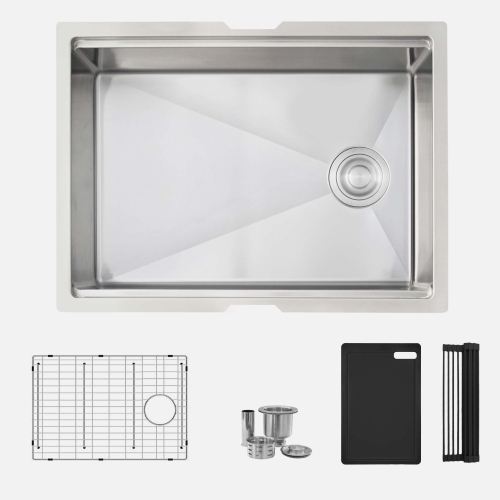
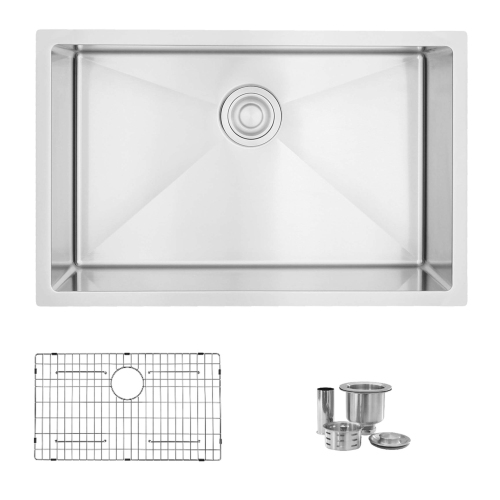
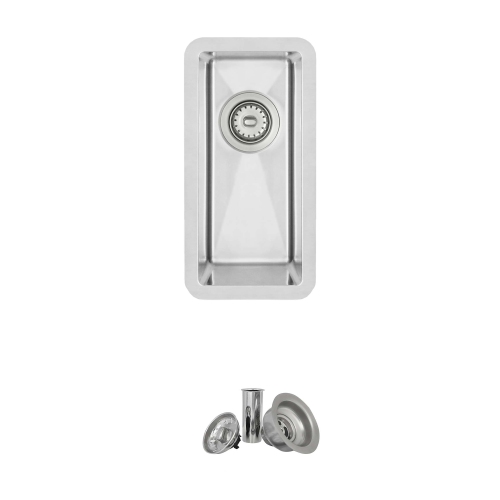
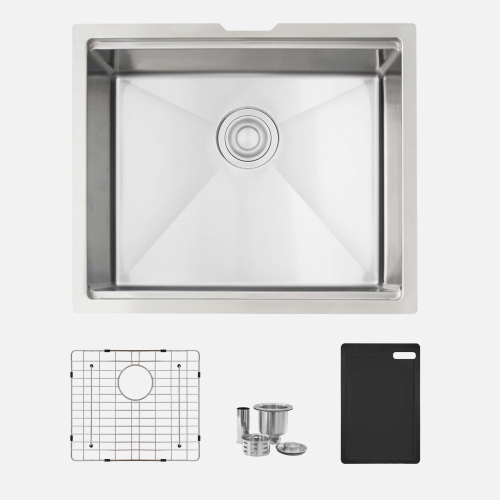
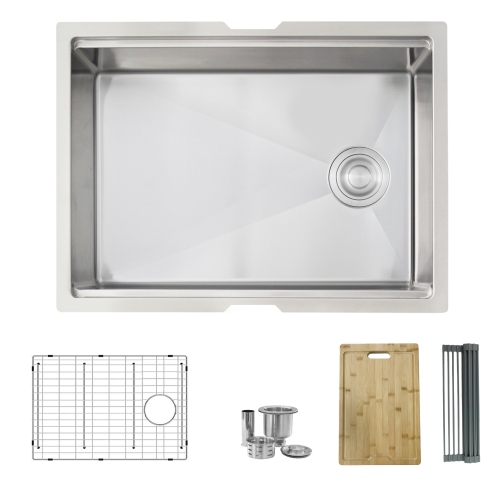
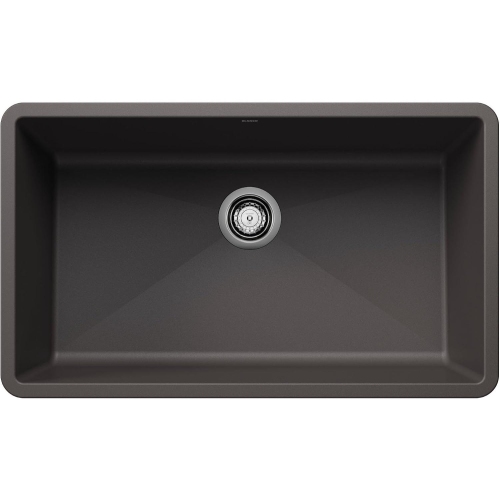
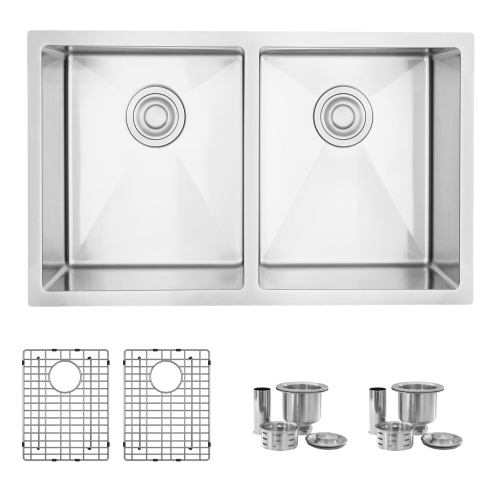
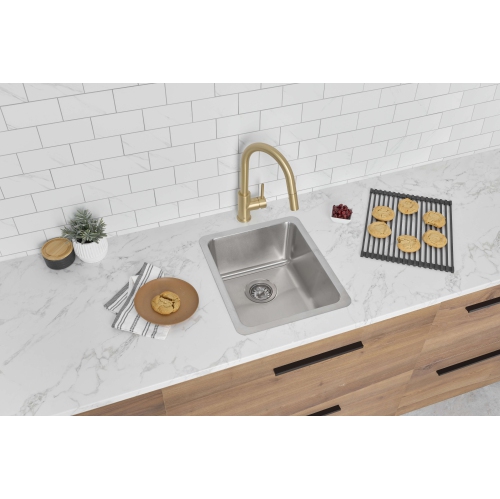
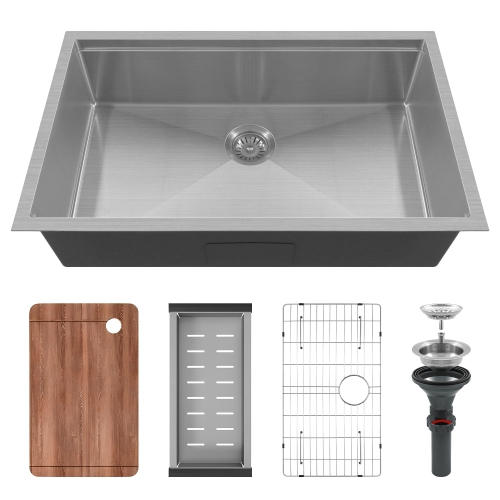
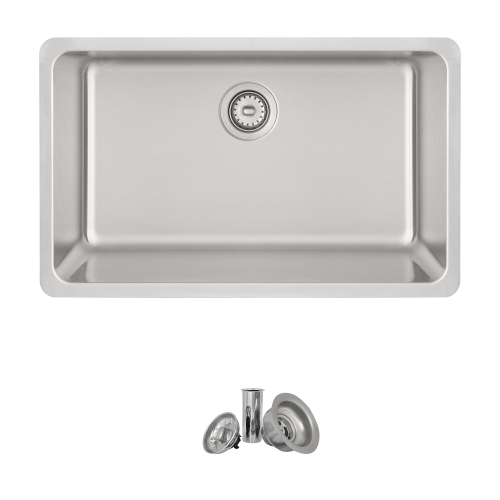
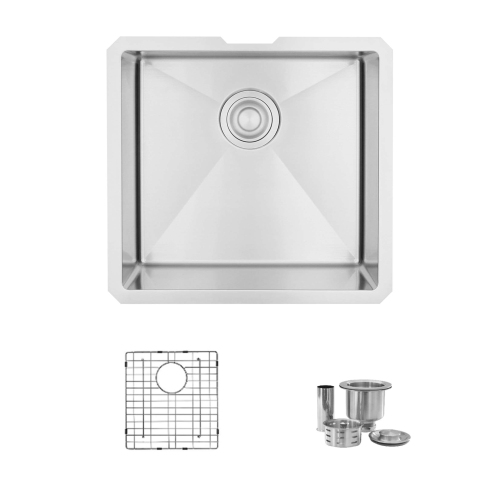
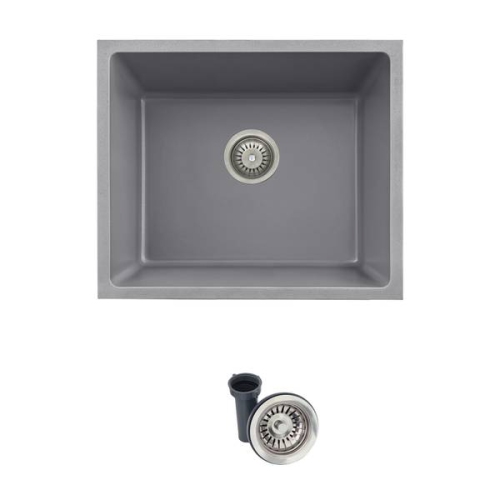
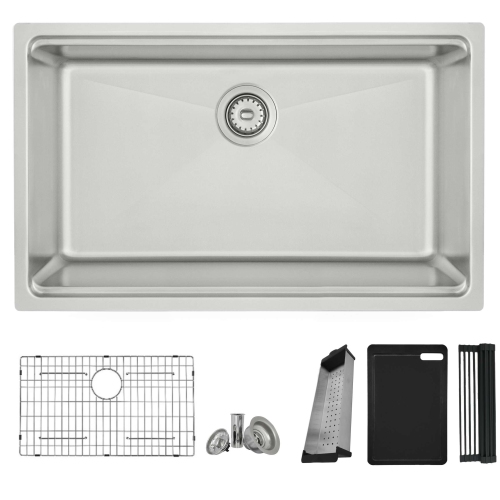
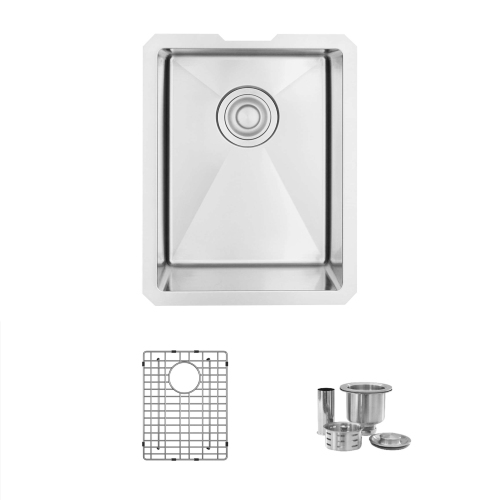
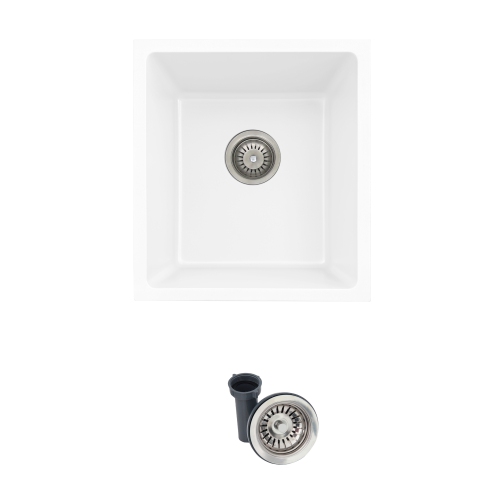
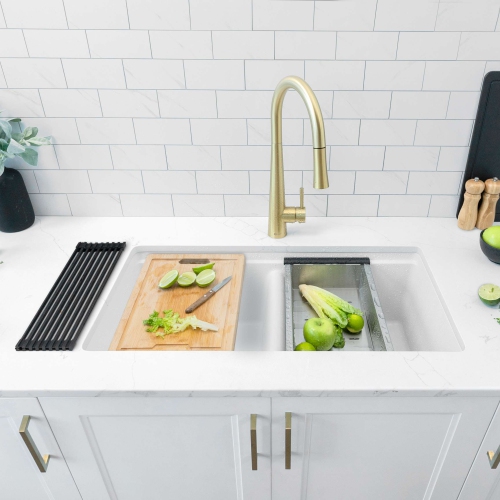
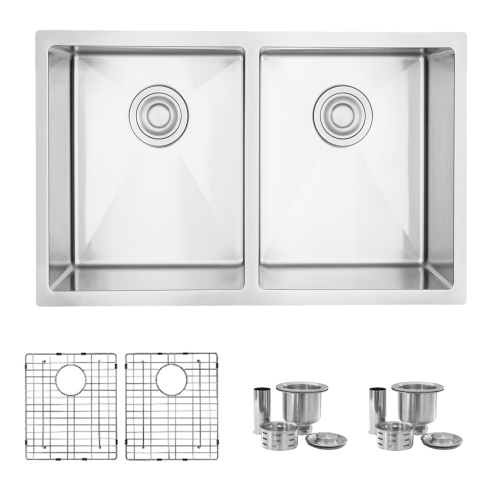
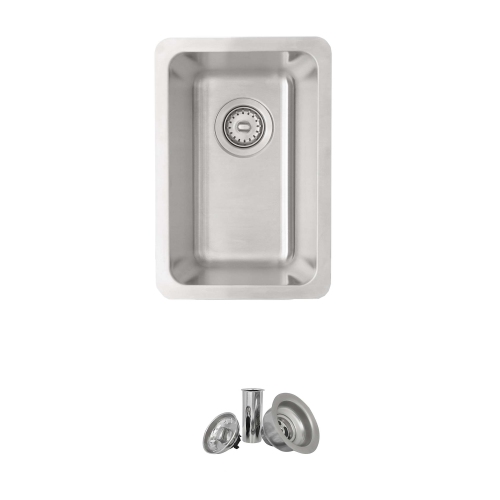
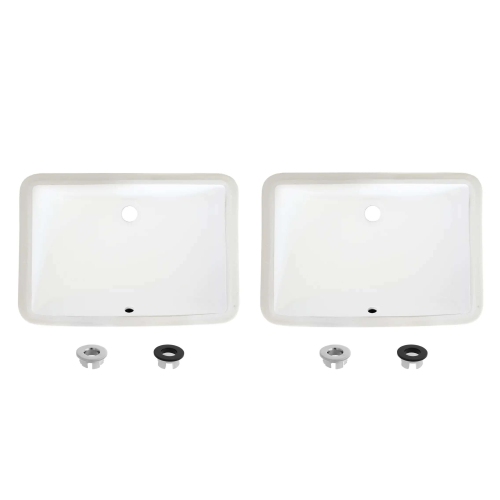
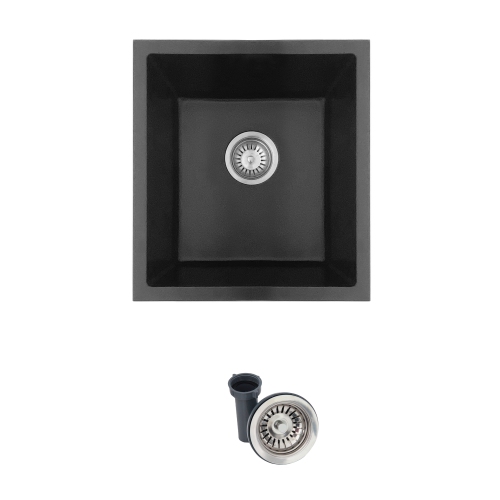
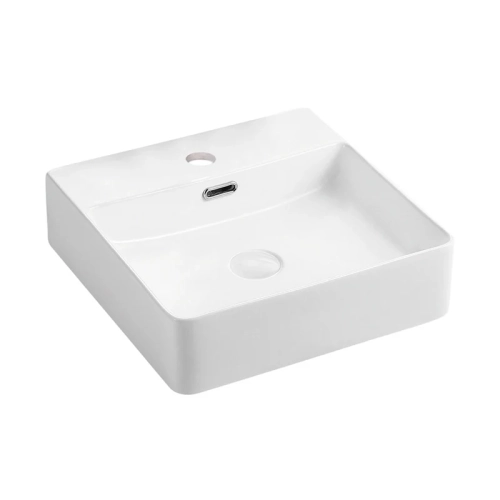
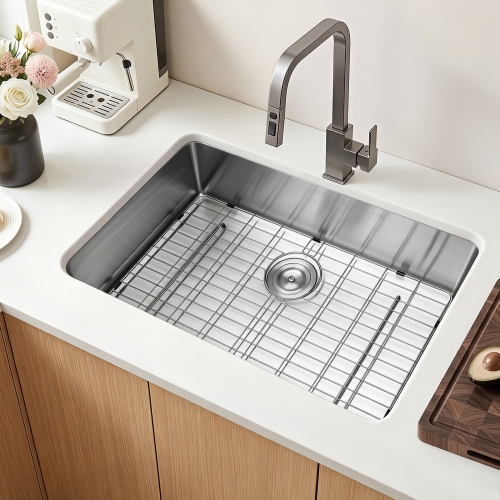
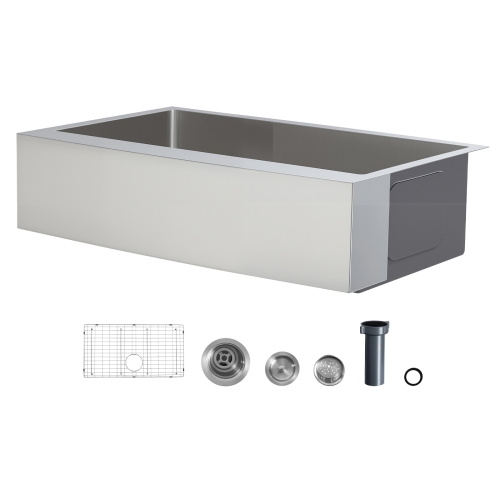
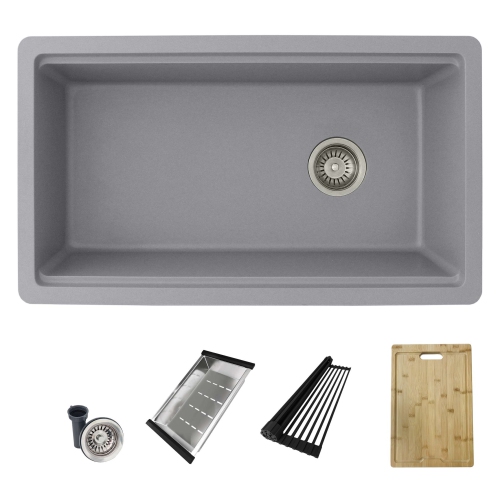
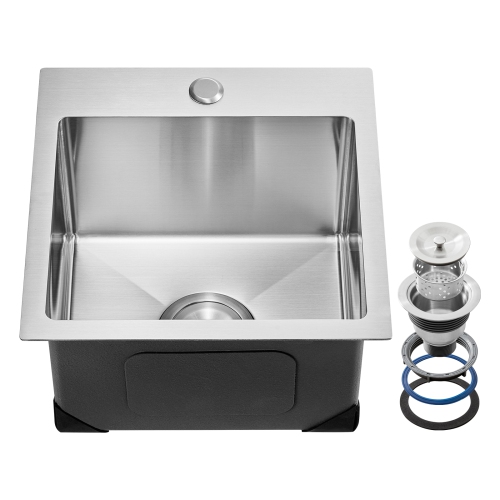
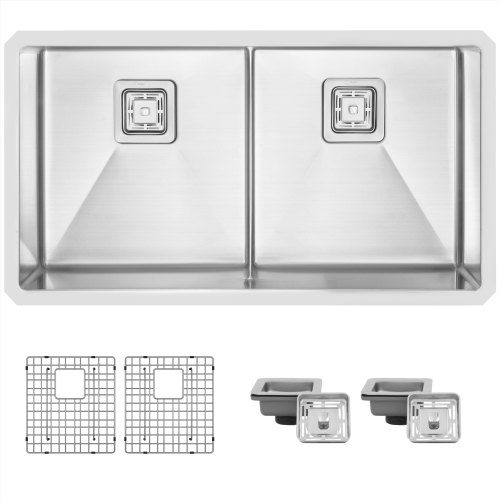
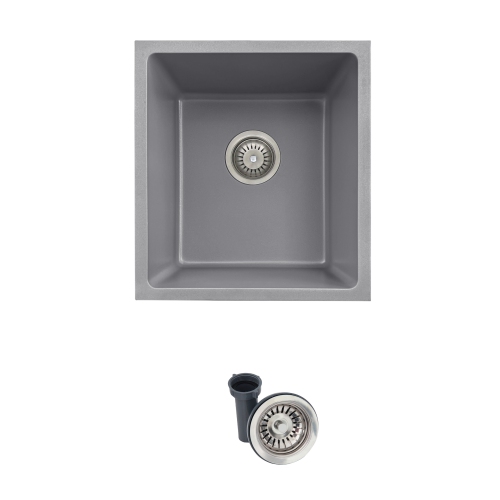
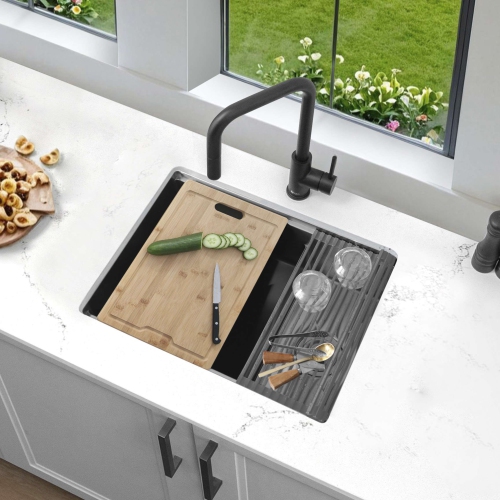
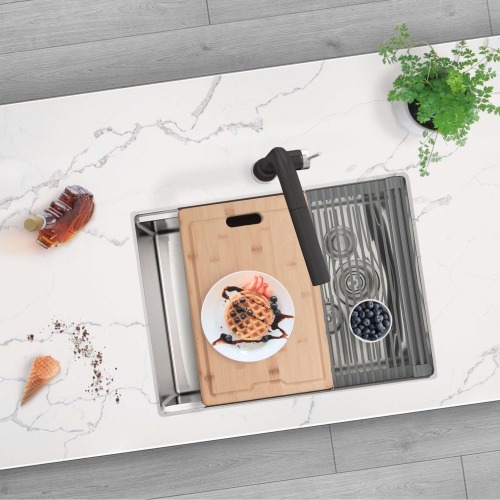
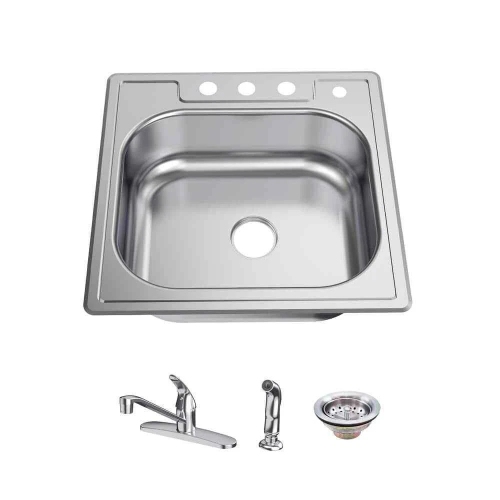
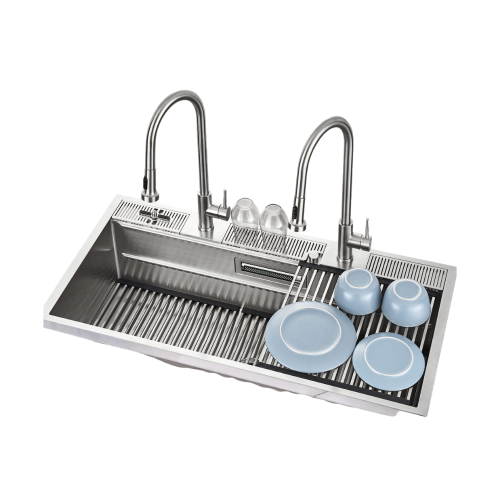
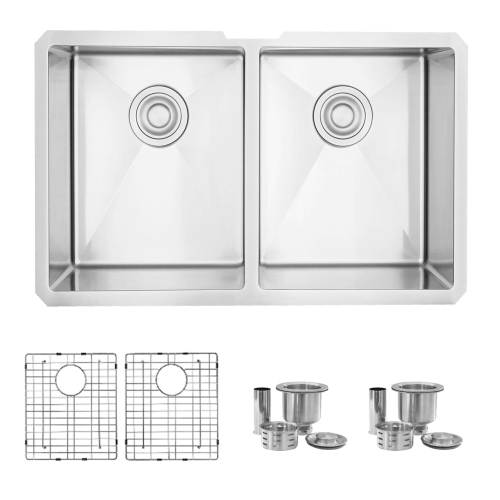
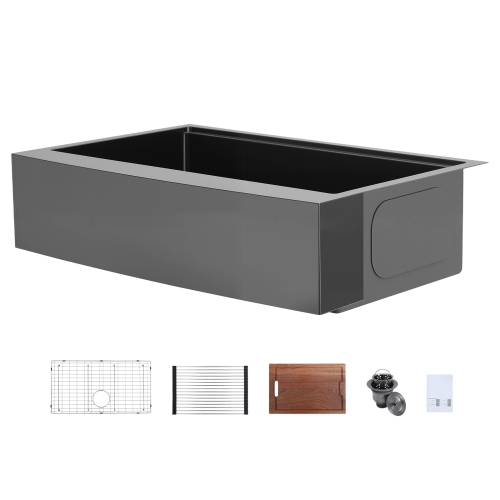
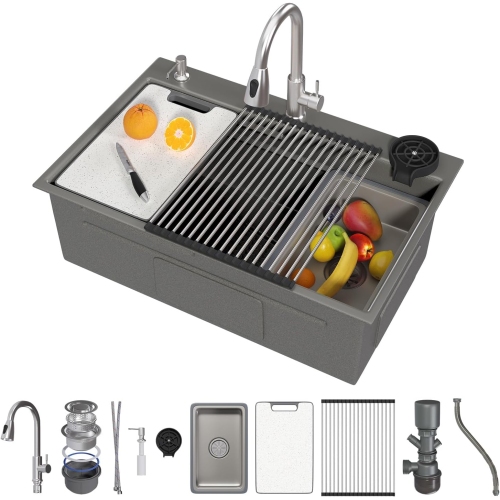
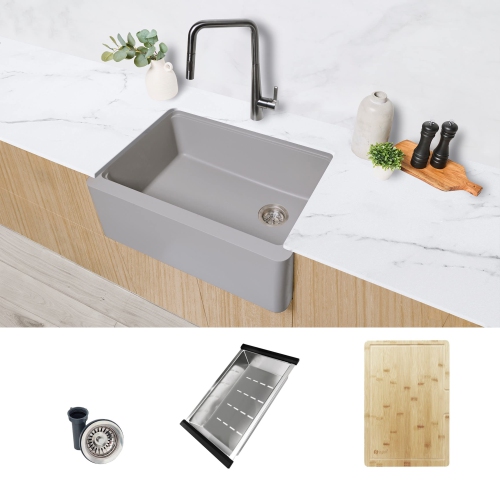
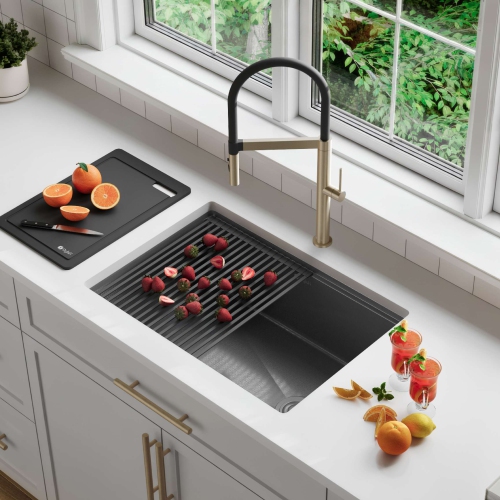
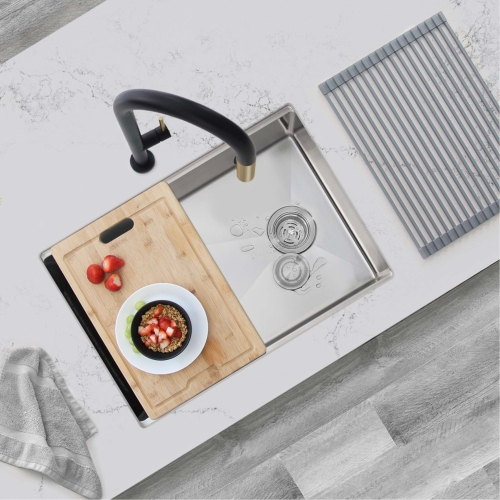
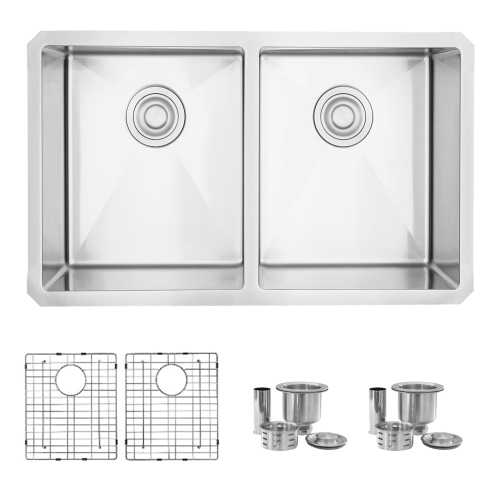
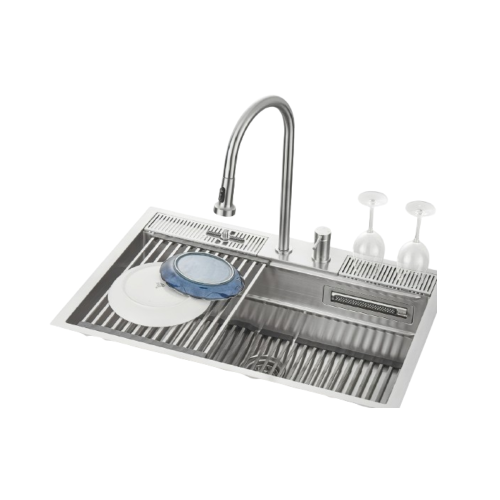
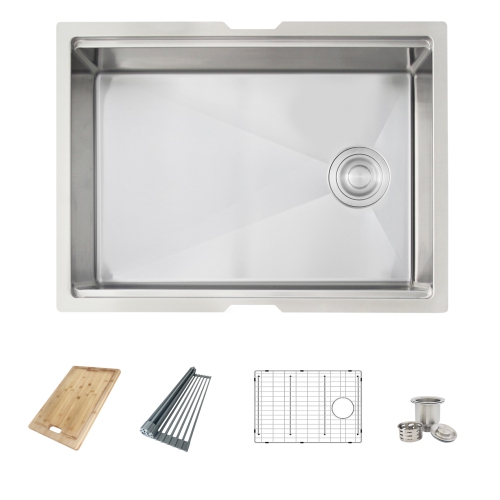
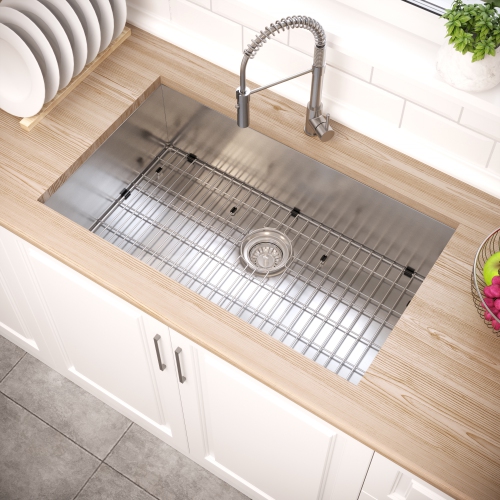
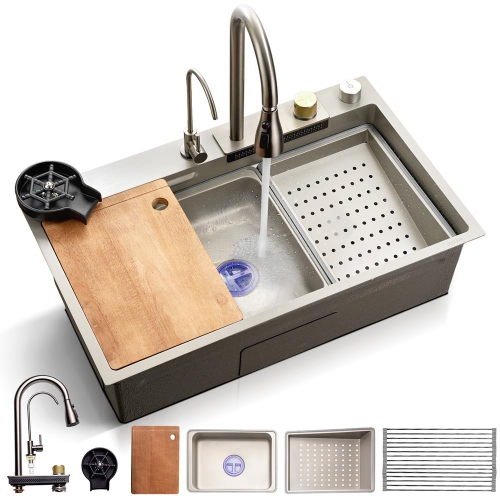
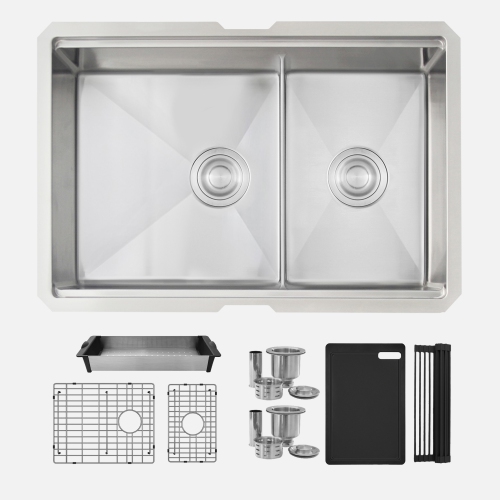
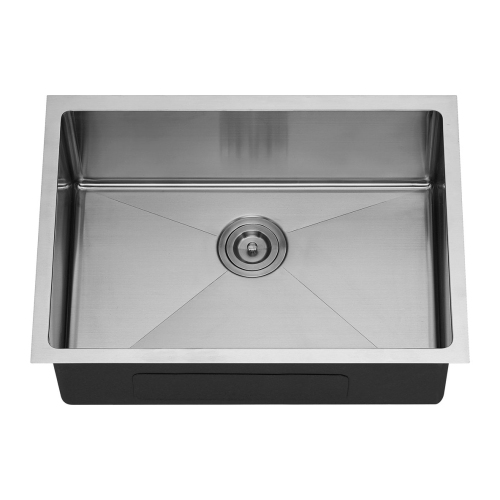
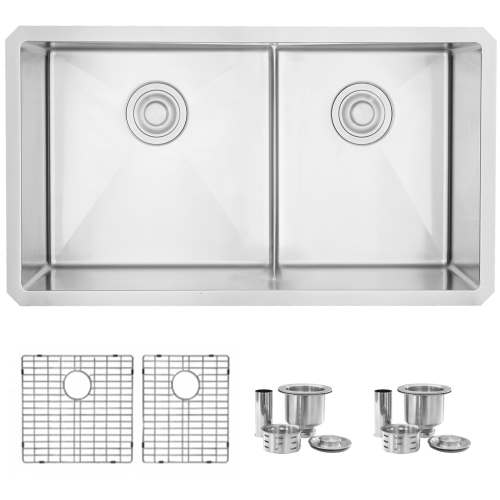
Sink installations can refresh the look and function of a kitchen, bathroom, laundry room, bar area, or utility space, whether you are replacing a worn basin during a renovation or completing a new room from the ground up. The right installation products help support a clean fit, dependable connections, and a finished appearance that suits the surrounding countertop and cabinetry. Before choosing supplies, measure the existing opening carefully, including its length, width, depth, corner radius, and the available space beneath the counter. It is also important to identify whether the replacement is a drop-in, or top-mount, sink that rests on the countertop, or an undermount sink secured below it. These styles use different support and finishing methods, and the countertop material may affect which option is suitable. Confirm the number and placement of tap holes, the location of the drain opening, the size of the cabinet below, and the position of the water and waste connections. A kitchen installation may need room for a deeper basin, a pull-down tap, a waste disposer, or a workstation configuration with accessories that sit over the bowl. For extra flexibility in food preparation and cleanup, browse Sink Workstations as part of the planning process. Bathroom installations often call for a different scale and style, with closer attention to vanity dimensions, splash protection, storage clearance, and the relationship between the basin and the tap. Utility sinks may need additional depth for soaking, rinsing, or handling larger household tasks. When selecting related installation products, consider the material and shape of the basin, the weight it will place on the counter or cabinet, the finish of nearby fixtures, and how frequently the space is used. A busy family kitchen benefits from an arrangement that keeps everyday tools within reach, while a guest bathroom may place greater emphasis on a neat, coordinated appearance. Sink installation supplies can also be a practical housewarming or renovation gift for someone setting up a new home, updating a rental property, or preparing a workshop and laundry area, particularly when chosen to match a confirmed sink size and plumbing layout.
A standard drop-in kitchen or bathroom sink installation generally begins with turning off the hot and cold water supply, opening the tap to release pressure, and placing a bucket beneath the connections to catch residual water. Safety glasses can help protect your eyes while loosening fittings or working beneath a counter, and a flashlight is useful in the darker space inside a vanity or base cabinet. Common tools include an adjustable wrench, screwdriver, utility knife, tape measure, putty knife, and a cloth for wiping away old sealant and moisture. After disconnecting the supply lines and drain assembly, remove the fasteners holding the old basin in place, cut through any remaining sealant carefully, and lift the unit from the counter. Scrape the opening clean without damaging the countertop, then check that the new basin sits evenly and that its rim covers the cutout as intended. A suitable 100% silicone sealant is commonly used around the rim of a drop-in sink to create a water-resistant seal; apply it in a continuous bead according to the manufacturer’s directions, lower the sink into position, and secure it with the appropriate mounting clips or hardware. Plumber’s putty may be suitable for certain drain components, although not every sink, drain, or countertop material is compatible with it, so product instructions should be checked before use. Undermount installations require accurate support and a properly prepared countertop edge, and the basin should remain supported while the adhesive or mounting system cures. Reconnect the drain and water lines without overtightening, as excessive force can damage threads or washers, then turn the supply valves on gradually and inspect every connection for drips. Run water through the tap and drain, fill the basin briefly, and check beneath the counter again before storing tools away. If the cutout needs to be altered, the plumbing is corroded, the shutoff valves do not operate, or the countertop requires specialised cutting, a qualified professional can help prevent leaks and costly damage. During the cooler months, it is especially useful to confirm that any exposed plumbing in a garage, workshop, or unheated space is protected from freezing conditions. Choosing installation products that match the sink style, cabinet layout, countertop material, and existing plumbing will make the finished space easier to use and simpler to maintain throughout everyday cooking, washing, cleaning, and household routines.
A standard drop-in kitchen or bathroom sink installation generally begins with turning off the hot and cold water supply, opening the tap to release pressure, and placing a bucket beneath the connections to catch residual water. Safety glasses can help protect your eyes while loosening fittings or working beneath a counter, and a flashlight is useful in the darker space inside a vanity or base cabinet. Common tools include an adjustable wrench, screwdriver, utility knife, tape measure, putty knife, and a cloth for wiping away old sealant and moisture. After disconnecting the supply lines and drain assembly, remove the fasteners holding the old basin in place, cut through any remaining sealant carefully, and lift the unit from the counter. Scrape the opening clean without damaging the countertop, then check that the new basin sits evenly and that its rim covers the cutout as intended. A suitable 100% silicone sealant is commonly used around the rim of a drop-in sink to create a water-resistant seal; apply it in a continuous bead according to the manufacturer’s directions, lower the sink into position, and secure it with the appropriate mounting clips or hardware. Plumber’s putty may be suitable for certain drain components, although not every sink, drain, or countertop material is compatible with it, so product instructions should be checked before use. Undermount installations require accurate support and a properly prepared countertop edge, and the basin should remain supported while the adhesive or mounting system cures. Reconnect the drain and water lines without overtightening, as excessive force can damage threads or washers, then turn the supply valves on gradually and inspect every connection for drips. Run water through the tap and drain, fill the basin briefly, and check beneath the counter again before storing tools away. If the cutout needs to be altered, the plumbing is corroded, the shutoff valves do not operate, or the countertop requires specialised cutting, a qualified professional can help prevent leaks and costly damage. During the cooler months, it is especially useful to confirm that any exposed plumbing in a garage, workshop, or unheated space is protected from freezing conditions. Choosing installation products that match the sink style, cabinet layout, countertop material, and existing plumbing will make the finished space easier to use and simpler to maintain throughout everyday cooking, washing, cleaning, and household routines.
Top selling and popular products
-
 Your price for this item is $69.95
-
 Your price for this item is $130
-
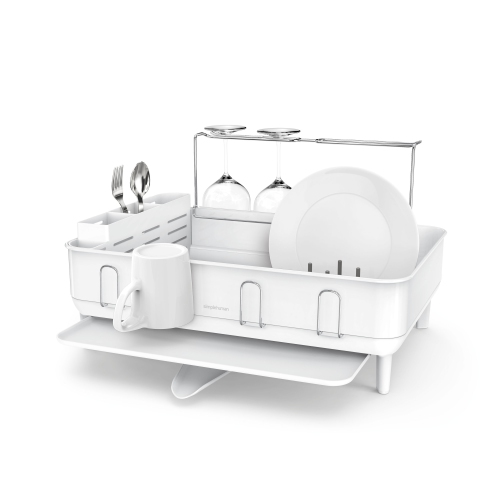 Your price for this item is $150
-
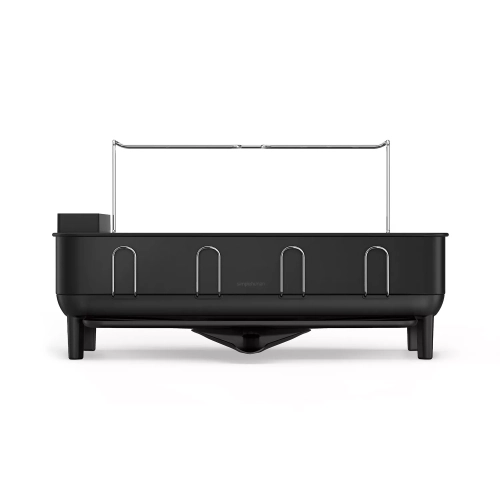 Your price for this item is $150
-
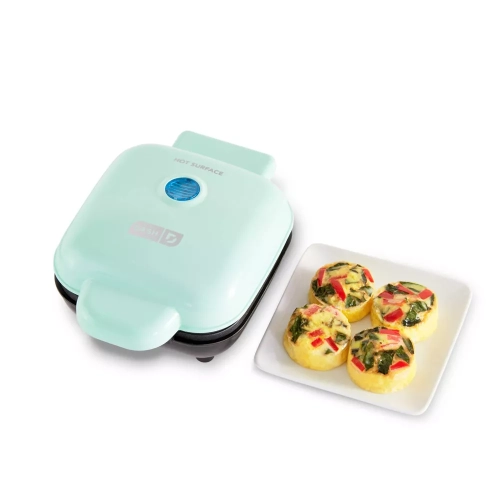 Your price for this item is $119.89
-
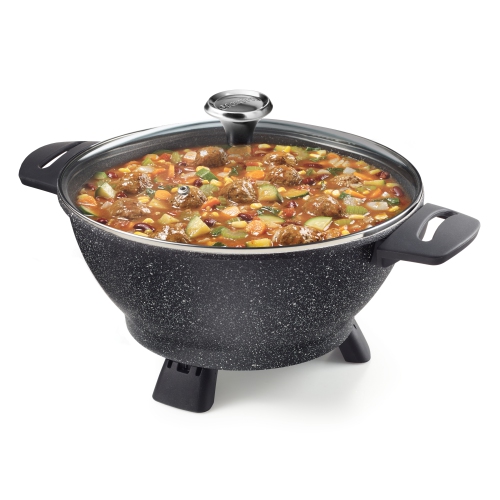 Your price for this item is $79.99
-
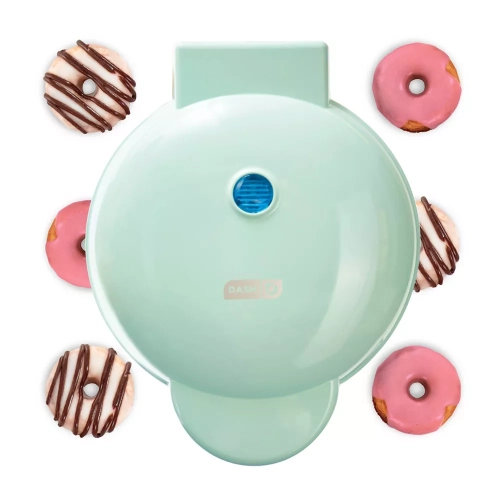 Your price for this item is $95.91
-
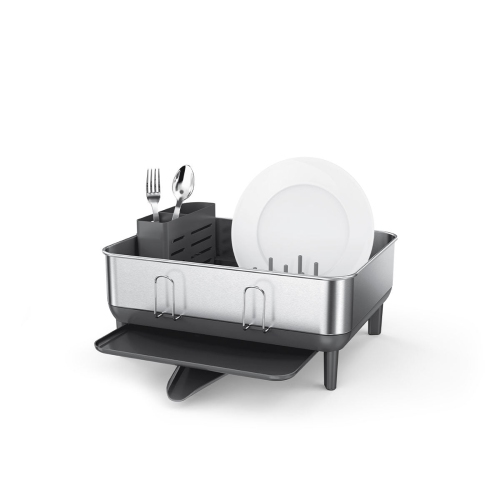 Your price for this item is $100
Discover more categories related to Sink Installations

Top Collections:
Pokemon Centers, Kindle Devices, Best Cameras for Sports Photography, Pokémon 30th Celebration Cards, Apple iPhones 16, Canon G7X Cameras, iPhone 15 Apple, Flip Phones, Samsung Galaxy Phones, Alarm Clock
Some products may be subject to Environmental Handling Fees
(EHF) depending on your province.
Learn more about EHFs.