Shrink Ring Terminals
Discover a wide selection of shrink ring terminals designed to provide a secure and durable connection for your electrical wiring projects. These versatile terminals are essential for various applications, from automotive to home DIY projects. With their heat-shrink design, they offer protection against moisture, corrosion, and vibrations, ensuring long-lasting performance. Explore our range of shrink ring terminals to find the perfect solution for your wiring needs.
Sort
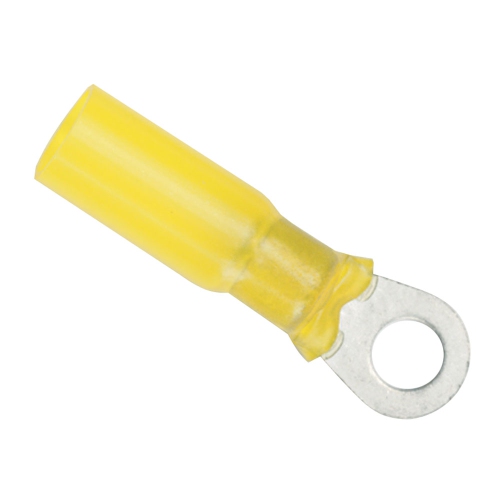
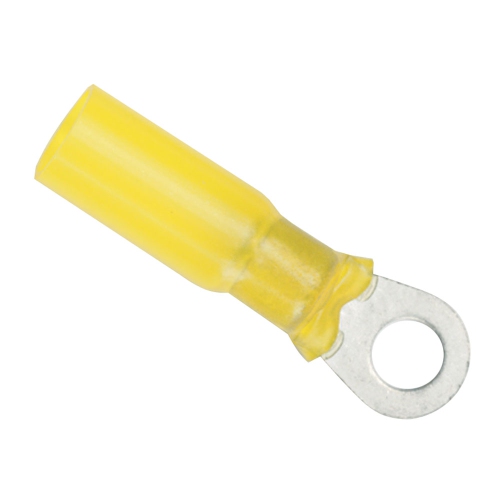
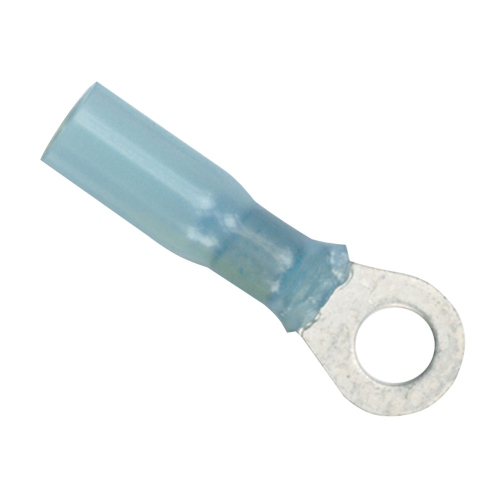
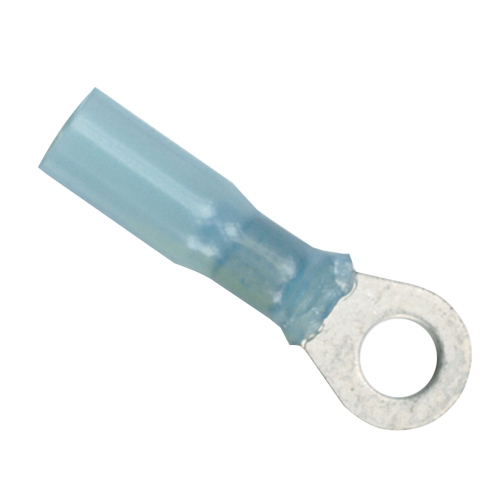
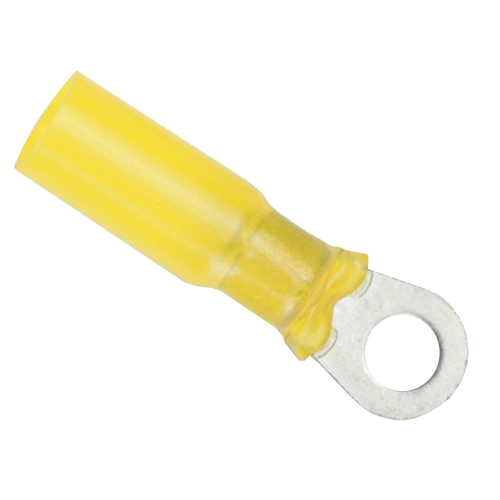
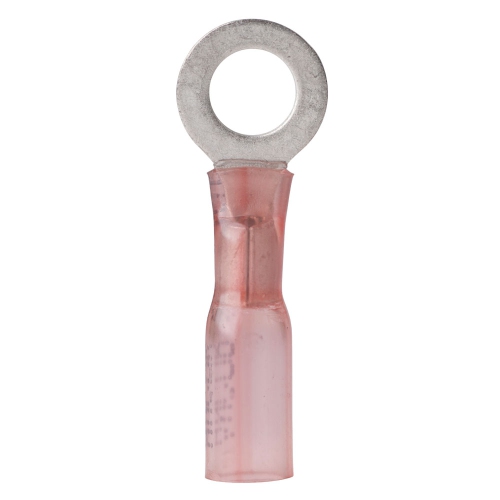
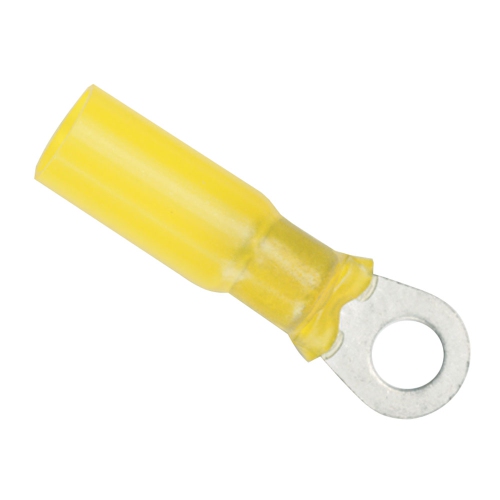
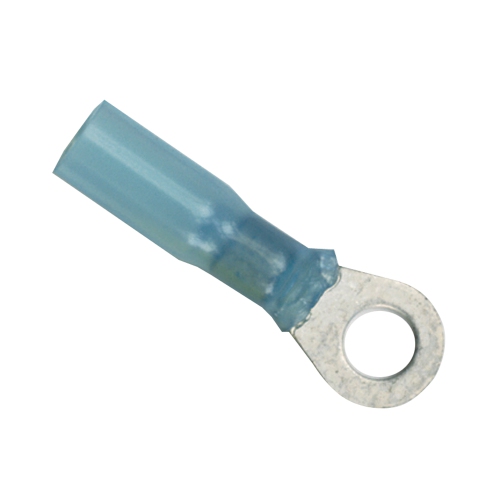
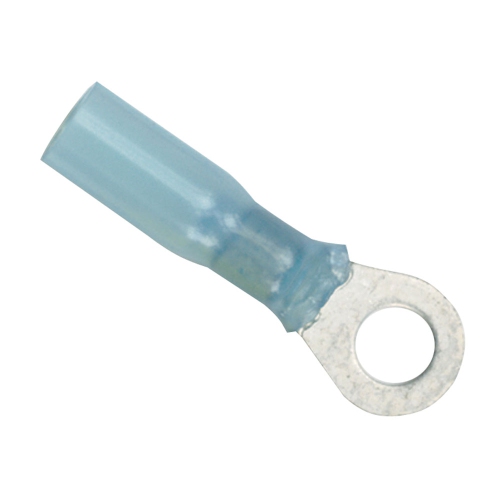
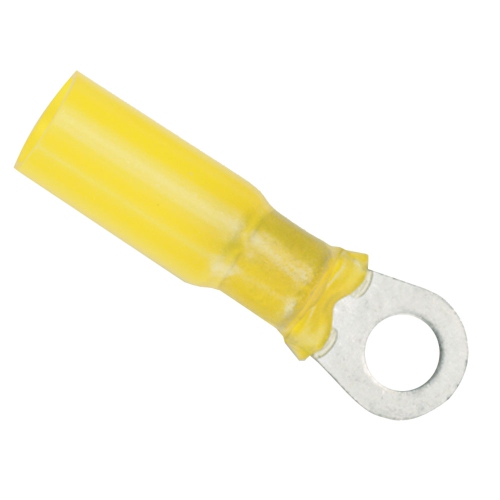
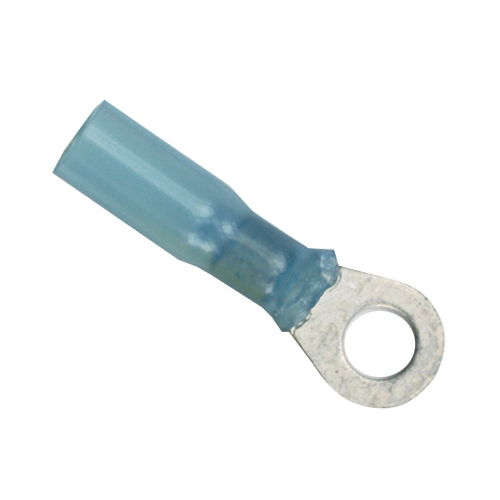
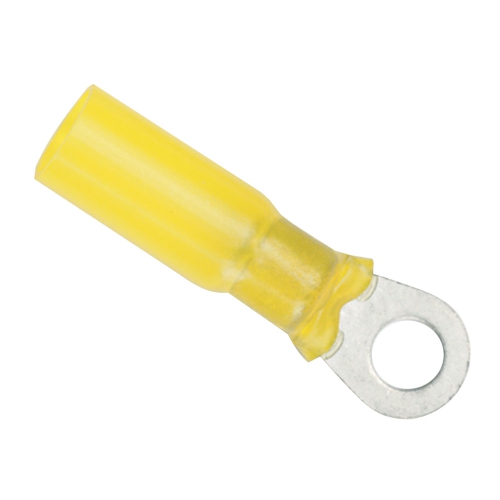
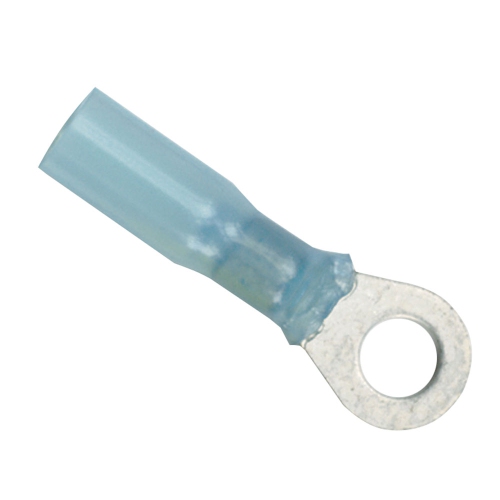
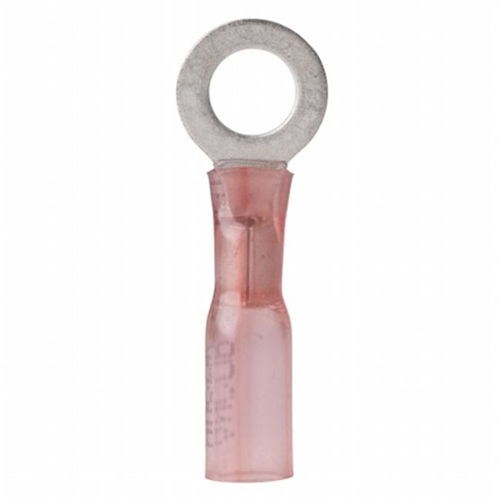
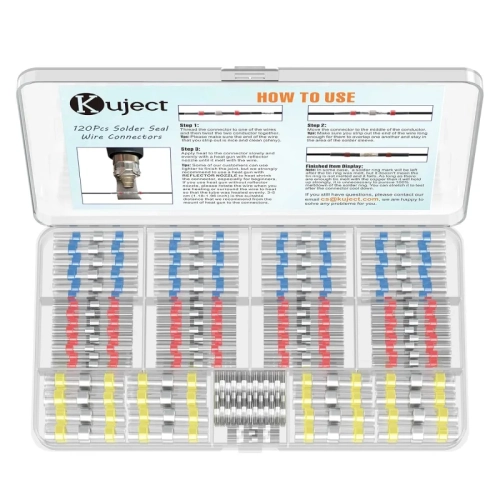
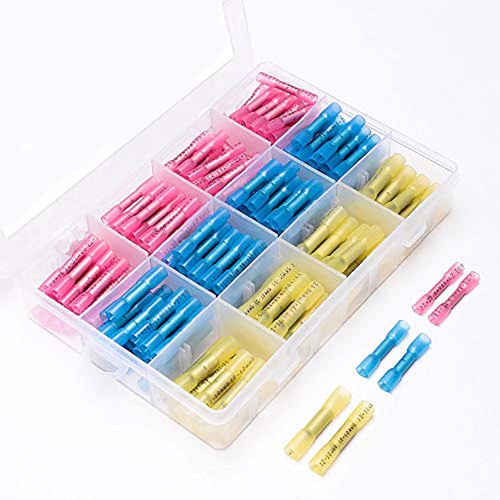


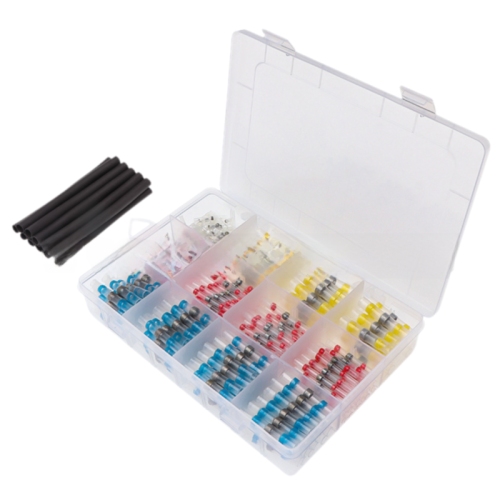
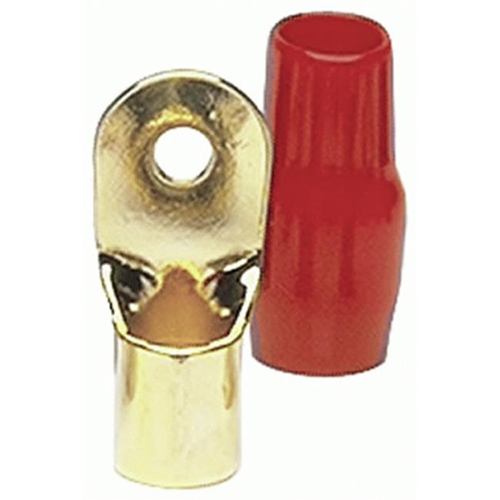
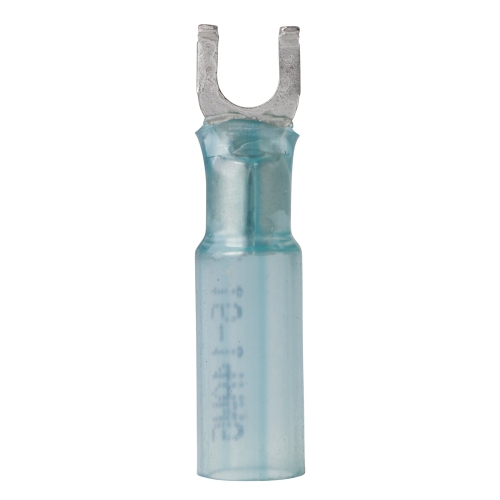
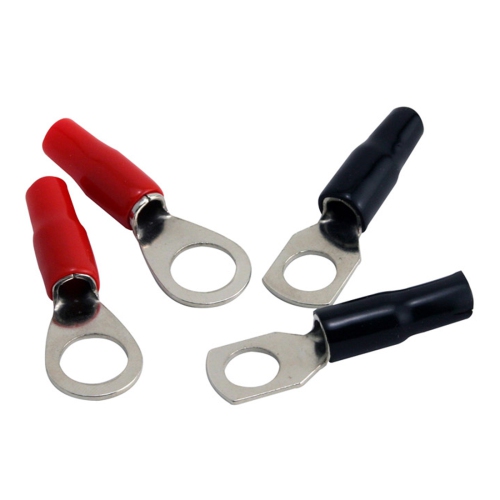
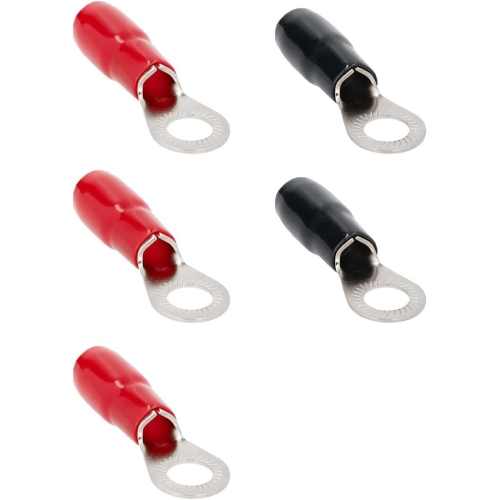
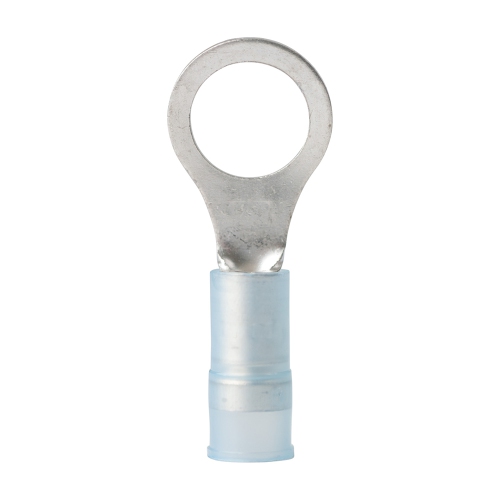
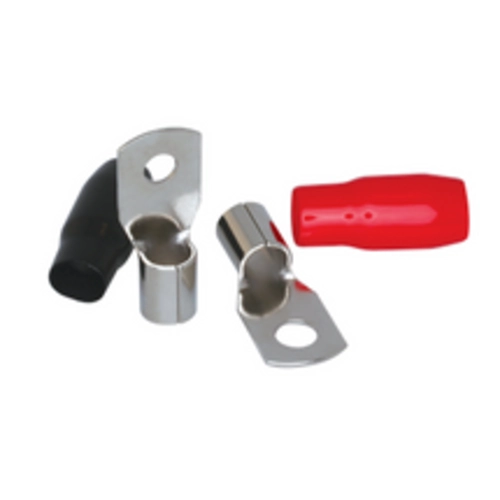
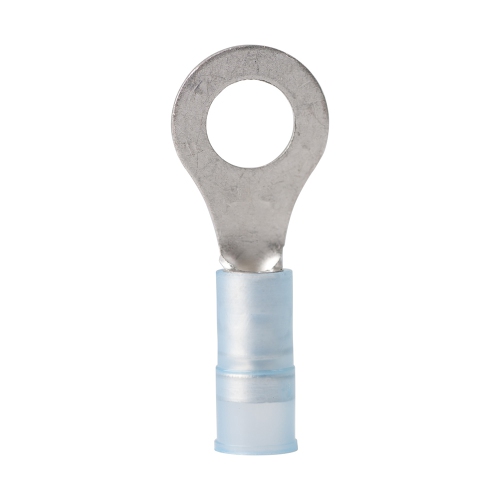
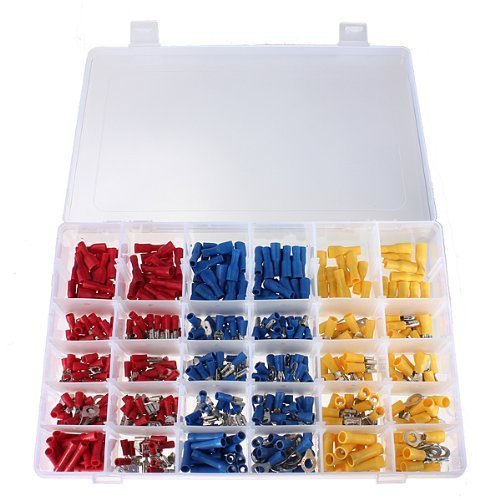
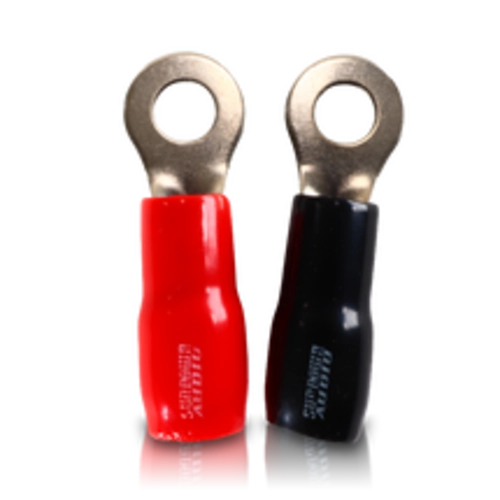
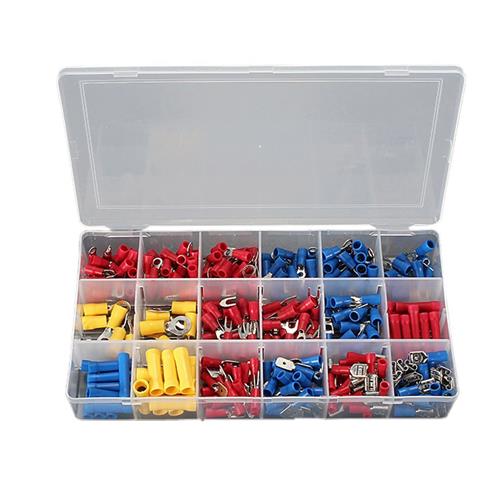
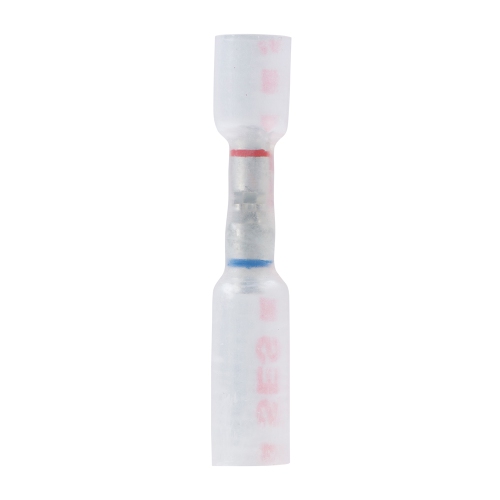
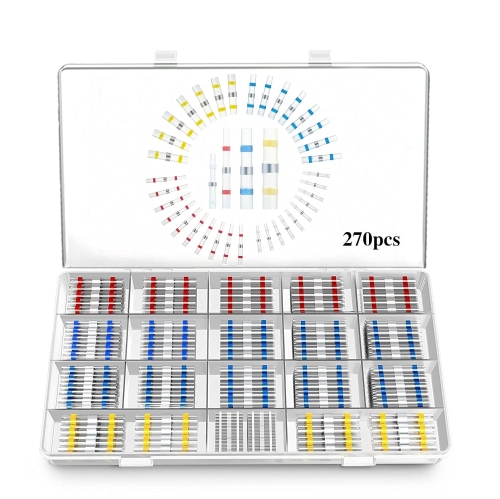
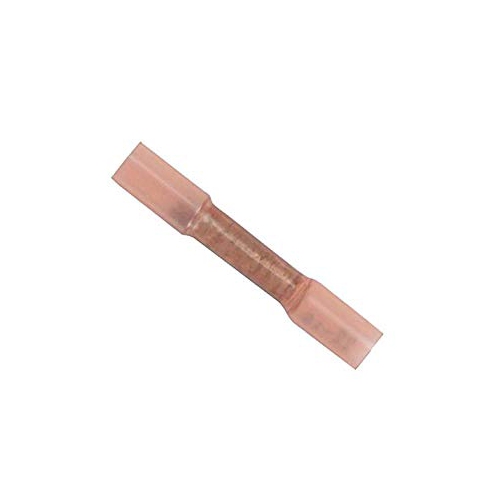
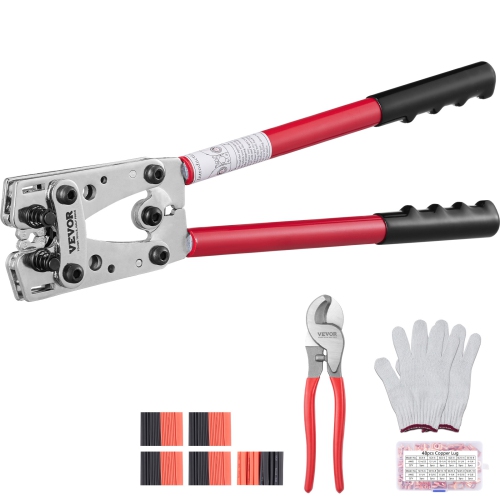
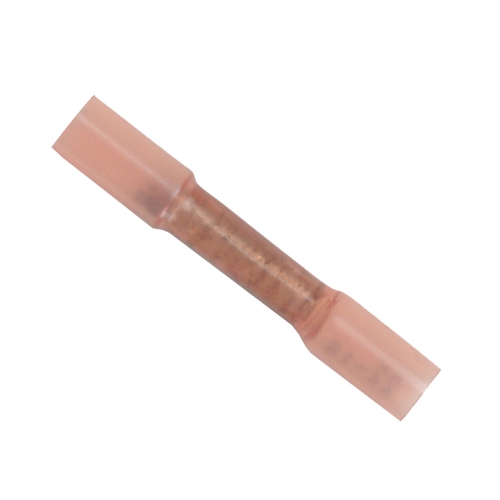
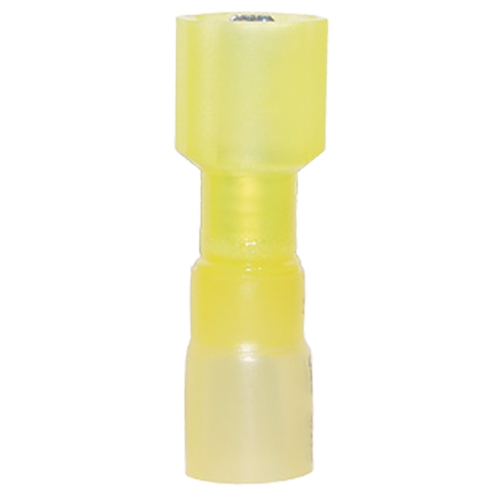
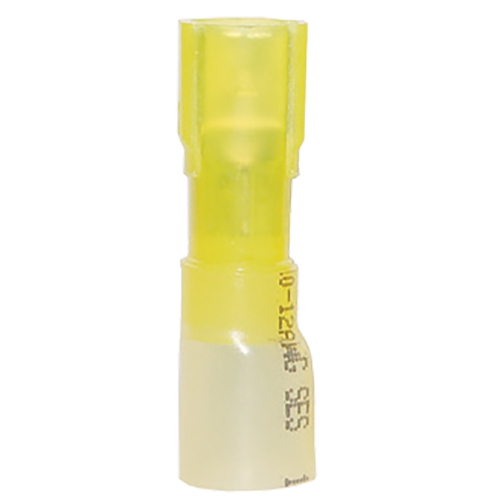
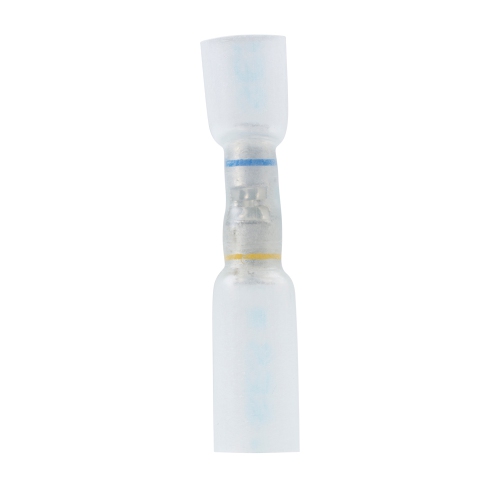
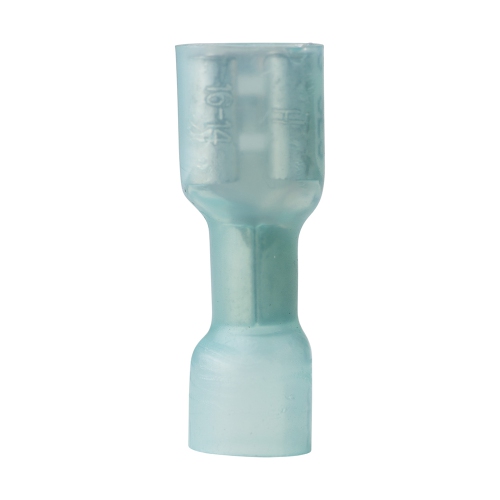
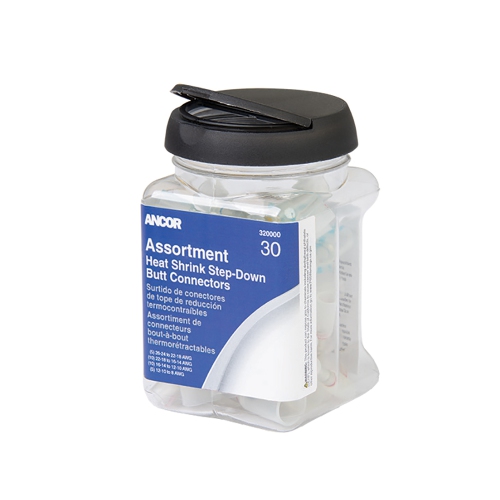
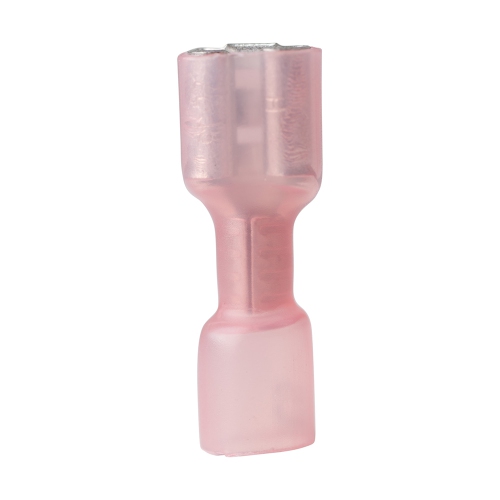
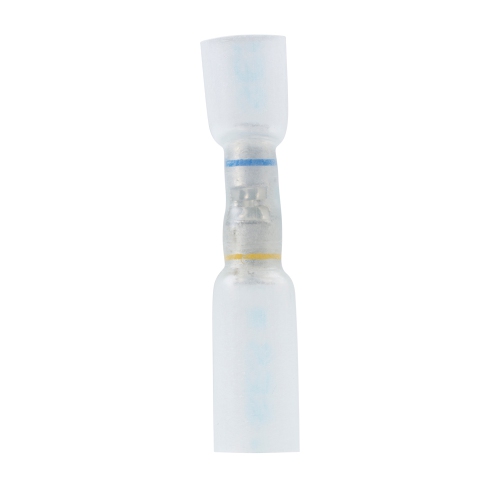
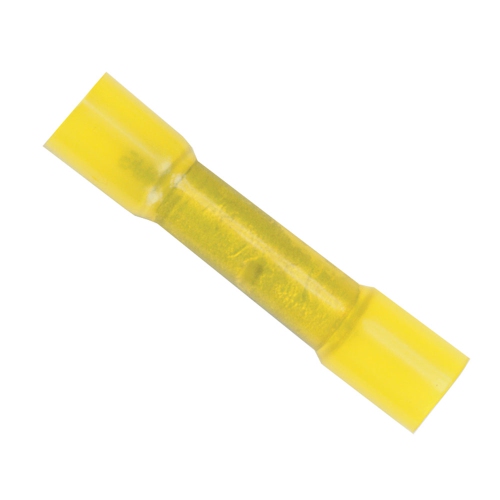

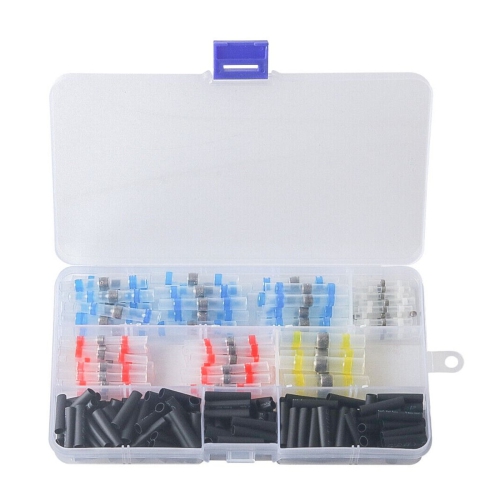
Sealed connections for demanding automotive, marine, and wiring projects
Shrink ring terminals are crimp-on electrical connectors designed to create a secure connection around a threaded stud, bolt, or grounding point. They combine a metal ring terminal with a heat-shrink sleeve, often made from polyolefin tubing with an adhesive lining inside. Once properly crimped and heated, the sleeve contracts around the wire and terminal barrel while the adhesive softens to help seal the connection against moisture, dirt, salt spray, and corrosion. This makes them particularly useful for automotive, marine, recreational vehicle, trailer, motorcycle, battery, solar, and general low-voltage wiring projects where a dependable connection needs more protection than a standard unsealed crimp terminal can provide. They are also practical for household repairs, workshop projects, custom lighting, audio installations, and control wiring, provided the connector is matched to the circuit and installed according to the equipment manufacturer’s requirements. When choosing shrink ring terminals, begin by checking the wire size and the stud or screw diameter. Terminals are made for specific wire gauges, and the ring opening must fit securely over the connection point without forcing the terminal into place or leaving excessive movement. Colour coding can help identify common wire-size ranges, but the printed specifications should always take priority. Consider the material and finish of the metal barrel, the quality of the insulation, the shrink ratio, and whether the tubing contains heat-activated adhesive. A sealed adhesive-lined sleeve is especially helpful in engine compartments, boat compartments, outdoor equipment, and other areas exposed to condensation or splashing. Bulk packs can be convenient for people who regularly repair wiring, while smaller assortments may suit occasional home projects, emergency kits, or anyone organizing a workshop drawer with several wire sizes and ring openings.
A reliable installation depends on both the correct terminal and the correct technique. Start by disconnecting the power source and confirming that the circuit is not energized. Strip approximately 1/4 inch of insulation from the end of the wire, taking care not to nick or cut the copper strands. Twist stranded wire lightly if needed, then insert the bare conductor fully into the metal barrel so no copper is left exposed beyond the end of the terminal. Use a properly sized ratcheting crimper rather than pliers, a hammer, or an improvised tool. Position the crimper on the metal barrel, not on the insulated sleeve, and use the crimping cavity intended for the wire gauge. After compressing the barrel, perform a gentle tug test; the wire should remain firmly captured without sliding or pulling free. If the terminal moves on the wire, cut it off and start again with a fresh connector. Once the mechanical crimp is secure, apply heat evenly around the sleeve with a heat gun. Keep the heat source moving so the insulation does not scorch, and rotate the wire if necessary to warm all sides. As the tubing shrinks, it should form a close seal around the wire and terminal; a small amount of adhesive may appear at the edge, indicating that the lining has softened. Allow the connection to cool before bending or fastening the wire. An open flame is not recommended because it can damage the insulation, overheat nearby components, or ignite vapours in a vehicle or workshop. For a tidy installation, route the wire away from sharp edges, exhaust components, moving parts, and areas where water can pool. Add strain relief where the cable may vibrate, and use suitable loom, clips, or grommets when passing through metal panels. The finished ring should sit flat against a clean contact surface, with the nut or screw tightened securely but without damaging the terminal.
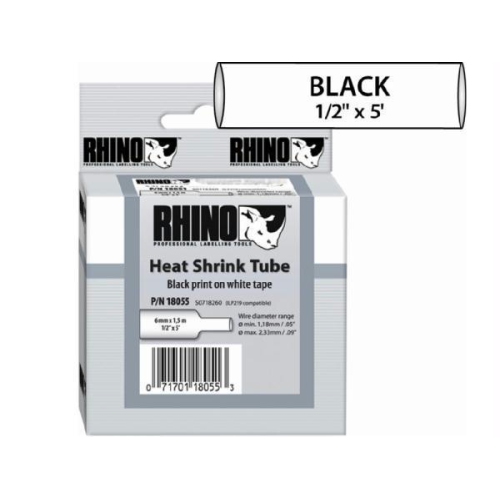
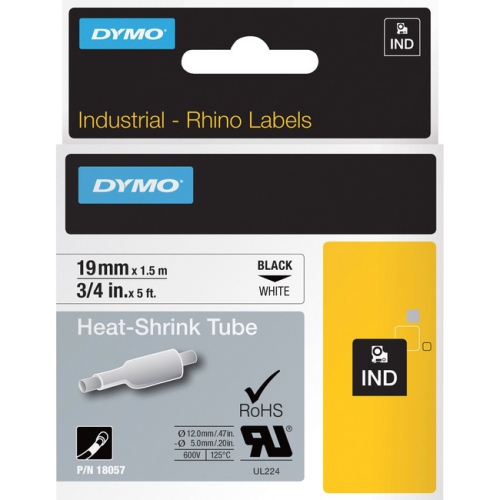
Shrink ring terminals are a useful choice for vehicle owners, boaters, hobbyists, maintenance teams, technicians, and do-it-yourselfers who want to build or repair wiring with a more sealed finish. They can be used when replacing a corroded battery lead, adding an accessory to a fuse panel, repairing a trailer light circuit, connecting a grounding wire, or securing wiring in a small boat before the cooler months bring more demanding conditions. They may also be a thoughtful practical gift for someone setting up a garage, restoring a classic vehicle, maintaining a camper, or assembling a roadside or onboard repair kit. Pairing a selection of terminal sizes with a quality ratcheting crimper, wire stripper, heat gun, and electrical testing tool can help keep common repairs organized and ready when needed. For projects that also require clear, durable identification of cables and control wires, Heat Shrink Tube Labels can complement a neatly planned installation. Before purchasing, consider how many connections are required, the range of wire gauges involved, the ring sizes needed, and whether the wiring will be exposed to rain, road spray, salt water, vibration, engine heat, or repeated movement. Always verify voltage, current, temperature, and environmental ratings, and follow local electrical requirements for the application. A careful fit, a complete crimp, and even heat application are the details that turn a small connector into a durable part of a larger electrical system.
A reliable installation depends on both the correct terminal and the correct technique. Start by disconnecting the power source and confirming that the circuit is not energized. Strip approximately 1/4 inch of insulation from the end of the wire, taking care not to nick or cut the copper strands. Twist stranded wire lightly if needed, then insert the bare conductor fully into the metal barrel so no copper is left exposed beyond the end of the terminal. Use a properly sized ratcheting crimper rather than pliers, a hammer, or an improvised tool. Position the crimper on the metal barrel, not on the insulated sleeve, and use the crimping cavity intended for the wire gauge. After compressing the barrel, perform a gentle tug test; the wire should remain firmly captured without sliding or pulling free. If the terminal moves on the wire, cut it off and start again with a fresh connector. Once the mechanical crimp is secure, apply heat evenly around the sleeve with a heat gun. Keep the heat source moving so the insulation does not scorch, and rotate the wire if necessary to warm all sides. As the tubing shrinks, it should form a close seal around the wire and terminal; a small amount of adhesive may appear at the edge, indicating that the lining has softened. Allow the connection to cool before bending or fastening the wire. An open flame is not recommended because it can damage the insulation, overheat nearby components, or ignite vapours in a vehicle or workshop. For a tidy installation, route the wire away from sharp edges, exhaust components, moving parts, and areas where water can pool. Add strain relief where the cable may vibrate, and use suitable loom, clips, or grommets when passing through metal panels. The finished ring should sit flat against a clean contact surface, with the nut or screw tightened securely but without damaging the terminal.
Shrink ring terminals are a useful choice for vehicle owners, boaters, hobbyists, maintenance teams, technicians, and do-it-yourselfers who want to build or repair wiring with a more sealed finish. They can be used when replacing a corroded battery lead, adding an accessory to a fuse panel, repairing a trailer light circuit, connecting a grounding wire, or securing wiring in a small boat before the cooler months bring more demanding conditions. They may also be a thoughtful practical gift for someone setting up a garage, restoring a classic vehicle, maintaining a camper, or assembling a roadside or onboard repair kit. Pairing a selection of terminal sizes with a quality ratcheting crimper, wire stripper, heat gun, and electrical testing tool can help keep common repairs organized and ready when needed. For projects that also require clear, durable identification of cables and control wires, Heat Shrink Tube Labels can complement a neatly planned installation. Before purchasing, consider how many connections are required, the range of wire gauges involved, the ring sizes needed, and whether the wiring will be exposed to rain, road spray, salt water, vibration, engine heat, or repeated movement. Always verify voltage, current, temperature, and environmental ratings, and follow local electrical requirements for the application. A careful fit, a complete crimp, and even heat application are the details that turn a small connector into a durable part of a larger electrical system.
Top selling and popular products
-
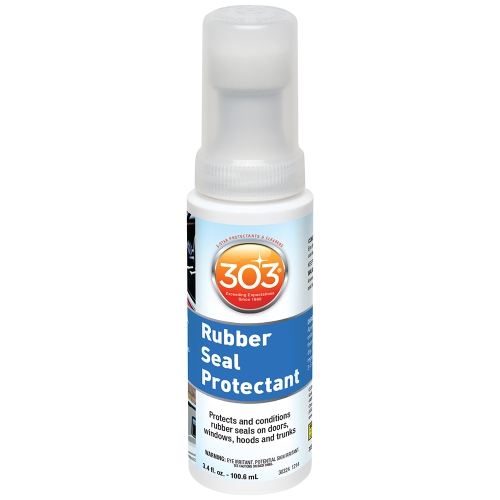 Your price for this item is $31.34
 -
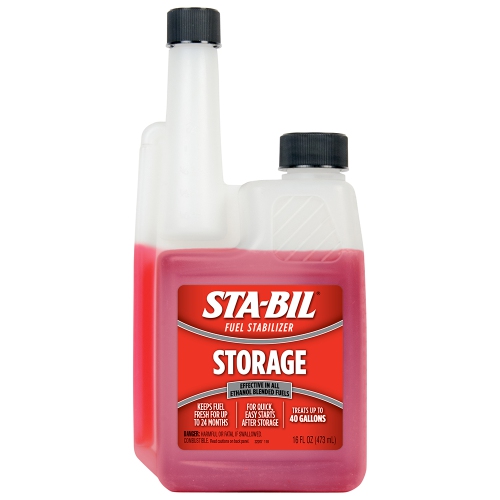 Your price for this item is $30.54
 -
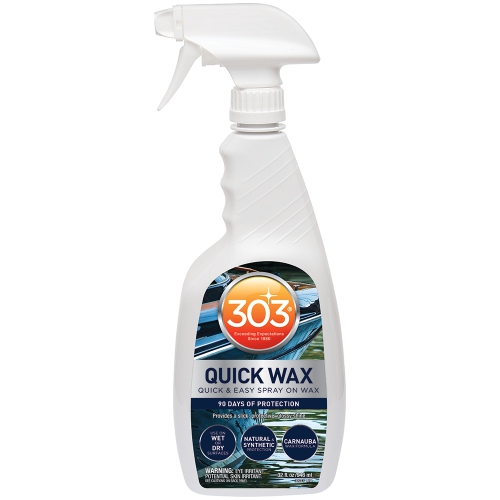 Your price for this item is $38.85
 -
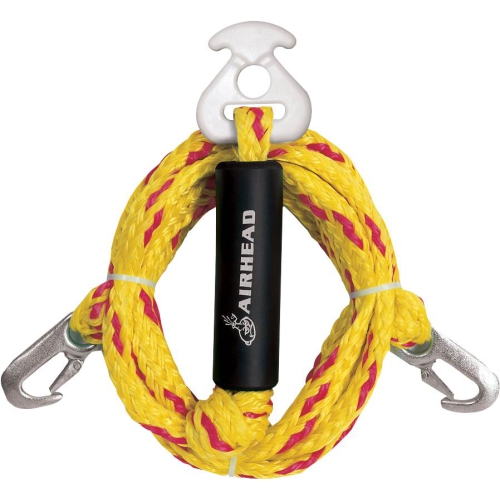 Your price for this item is $63.99
 -
 Your price for this item is $844.91
 -
 Your price for this item is $909.33
 -
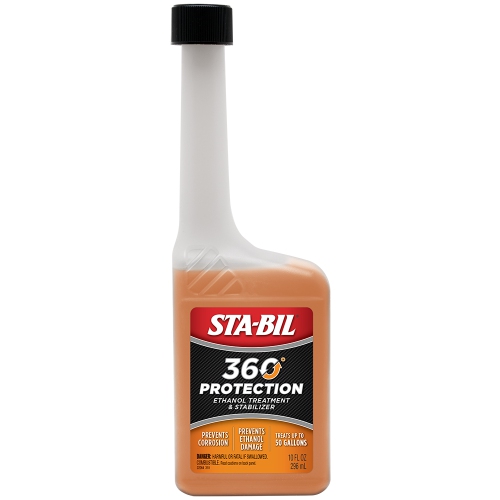 Your price for this item is $31.38
 -
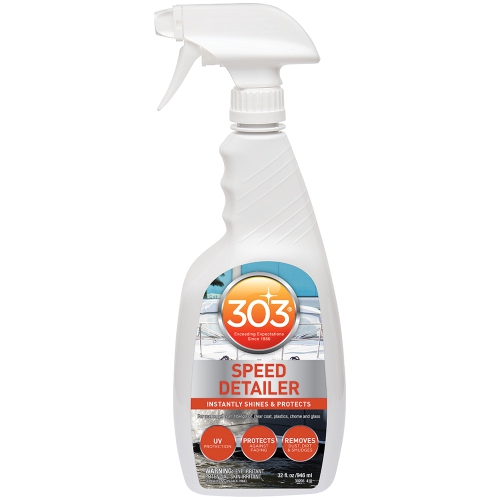 Your price for this item is $35.35
Discover more categories related to Shrink Ring Terminals
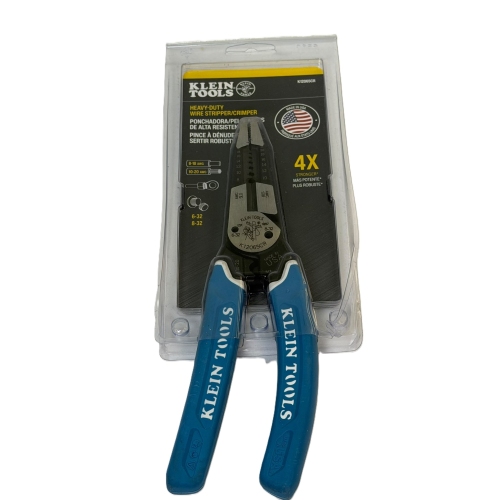
Top Collections:
Pokemon Centers, Best Cameras for Sports Photography, Kindle Devices, Samsung Galaxy Phones, Canon G7X Cameras, Pokémon 30th Celebration Cards, Refurbished Apple Laptops, iPhone 15 Apple, Laptops for Students, Budget Smartphones
Some products may be subject to Environmental Handling Fees
(EHF) depending on your province.
Learn more about EHFs.