Coffee Percolators for Camping
Coffee percolators are a great way to brew coffee on the go. They are simple to use, and they make great coffee. They are also very durable and can be used in any weather condition.
Sort
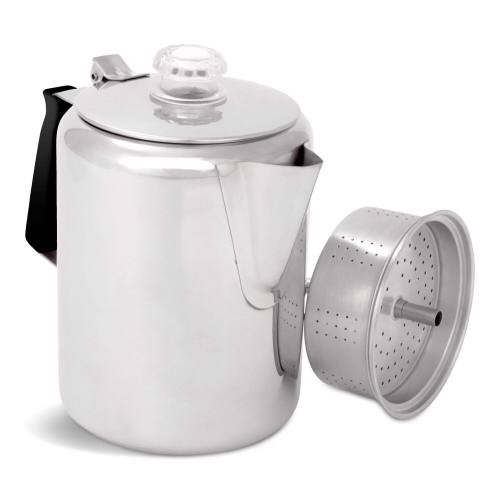
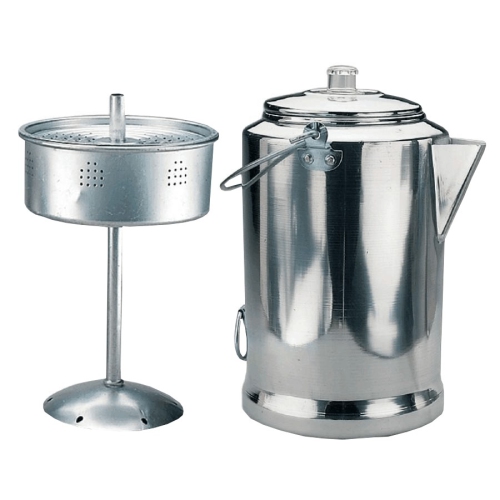
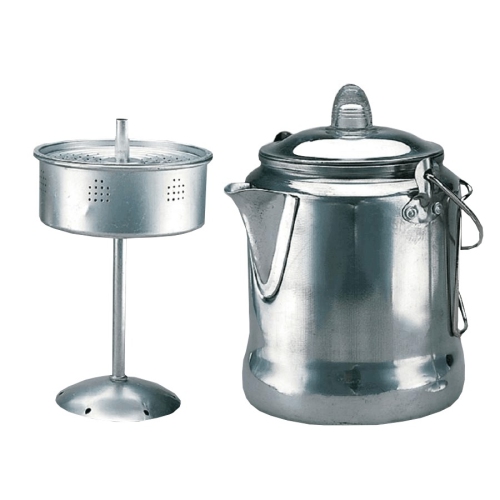
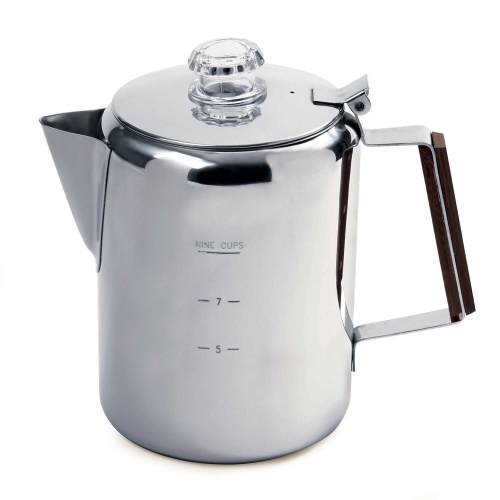
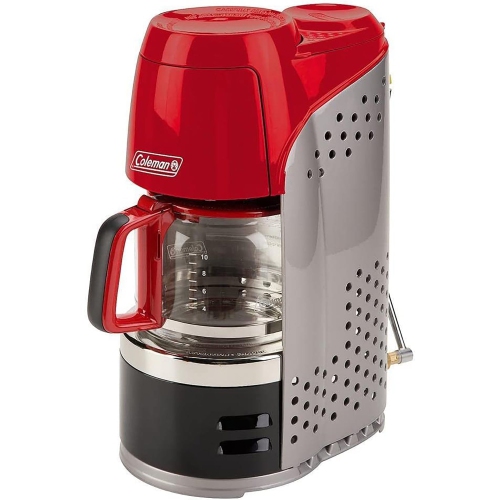

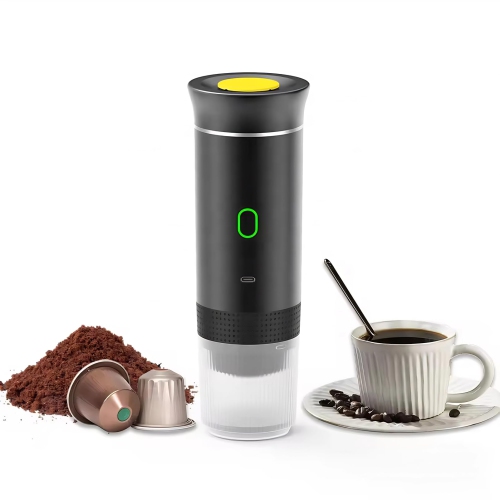
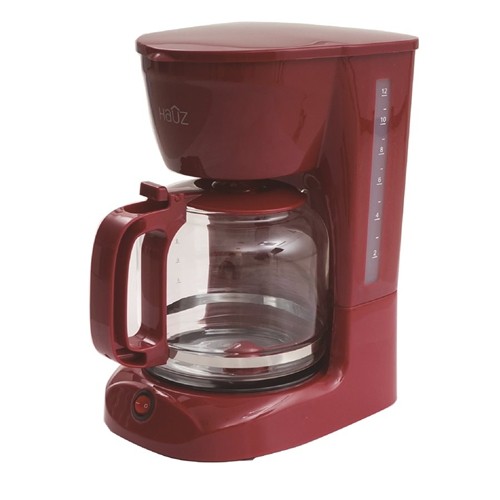
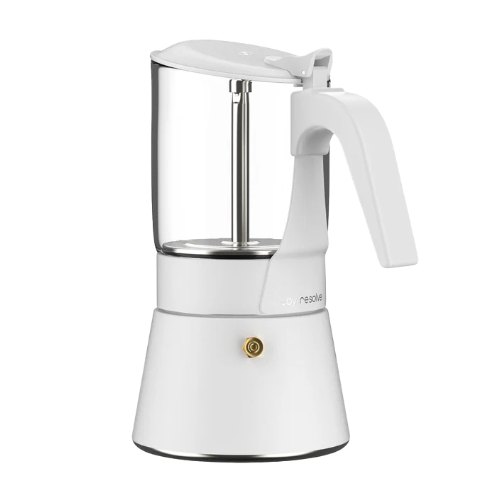
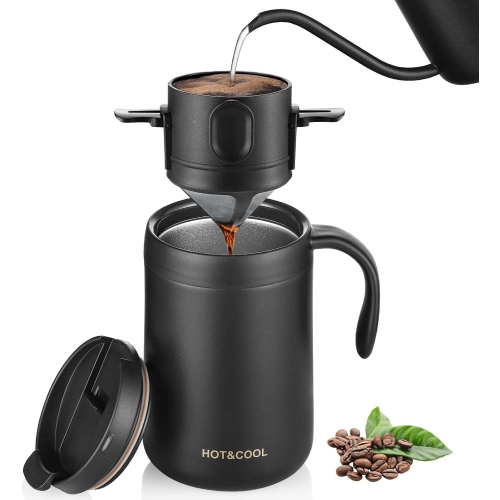
Fuller coffee flavour over campfires, stoves, and coals
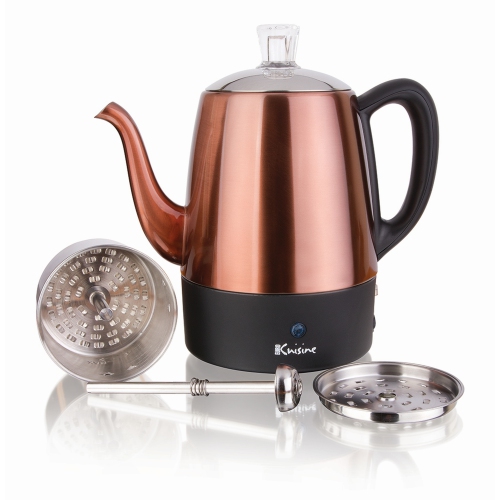
Coffee percolators for camping bring a familiar brewing ritual to campsites, cabins, trailers, and outdoor kitchens. Unlike electric coffee makers, these durable pots are designed to work with a camp stove, grill grate, or carefully managed campfire, making them a practical choice when there is no outlet nearby. Water sits in the lower chamber or main body of the pot, while a central stem carries hot water upward through a perforated basket filled with coffee grounds. As the water cycles through the grounds, the coffee gradually develops a deeper aroma and fuller flavour. A clear knob on the lid, when included, makes it easier to watch the brewing process, while a heat-resistant handle and a secure lid help with pouring around a busy campsite. Percolators are especially useful for couples, families, and groups who prefer to brew several cups in one pot rather than prepare individual servings. They can also be a thoughtful gift for a camper, cottage owner, road-tripper, or coffee enthusiast who enjoys preparing a morning drink with a hands-on method. For more options suited to different brewing preferences and serving sizes, explore Best Coffee Percolators. When choosing a camping percolator, start by considering capacity. Smaller three-cup or six-cup designs can suit one or two people, while larger pots are more convenient for a family breakfast or a group gathering around the fire. Keep in mind that “cups” usually refers to smaller coffee servings rather than large travel mugs, so a group that drinks generously may benefit from a little extra capacity. The construction also matters outdoors. Stainless steel is valued for its durability, resistance to staining, and ease of cleaning, while other rugged materials may offer a lighter feel or a traditional appearance. Look for a balanced shape that sits steadily on the intended heat source, a handle that remains comfortable when the pot is warm, and a lid that stays in place when coffee is poured. A built-in basket and stem simplify setup, but removable parts are particularly helpful when grounds need to be rinsed away at the end of the morning.
Good results depend as much on technique as on the percolator itself. Begin with fresh water and coffee grounds that are coarse or medium-coarse, roughly the texture of sea salt. Fine espresso-style grounds can pass through the basket openings and leave sediment in the cup, creating a muddy texture and making cleanup more difficult. Add the recommended amount of grounds to the basket without packing them down, then assemble the stem, basket, lid, and any spreader or filter component according to the design. Place the percolator over low to medium heat rather than an intense flame. Gentle, steady heating allows the water to cycle without causing a boil-over, scorched coffee, or a bitter taste. On a camp stove, this may mean lowering the burner once the first bubbling begins. Over a fire, position the pot on a stable grate or a bed of coals instead of directly in tall flames, where heat can be uneven and difficult to control. The clear lid knob may show the coffee beginning to perk, with the liquid rising and bubbling at a regular pace. Brewing time varies with the amount of coffee, water temperature, and preferred strength, but several minutes of steady perking is a useful starting point. After removing the pot from the heat, allow it to rest for about five to ten minutes. This pause gives the coffee time to finish developing and lets loose grounds settle toward the bottom of the pot before serving. Pour slowly and steadily, keeping the lid secured with a finger or built-in hold if needed. For a cleaner cup, avoid tilting the pot sharply near the end, since the final pour may disturb settled grounds. A percolator is a good match for leisurely mornings when the scent of coffee mixes with woodsmoke, cool air, and the sounds of a campsite coming to life, but it can also serve well at a backyard gathering, fishing trip, tailgate, or cabin weekend during the cooler months.
Portability and care are important purchase considerations for outdoor use. Check the empty weight and dimensions if the percolator will travel in a car packed with camping bins, or if it needs to fit inside a compact cooking kit. A larger capacity can be convenient, but a smaller pot may be easier to carry and quicker to heat for short trips. Consider the type of heat source you use most often, since a pot that sits securely on a propane camp stove may need a different setup over a grill or open fire. A broad, stable base can help reduce tipping, while a narrow base may work well with certain backpacking burners; always follow the cookware and stove instructions for safe placement. Before leaving home, check that the lid, basket, stem, and knob are secure and that the handle feels comfortable when the pot is full. At the campsite, keep the percolator away from tent walls, loose clothing, children, and crowded preparation areas, and use heat-resistant gloves or a dry cloth when handling it. Once the coffee is finished, let the pot cool before disassembling it. Empty the grounds into a waste container rather than washing them down a sink, wipe out loose residue, and rinse the basket, stem, lid, and interior with warm water. A soft brush can reach around the perforations without damaging the finish. Dry all pieces thoroughly before storage to help prevent stale odours and ensure the percolator is ready for the next outing. Whether it is being packed for a late-summer campsite, kept in a cottage kitchen for crisp mornings, or wrapped as a practical gift for someone who loves outdoor cooking, a camping coffee percolator offers a straightforward way to brew multiple servings with control over strength, heat, and timing.
Good results depend as much on technique as on the percolator itself. Begin with fresh water and coffee grounds that are coarse or medium-coarse, roughly the texture of sea salt. Fine espresso-style grounds can pass through the basket openings and leave sediment in the cup, creating a muddy texture and making cleanup more difficult. Add the recommended amount of grounds to the basket without packing them down, then assemble the stem, basket, lid, and any spreader or filter component according to the design. Place the percolator over low to medium heat rather than an intense flame. Gentle, steady heating allows the water to cycle without causing a boil-over, scorched coffee, or a bitter taste. On a camp stove, this may mean lowering the burner once the first bubbling begins. Over a fire, position the pot on a stable grate or a bed of coals instead of directly in tall flames, where heat can be uneven and difficult to control. The clear lid knob may show the coffee beginning to perk, with the liquid rising and bubbling at a regular pace. Brewing time varies with the amount of coffee, water temperature, and preferred strength, but several minutes of steady perking is a useful starting point. After removing the pot from the heat, allow it to rest for about five to ten minutes. This pause gives the coffee time to finish developing and lets loose grounds settle toward the bottom of the pot before serving. Pour slowly and steadily, keeping the lid secured with a finger or built-in hold if needed. For a cleaner cup, avoid tilting the pot sharply near the end, since the final pour may disturb settled grounds. A percolator is a good match for leisurely mornings when the scent of coffee mixes with woodsmoke, cool air, and the sounds of a campsite coming to life, but it can also serve well at a backyard gathering, fishing trip, tailgate, or cabin weekend during the cooler months.
Portability and care are important purchase considerations for outdoor use. Check the empty weight and dimensions if the percolator will travel in a car packed with camping bins, or if it needs to fit inside a compact cooking kit. A larger capacity can be convenient, but a smaller pot may be easier to carry and quicker to heat for short trips. Consider the type of heat source you use most often, since a pot that sits securely on a propane camp stove may need a different setup over a grill or open fire. A broad, stable base can help reduce tipping, while a narrow base may work well with certain backpacking burners; always follow the cookware and stove instructions for safe placement. Before leaving home, check that the lid, basket, stem, and knob are secure and that the handle feels comfortable when the pot is full. At the campsite, keep the percolator away from tent walls, loose clothing, children, and crowded preparation areas, and use heat-resistant gloves or a dry cloth when handling it. Once the coffee is finished, let the pot cool before disassembling it. Empty the grounds into a waste container rather than washing them down a sink, wipe out loose residue, and rinse the basket, stem, lid, and interior with warm water. A soft brush can reach around the perforations without damaging the finish. Dry all pieces thoroughly before storage to help prevent stale odours and ensure the percolator is ready for the next outing. Whether it is being packed for a late-summer campsite, kept in a cottage kitchen for crisp mornings, or wrapped as a practical gift for someone who loves outdoor cooking, a camping coffee percolator offers a straightforward way to brew multiple servings with control over strength, heat, and timing.
Top selling and popular products
-
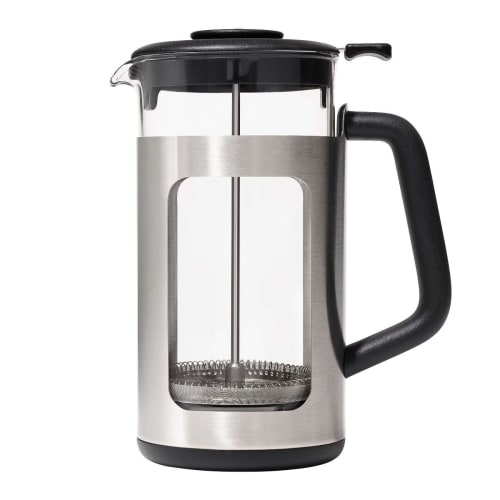 Your price for this item is $130
 -
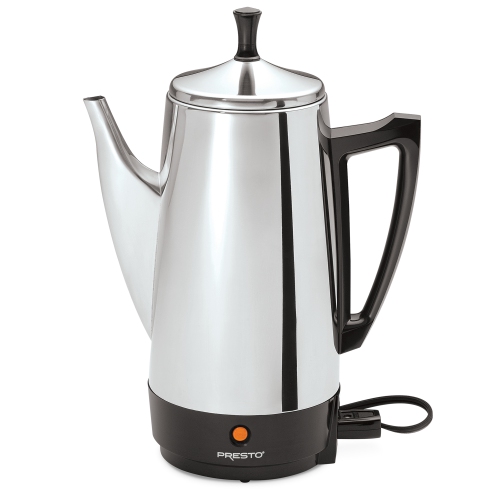 Your price for this item is $159.99
 -
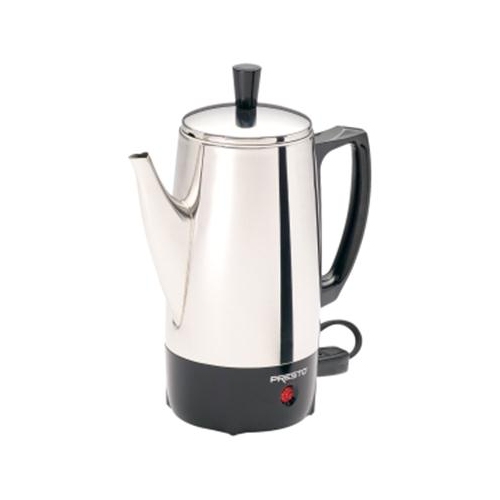 Your price for this item is $115.99
 -
 Your price for this item is $114.99
 -
 Your price for this item is $70
 -
 Your price for this item is $134
 -
 Your price for this item is $13.99
 -
 Your price for this item is $84.99
Discover more categories related to Coffee Percolators for Camping

Top Collections:
Pokemon Centers, Kindle Devices, Best Budget Office Chairs, Apple iPhones 16, Best Laptops for Writers, iPhone 15 Apple, Canon G7X Cameras, Refurbished Apple Laptops, Alarm Clock, Motorola Razr Phones
Some products may be subject to Environmental Handling Fees
(EHF) depending on your province.
Learn more about EHFs.